How to draw a surfboard - a free surfboard drawing guide
Draw a colorful surfboard step-by-step: sketch the shape, add fins and patterns, trace with marker, then color to personalize your design.

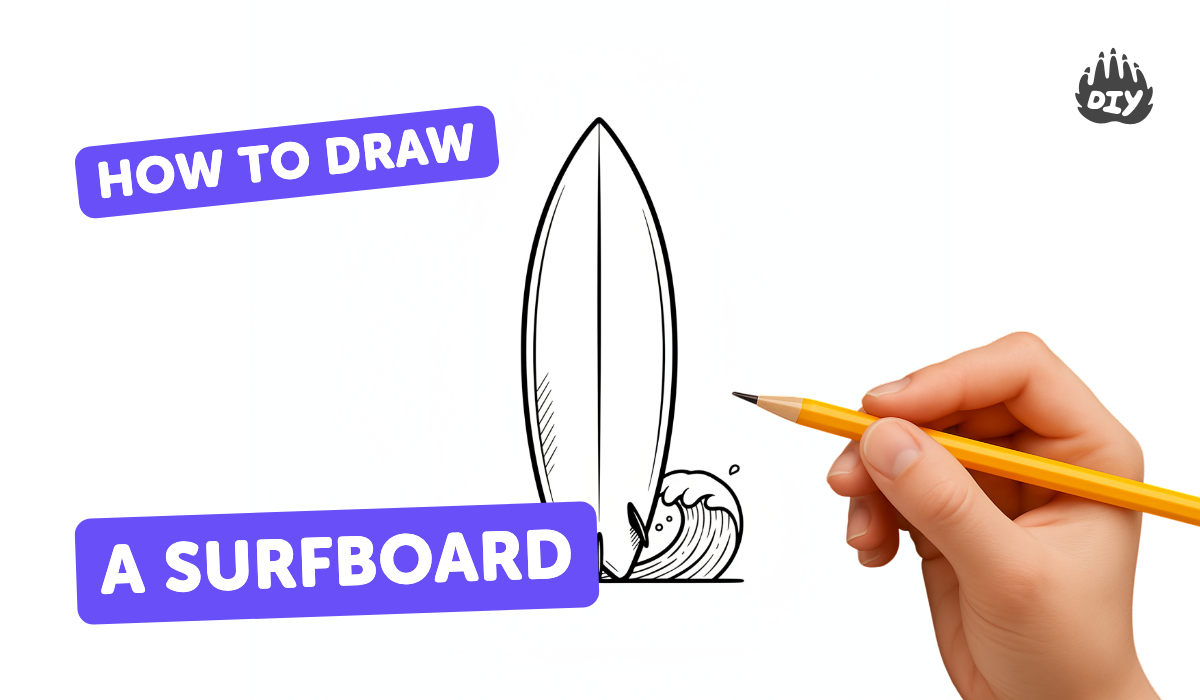
Step-by-step guide to draw a surfboard
How To Draw A Surfboard
Step 1
Place a sheet of paper on a flat surface.
Step 2
Lightly draw a vertical center line down the middle of the paper to guide symmetry.
Step 3
Sketch a long rounded oval shape around the center line to make the surfboard outline.
Step 4
Erase any extra pencil lines outside the surfboard outline to clean the shape.
Step 5
Draw a small curved point at the top to form the nose of the surfboard.
Step 6
Draw a slightly squared or rounded shape at the bottom to form the tail of the surfboard.
Step 7
Draw one small curved triangle near the tail edge to add a fin.
Step 8
Draw a second small curved triangle on the other side near the tail to add another fin.
Step 9
Draw a thin line from nose to tail down the center to represent the stringer.
Step 10
Lightly sketch patterns like wavy lines stripes or stars across the board to plan your colors.
Step 11
Trace the surfboard outline fins stringer and patterns carefully with the black marker.
Step 12
Let the marker lines dry for a minute.
Step 13
Gently erase any leftover pencil marks once the marker is dry.
Step 14
Color your surfboard with bright colors using your coloring materials to personalize your design.
Step 15
Share your finished surfboard drawing on DIY.org
Help!?
What can I use if I don't have a black marker, pencil, eraser, or regular paper?
Use a dark pen or fine-tip crayon to trace the outline instead of the black marker, a soft charcoal or ballpoint to sketch if you lack a pencil, the edge of a clean cloth to gently remove light marks if you don't have an eraser, and cardstock or a clean cereal-box panel in place of a regular sheet of paper.
My surfboard looks lopsided—how can I fix symmetry while sketching?
Draw the vertical center line lightly with a ruler or fold the paper in half first, then mark equal points along the center before sketching the long rounded oval so both sides mirror each other as you follow the step to sketch the outline.
How can I change this activity for younger or older kids?
For preschoolers, pre-draw the surfboard outline and have them color with thick washable markers, while older kids can add detailed patterns, shading, extra fins, or watercolor washes after tracing with the black marker and letting the lines dry.
What are simple ways to personalize or extend the finished surfboard drawing?
Cut the colored surfboard out and glue it onto cardboard to make a 3D board, add stickers, glitter, or glued sand for texture, write your name along the stringer, and then scan or photograph the result to share on DIY.org.
Watch videos on how to draw a surfboard
Surfboard Drawing for Kids - Design Your Own in 6 Easy Steps!
4 Videos
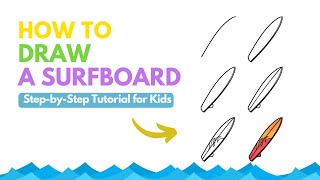
Surfboard Drawing for Kids - Design Your Own in 6 Easy Steps!

How to Draw Surf Board | Easy Step by Step Kids Drawing and Coloring
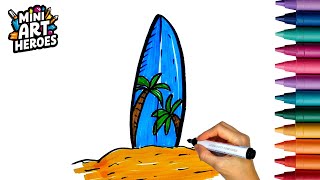
How To Draw A Surfboard - How to draw easy | Mini Art Heroes
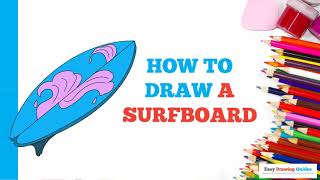
How to Draw a Surfboard in a Few Easy Steps: Drawing Tutorial for Beginner Artists
Facts about drawing and art for kids
🏄♂️ Surfing was first recorded by European explorers in Hawaii in the 18th century, but Polynesians had been riding waves long before that.
📏 Surfboards come in many sizes — longboards can be over 9 feet long, while shortboards are often around 5–7 feet.
🎨 Bright, bold deck art and patterns help surfers express personality — some pros even have signature board designs.
🐬 Surfboard fins come in setups like single, twin, thruster (three fins) and quad (four fins); the thruster is the most common on modern shortboards.
✏️ Many artists and board shapers sketch first, then outline and color — the same step-by-step process used in this activity.
How do I teach my child to draw a colorful surfboard step-by-step?
What materials do I need to draw a surfboard with kids?
What ages is drawing a surfboard suitable for?
What are some fun variations or extensions for surfboard drawings?
