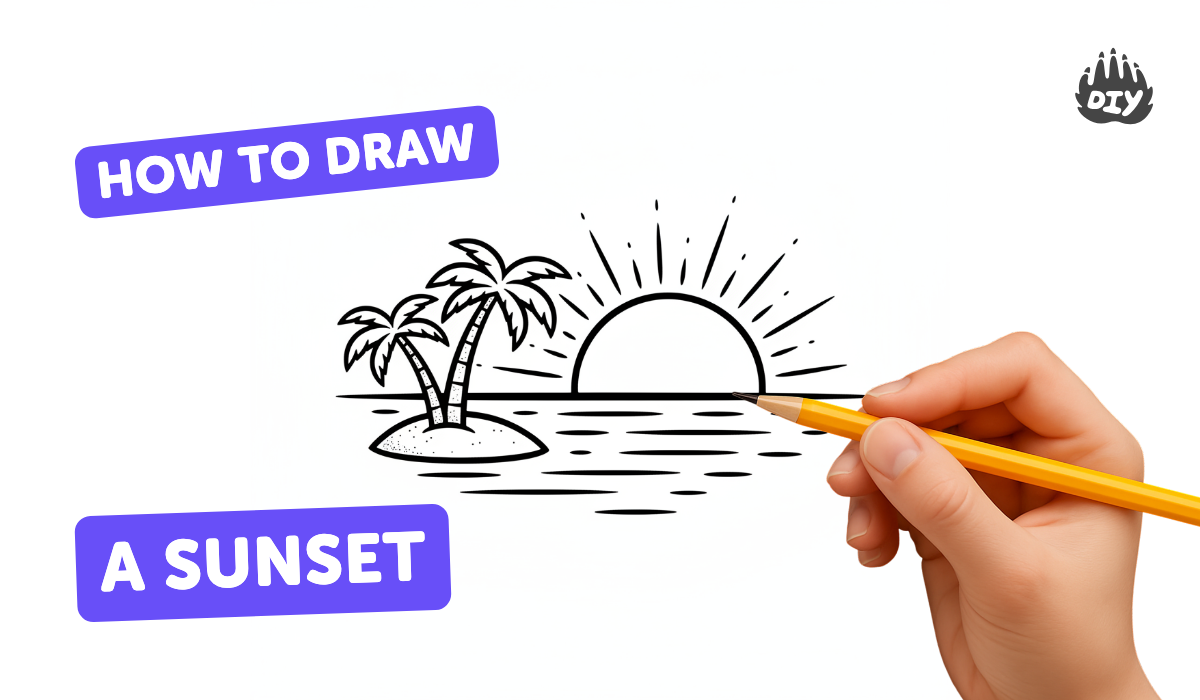
How to draw a sunset - a free sunset drawing guide
Draw and paint a colorful sunset scene with pencils, crayons, or watercolors, practice blending warm colors and adding silhouette shapes like trees or birds.


Instructions
Step-by-Step Draw a Stunning Sunset with Colored Pencils (Easy Tutorial) 🌅
Step 1
Gather all materials.
Step 2
Place the paper flat on your workspace.
Step 3
Lightly draw a horizontal horizon line across the paper.
Step 4
Draw a sun as a semicircle touching the horizon where you want it to set.
Step 5
Choose 3 to 5 colors for the sky from warm near the horizon to cooler at the top.
Step 6
Apply the lightest color along the horizon with long horizontal strokes.
Step 7
Add the next darker color above the first and overlap the edge slightly.
Step 8
Continue adding darker colors upward until the sky is filled.
Step 9
Blend each overlapped area using a damp paintbrush for watercolors or a clean finger or white crayon for dry media.
Step 10
Darken the top of the sky with your deepest color and smooth the transition.
Step 11
Erase any visible pencil sketch lines from the sky area.
Step 12
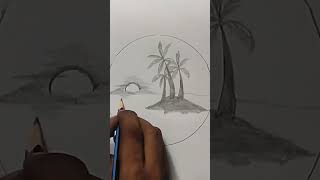
Draw simple silhouettes along the horizon with a black marker or dark crayon (for example palm trees hills or buildings).
Step 13
Add small details to silhouettes like tree trunks branches or bird shapes using short strokes.
Step 14
Let your artwork dry completely or set if using crayons or colored pencils.
Step 15
Share your finished sunset painting on DIY.org.
Help!?
I don't have watercolors or a damp paintbrush — what can I use instead?
If you don't have watercolors or a damp paintbrush, use watered-down tempera or food coloring on thick paper and blend overlapping sky colors with a slightly damp sponge or a clean finger as you 'apply the lightest color along the horizon with long horizontal strokes.'
My colors look muddy when I try to blend — how can I fix that step?
If the sky colors become muddy while you 'continue adding darker colors upward,' let each layer dry or lift excess wet paint with a tissue before adding the next color and only blend the small overlapped edges with a damp brush to keep hues distinct.
How can I adapt this sunset activity for different ages?
For younger children simplify by choosing 2–3 colors and using broad sponge strokes after 'lightly draw a horizontal horizon line,' while older kids can use 4–5 graduated colors, add glazing or salt textures, and refine silhouettes with detailed short strokes.
What are some ways to enhance or personalize my finished sunset?
To personalize the piece after 'draw simple silhouettes along the horizon,' add metallic highlights to the sun rim, collage cut-out buildings or palm trees, paint reflected water below the horizon, and then photograph and share your finished sunset painting on DIY.org.
Related videos
"Easy Sunset Scenery Drawing | Pencil Sketch for Beginners | Nature Drawing Step by Step"
4 Videos
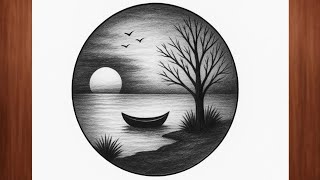
"Easy Sunset Scenery Drawing | Pencil Sketch for Beginners | Nature Drawing Step by Step"
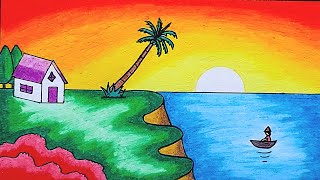
Scenery Drawing | How To Draw Easy Sunset and Beach Scenery Step by Step With Oil Pastels
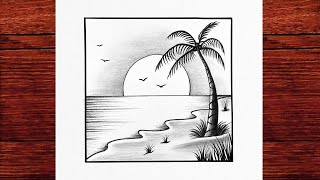
How to Draw a Beach Sunset Scene | Easy Pencil Drawing
how to draw simple sunset -simple sunset for beginners
Get inspired with these


Fun Facts
🌅 Sunsets often look red and orange because the atmosphere scatters blue light more — that effect is called Rayleigh scattering.
🎨 Complementary colors (like orange and blue) make sunsets appear more vibrant when placed next to each other.
🖌️ Watercolors spread and blend on wet paper, which helps create smooth, glowing gradients for skies.
🖍️ Layering light strokes with colored pencils or crayons builds rich color without making the hues look muddy.
🌄 A sharp horizon line with dark silhouettes in front creates contrast and makes a sunset scene feel deep and dramatic.
How do you draw a vibrant sunset painting?
What materials do I need to draw a sunset?
What ages is this sunset painting activity suitable for?
What are the benefits, safety tips, and fun variations for sunset drawings?
