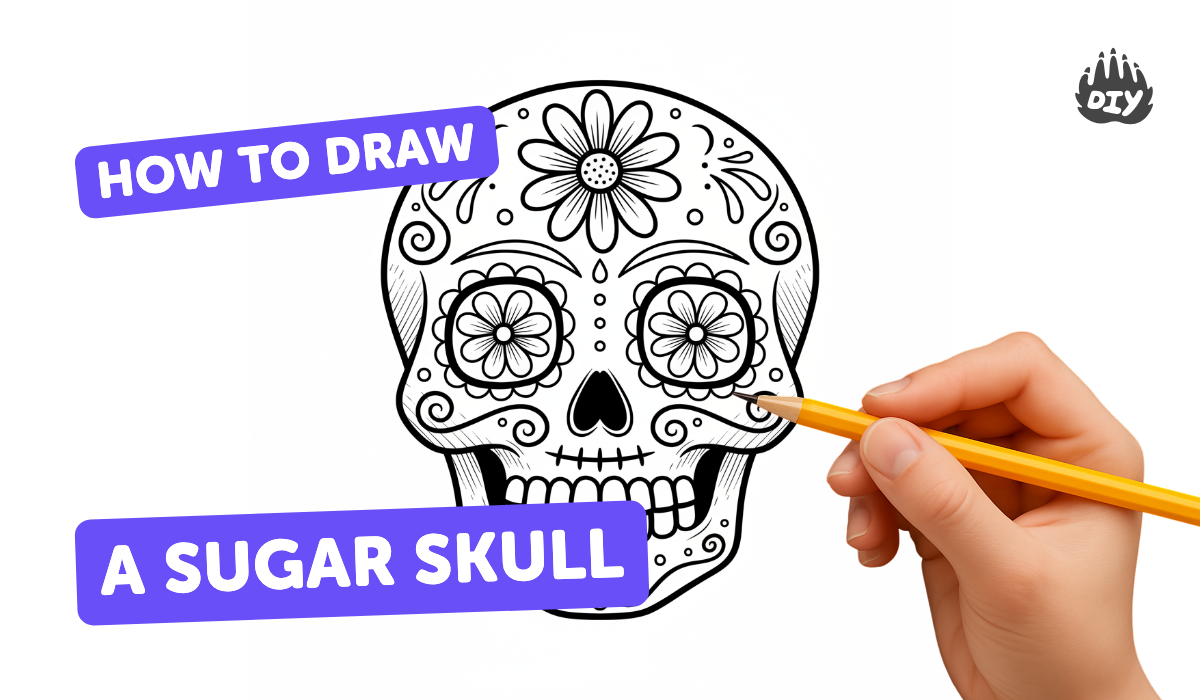
How to draw a sugar skull - a free sugar skull drawing guide
Draw and decorate a sugar skull using pencil outlines, patterned shapes, and colored markers. Practice symmetry, patterning, and color choices while following step-by-step instructions.

Drawing Apps
Photos of sugar skull drawing examples


Step-by-step guide to draw a sugar skull
How To Draw A Sugar Skull
Step 1
Gather your materials and place the paper on a flat surface so you have lots of room to draw.
Step 2
Lightly draw a vertical center line down the middle of the paper to help keep both sides even.
Step 3
Draw a large oval shape for the skull centered on the center line.
Step 4
Draw two curved jaw lines from the bottom sides of the oval to form the cheeks and chin.
Step 5
On each side of the center line draw a matching large circle or flower shape for the eye sockets.
Step 6
Draw an upside-down heart or small triangle on the center line for the nose.
Step 7
Draw a curved horizontal line for the mouth and add small vertical dashes along it to make the teeth.
Step 8
Add patterns to the left side of the skull using shapes like petals circles stars swirls or dots.
Step 9
Copy those same patterns onto the right side, matching size and placement to practice symmetry.
Step 10
Add extra small decorations around the eyes nose and forehead such as petals lines or dots to fill empty spaces.
Step 11
Trace all your pencil lines with the black marker to make the design bold.
Step 12
Color the skull and decorations with bright contrasting marker colors to make it pop.
Step 13
Take a photo and share your finished sugar skull creation on DIY.org.
Help!?
What can we use if we don't have markers or a black marker?
If you don't have markers use colored pencils, crayons, or watercolor paints for the coloring step, and if you lack a black marker to trace, use a fine-tip black pen or a thin brush with black paint to darken your pencil lines.
My left and right patterns don't match—how can we fix symmetry while copying shapes onto the right side?
Keep the vertical center line and work lightly in pencil, then either fold the paper along that center line to transfer shapes or measure distances with a ruler and check placements before tracing with the black marker.
How can I adapt this sugar skull activity for younger or older children?
For younger kids pre-draw the large oval, eye sockets, and jaw lines and let them add simple petals or dots, while older kids can add intricate symmetrical patterns, shading, and mixed-media details before tracing and coloring.
How can we enhance or personalize the finished sugar skull drawing?
Personalize it by adding glitter glue, sequins, or metallic markers to the eye and forehead decorations, create a colorful patterned background, or cut the colored skull out to make a decorated card and then take a photo to share on DIY.org.
Watch videos on how to draw a sugar skull
HOW TO DRAW A SUGAR SKULL Step by Step Drawing Tutorial for Kids Guided Halloween Dia De Los Muertos
4 Videos
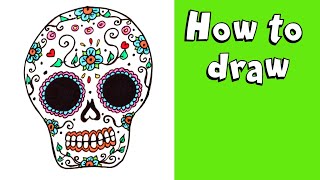
HOW TO DRAW A SUGAR SKULL Step by Step Drawing Tutorial for Kids Guided Halloween Dia De Los Muertos
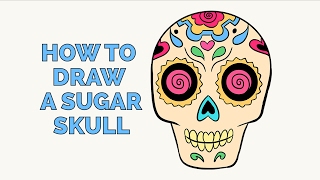
How to Draw a Sugar Skull - Easy Step-by-Step Drawing Tutorial
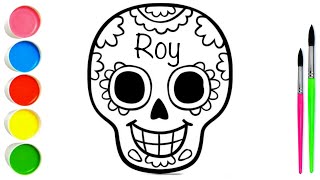
How To Draw A Sugar Skull Easy | Drawing For Kids Step By Step | Coloring Page 1M
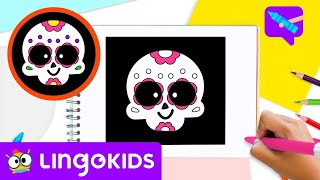
Draw and Color a Skull 💀 | Halloween Art for Kids | Lingokids Crafts
Facts about Day of the Dead art for kids
💀 Sugar skulls (calaveras de azúcar) are traditionally made from sugar or clay and placed on altars to honor loved ones.
🧡 The Day of the Dead is celebrated around November 1–2 and mixes remembrance with bright, joyful decorations and food.
🎨 Sugar skull designs often use bilateral symmetry — the left and right sides mirror each other, which makes them perfect for practicing symmetry.
🌼 Marigolds (cempasúchil) are commonly used in Day of the Dead altars because their bright color and scent are believed to guide spirits.
✍️ It's common to write a person's name on a sugar skull's forehead as a playful, loving tribute on the altar.
How do I teach my child to draw a sugar skull step by step?
What materials do I need to draw and decorate a sugar skull with my child?
What ages is drawing a sugar skull suitable for?
What are the benefits, safety tips, and variations for drawing sugar skulls with kids?
