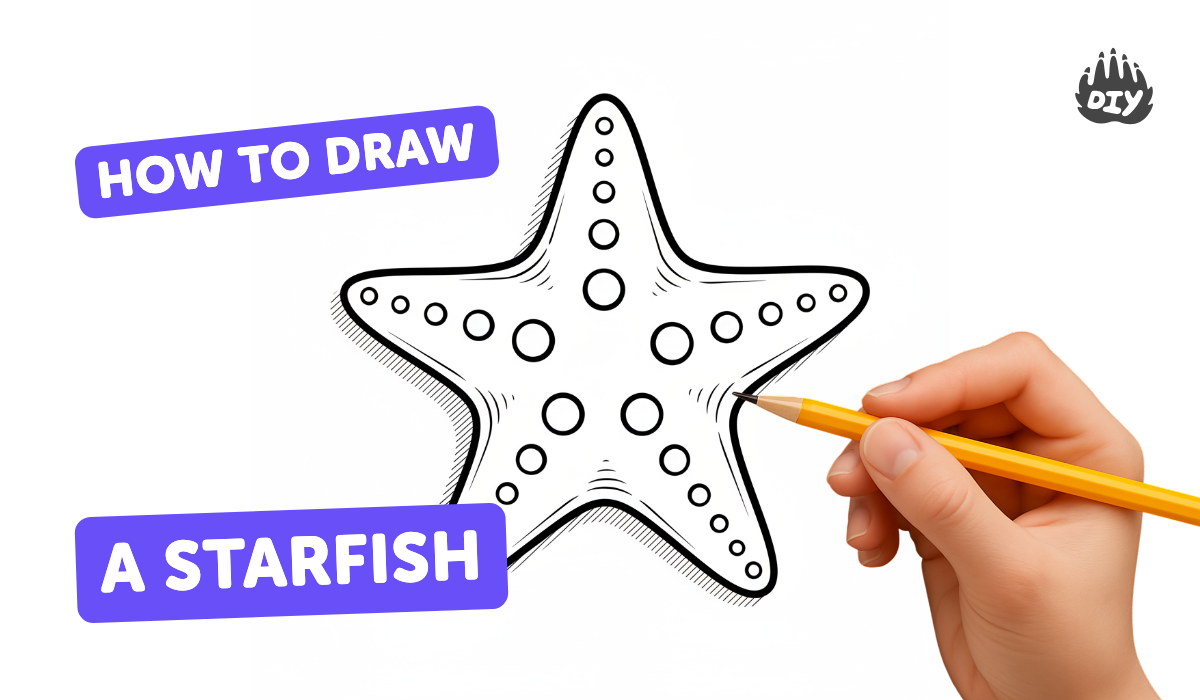
How to draw a starfish - a free starfish drawing guide
Draw a realistic starfish step-by-step using pencil, shapes, and shading. Practice proportions, texture, and coloring to create a lifelike ocean creature.

Drawing Apps
Get inspired with these


Instructions
How to Draw a Starfish | Simple Step-by-Step Tutorial for Kids
Step 1
Place your paper on a flat surface and put your pencil and eraser within reach.
Step 2
Lightly draw a small circle near the center of the paper to mark the starfish center.
Step 3
Use your ruler to draw five light straight lines radiating from the circle like spokes to mark each arm direction.
Step 4
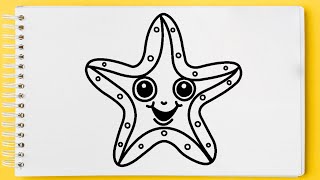
Sketch gently curved tapered outlines around each spoke to form the five arms of the starfish.
Step 5
Adjust any arm by redrawing with light strokes until all five arms look similar in length and shape.
Step 6
Draw a slightly raised center disk where the arms meet to show the starfish body.
Step 7
Add a faint ridge line down the middle of each arm to suggest the top fold of the starfish.
Step 8
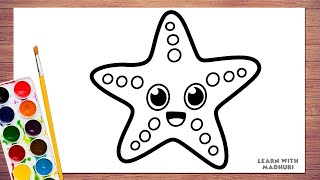
Create small round bumps and short curved strokes across the arms to give the starfish its textured skin.
Step 9
Carefully erase the center spokes and any extra construction lines while keeping your clean outlines and texture.
Step 10
Point to the spot on your paper where the light will come from so you know which side to shade.
Step 11
Shade the sides of each arm opposite the light source using light pencil strokes to show rounded form.
Step 12
Gently blend the shaded areas with a blending stump or tissue to soften the tones.
Step 13
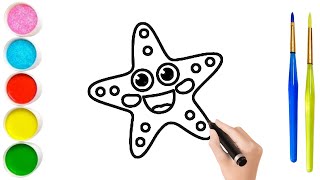
Use a sharper pencil to add darker dots and tiny creases near the bumps for contrast and detail.
Step 14
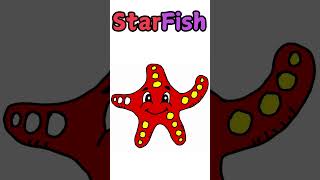
Lightly color your starfish with colored pencils or crayons putting darker colors on shaded areas and lighter colors on the top surfaces.
Step 15
Share your finished starfish drawing on DIY.org so other kids can see your lifelike ocean creature.
Help!?
What can I use instead of a blending stump, ruler, or colored pencils if I don't have them?
If you don't have a blending stump use a rolled tissue or cotton swab to blend the shaded areas in step 12, substitute a straight book edge or piece of cardboard for the ruler in step 3, and use crayons in place of colored pencils for step 14.
My starfish arms look uneven—what should I do?
If arms look uneven after sketching, keep strokes light as in steps 4–5, use the center spokes from step 3 as guides, erase and redraw each arm until lengths match, then clean up construction lines in step 9.
How can I adapt this drawing for younger or older children?
For younger kids pre-draw the center circle and spokes from steps 2–3 and let them trace and add big bumps with crayons, while older kids can emphasize the ridge (step 7), add stippling and dark dots (step 11), and layer colored-pencil shading in step 14 for more realism.
How can we extend or personalize the finished starfish drawing?
To enhance the project, create a sandy or tidepool background using glued craft sand or a light watercolor wash before adding shaded colored-pencil details from step 14, invent unique arm patterns and textures in step 10, and share your variations on DIY.org.
Related videos
Learn to Draw a Cute Starfish Step by Step | Easy Drawing for Kids & Beginners
4 Videos
Learn to Draw a Cute Starfish Step by Step | Easy Drawing for Kids & Beginners
Starfish Drawing Easy for Kids | Simple Starfish Art Tutorial | Tori Drawings
Easy Starfish Drawing for Kids | Step by Step Cute Cartoon Starfish Sketch Tutorial ⭐
How to Draw a Cute Starfish | Easy Drawing for Kids
Fun Facts
🌊 Sea stars (starfish) aren't fish — they're echinoderms and many species have five or more arms.
🔁 Some starfish can regrow a whole body from a single arm if part of the central disc is attached.
🐚 Starfish move with hundreds of tiny tube feet powered by a water vascular system — a cool detail to sketch!
🎨 Shading techniques like chiaroscuro (strong light and shadow) make a flat drawing look three-dimensional.
✨ There are over 1,800 known sea star species with textures from smooth to spiky — great practice for realistic detail.
How do I draw a realistic starfish step-by-step?
What materials do I need to draw a realistic starfish?
What ages is drawing a realistic starfish suitable for?
What are the benefits of drawing a realistic starfish?


