How to draw a spiderweb - a free spiderweb drawing guide
Draw a spiderweb step-by-step using pencil, ruler, and compass. Practice symmetry, spacing, and light shading to create a realistic web.

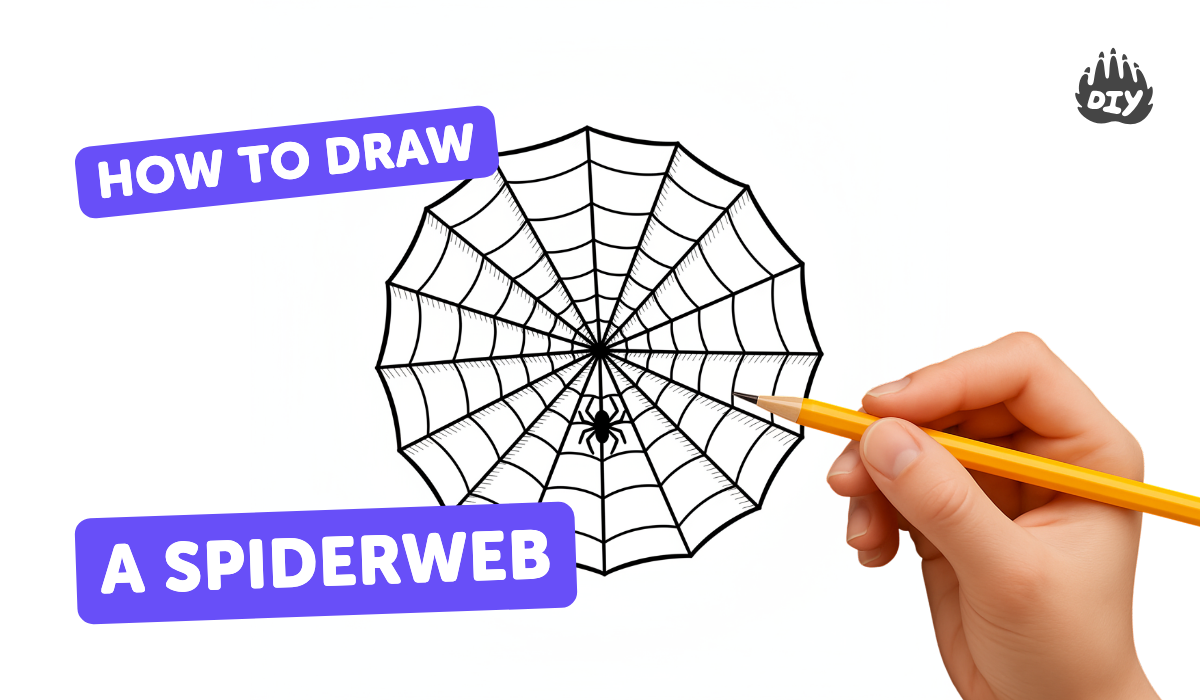
Step-by-step guide to draw a spiderweb with pencil, ruler, and compass
How To Draw A Cartoon Spider And Spider Web
Step 1
Gather your materials and place the paper flat on a table so you can draw comfortably.
Step 2
Make a tiny dot in the center of the paper with your pencil to mark the web’s middle.
Step 3
Use the compass to draw a light small circle centered on the dot.
Step 4
Use the compass to draw a slightly larger light circle concentric with the first one.
Step 5
Draw three more concentric circles, each a little wider, so you have a total of five rings.
Step 6
With the ruler, lightly draw 8 straight lines from the center out to the outermost circle like spokes.
Step 7
Add two more spokes evenly spaced so you have 10 spokes total for better symmetry.
Step 8
On the innermost ring, draw small curved segments between each pair of adjacent spokes to form the inner web ring.
Step 9
Repeat drawing curved segments on each outer ring until every ring is connected between spokes.
Step 10
Erase the leftover full circles so only the curved web lines and the spokes stay visible.
Step 11
Darken a few spokes and web arcs with your pencil to add depth to the web.
Step 12
Shade lightly between some strands with soft pencil strokes to give the web a shiny and realistic look.
Step 13
Take a photo of your finished spiderweb and share your creation on DIY.org.
Help!?
What can we use instead of a compass if we don't have one?
If you don't have a compass, trace around different-sized round objects (bottle caps, jars, or bowls) or tie a string to your pencil and anchor it at the center dot to draw the concentric circles required by the 'Use the compass to draw' steps.
My spokes or rings look uneven—how can I fix this without starting over?
If the 10 spokes or concentric rings are uneven, lightly redraw centered guide lines with your ruler from the center dot and carefully erase only the full construction circles with a kneaded eraser as instructed so the curved web arcs stay intact.
How can I adapt this spiderweb activity for different ages?
For preschoolers, pre-draw the circles and spokes on the paper and let them add curved segments and simple shading, while older kids can add more rings, use a protractor for exact 10-spoke spacing, and follow the 'Darken a few spokes' and shading steps for realism.
What are some ways to enhance or personalize the finished spiderweb?
To personalize the web, add a small drawn spider on an inner ring, experiment with light pencil shading between strands and darker highlights on selected spokes as the instructions suggest, or paint a colored background before taking the photo to share on DIY.org.
Watch videos on how to draw a spiderweb with pencil, ruler, and compass
How To Make A Spider Drawing
4 Videos
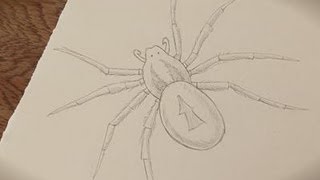
How To Make A Spider Drawing

How To Sketch A Spider Web
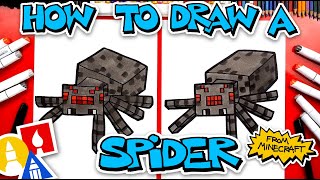
How To Draw A Minecraft Spider
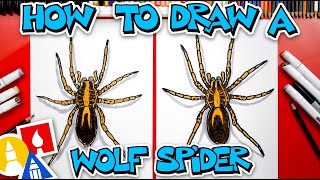
How To Draw A Wolf Spider
Facts about drawing and geometry for kids
🕸️ Many spider webs are orb-shaped and made of dozens of radial spokes with spiral threads between them.
🕷️ Some spiders eat and recycle their web each day to reclaim protein and spin a fresh web overnight.
💪 Spider silk can be stronger by weight than steel and is tougher than many synthetic fibers like Kevlar.
📏 Using a compass and ruler helps you make precise radial lines and evenly spaced concentric arcs for perfect symmetry.
🎨 Light shading and changing line weight make a flat web look three-dimensional and realistic on paper.
How do I draw a spiderweb step-by-step using a pencil, ruler, and compass?
What materials and tools do I need to draw a spiderweb?
What ages is drawing a spiderweb suitable for?
What are the benefits of drawing spiderwebs for kids?
