How to draw a snow man - a free snow man drawing guide
Draw a friendly snowman step by step using circles, coal eyes, a carrot nose, hat, scarf, and shading; practice proportions and simple drawing techniques.

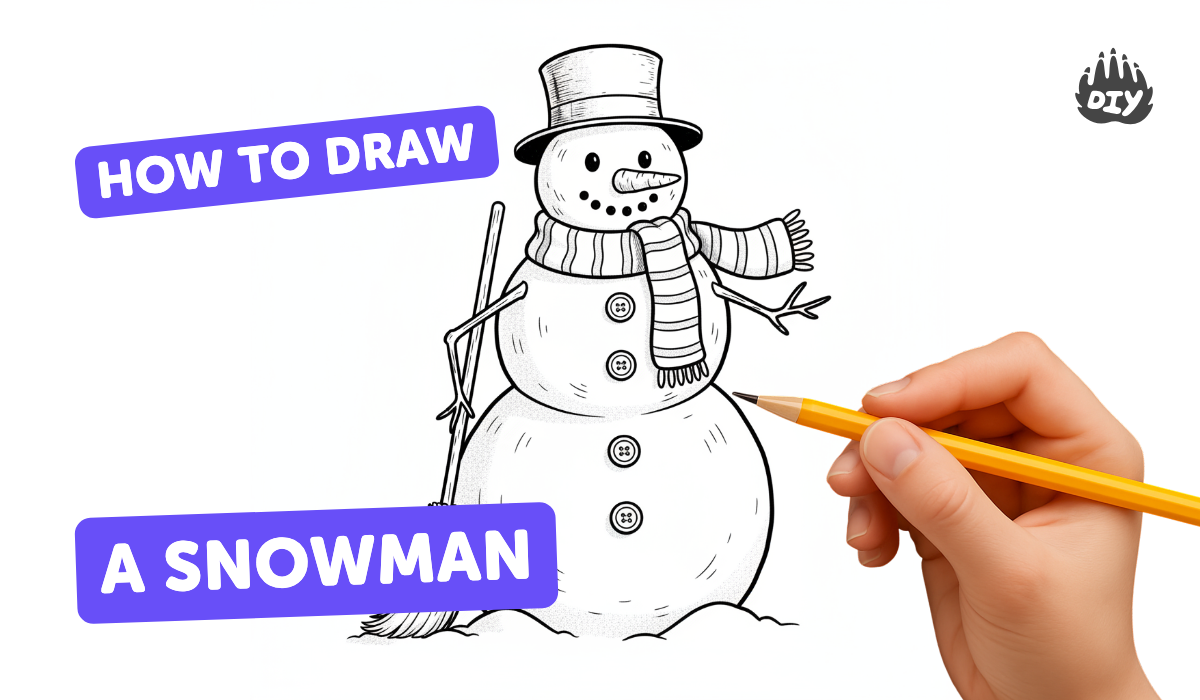
Step-by-step guide to draw a friendly snowman
How To Draw A Snowman
Step 1
Gather the materials listed and place them on a flat surface.
Step 2
Lightly draw three stacked circles: small for the head medium for the chest and large for the base.
Step 3
Check the sizes and erase or redraw any circle until the proportions look like three snowballs stacked.
Step 4
Draw two small round coal eyes on the top circle.
Step 5
Draw a row of tiny coal dots for a smiling mouth below the eyes.
Step 6
Draw a carrot nose as a small triangle pointing to one side from the middle of the face.
Step 7
Draw a hat by sketching a brim across the top of the head and a shape above it for the hat top.
Step 8
Draw a scarf band around the neck area and two scarf tails hanging down.
Step 9
Draw three round buttons down the front of the middle circle.
Step 10
Draw two stick arms coming out from the sides of the middle circle using jagged branch-like lines.
Step 11
Lightly shade one side of each circle with your pencil to show shadow and make the snowman look round.
Step 12
Gently blend the shaded areas with a tissue to soften the pencil marks.
Step 13
Trace your final lines with a black marker and colour the hat scarf carrot and buttons with your colouring materials.
Step 14
Share your finished drawing on DIY.org
Help!?
What can we use if we don't have a black marker or colouring materials?
If you don't have a black marker, trace your final lines with a sharpened dark pencil or fine-tip pen and substitute colouring materials with crayons, coloured pencils, or glued cut paper for the hat, scarf, carrot, and buttons.
My circles look uneven or my shading smudges—how do I fix those problems?
Follow the instruction to lightly draw the three stacked circles and erase/redraw until proportions look right, shade one side lightly with your pencil, gently blend with a tissue, and use a kneaded eraser to lift excess graphite before tracing with marker to avoid smudges.
How can I adapt this activity for younger or older kids?
For younger children, pre-draw or trace the three stacked circles and let them place sticker coal eyes and buttons and colour the hat and scarf with crayons, while older kids can add detailed pencil shading, textured jagged stick arms, hat patterns, and multiple snowpeople.
How can we personalize or extend the snowman drawing?
Personalize it by adding hat decorations, patterned scarves, different arm styles, a snowman family using additional stacked circles, or a winter background with falling snow and trees before sharing your finished drawing on DIY.org.
Watch videos on how to draw a friendly snowman
How to Draw a Snowman Step by Step - Easy and Educational Drawings for Kids
4 Videos
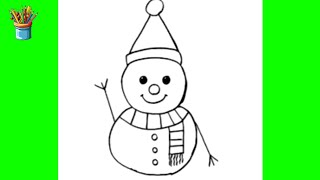
How to Draw a Snowman Step by Step - Easy and Educational Drawings for Kids
How to Draw a Snowman | Easy Step-by-Step Tutorial
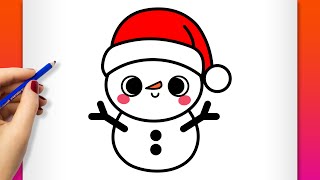
Easy Drawing a Snowman Step By Step | BittyBrush For Kids
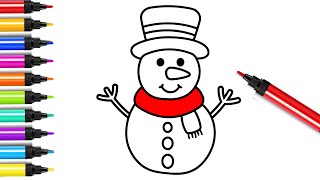
How to Draw & Color a Snowman | Easy Winter Art for Kids
Facts about drawing for kids
⛄ Snowmen are usually made with three stacked snowballs — big for the body, medium for the torso, and small for the head.
🥕 The carrot nose became a popular snowman feature because carrots are easy to push into snow and add a bright splash of color.
🪨 Before buttons and coal, people used pebbles and bits of wood for eyes and mouths when building snowmen.
🎩 The top hat is a classic snowman accessory thanks to Victorian-era illustrations and songs that popularized the look.
✏️ Using shading and correct circle proportions can make a flat drawing look round and 3D — perfect for a friendly snowman!
How do I draw a friendly snowman step by step?
What materials do I need to draw a snowman?
What ages is this snowman drawing activity suitable for?
What are the benefits and variations of drawing a snowman?
