How to draw a slide - a free slide drawing guide
Draw a playground slide step by step, measuring proportions, sketching supports, and adding shading to create a realistic colored illustration. Follow each stage carefully.


Drawing Apps
Photos of playground slide drawings


Step-by-step guide to draw a playground slide
How to Draw a Kids Playground Slide | Easy Step by Step Tutorial | Made for Kids
Step 1
Place your paper landscape and draw a straight ground line across the bottom with your ruler.
Step 2
Use your ruler to mark a high point near the left top area and a lower point toward the right to set the slide's height and length.
Step 3
Draw a small rectangle at the high point to make the top platform of the slide.
Step 4
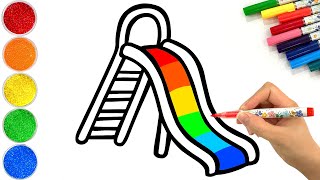
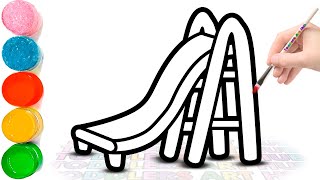
From the platform edge draw two parallel curved lines down to the lower point to form the slide surface.
Step 5
Draw thin rails along the top edges of the slide following the curved lines.
Step 6
Sketch two strong support legs from the platform down to the ground line so the slide looks steady.
Step 7
Draw evenly spaced horizontal rungs between the legs to make the ladder.
Step 8
Add small circles or short lines where the supports meet the platform to show bolted joints.
Step 9
Lightly erase extra construction marks so your slide looks clean.
Step 10
Go over the final important lines darker with your pencil to make the drawing clear.
Step 11
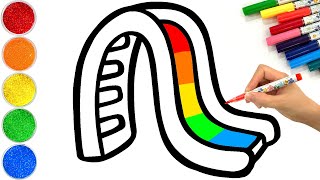
Fill in flat base colours on the slide and supports using your colouring materials.
Step 12
Add shading with a slightly darker colour under the slide curve and on the side away from your imaginary light to make it look 3D.
Step 13
Add small highlights with a lighter pencil or erase tiny spots for shine then share your finished slide on DIY.org
Help!?
What can we use if we don't have a ruler or colouring pencils listed in the instructions?
If you don't have a ruler, use a straight-edged book or the side of a cereal box to draw the ground line and mark the high and low points, and substitute markers or crayons for the colouring materials when filling in base colours.
What should we do if the two curved slide lines look uneven or cross each other?
If the two curved slide lines don't stay parallel, draw a faint centerline from the platform to the lower point and measure equal offsets with your ruler before darkening the final curves.
How can we adapt the activity for younger children or make it more challenging for older kids?
For preschoolers, pre-draw the platform, slide curve, and ladder rungs for them to trace and colour, while older kids can add the 3D shading under the slide curve, bolt-circle details at the supports, and neater base-colour fills.
How can we extend or personalise the slide drawing once it's finished?
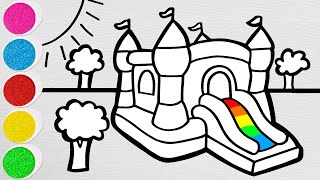
To extend the project, draw a park background, add colourful patterns to the slide, include a child on the slide, and use the lighter pencil highlights and slightly darker shading under the slide curve described in the instructions before sharing on DIY.org.
Watch videos on how to draw a playground slide
How to Draw a Playground Slide | Easy Step by Step Tutorial | Made for Kids
4 Videos
How to Draw a Playground Slide | Easy Step by Step Tutorial | Made for Kids
How to Draw a Playground Slide | Easy Step by Step Tutorial | Made for Kids
How To Draw A Playground With Slide | Slide Drawing | Easy Step byStep
How to Draw Children's Playground Slider | How to Draw Child Park
Facts about drawing for kids
🛝 Plastic playground slides became popular in the mid-20th century because they were smoother and safer than metal ones.
🎨 Chiaroscuro is an art technique that uses strong contrasts between light and dark to make drawings look three-dimensional.
📐 Artists often measure proportions by holding a pencil at arm's length — a simple trick used for centuries to keep sizes accurate.
✏️ Professionals start with loose sketches so they can fix shapes quickly before committing to final lines and color.
🌈 Just one consistent light source and gentle shading can make a flat colored slide look shiny, curved, and realistic.
How do I draw a realistic playground slide step by step, including proportions and shading?
What materials do I need to draw a playground slide with accurate proportions and realistic shading?
What ages is this playground slide drawing activity suitable for?
What are the benefits of having children draw a playground slide step by step?
