How to draw a shrimp - a free shrimp drawing guide
Learn to draw a shrimp step by step using simple shapes, lines, and shading. Practice observation, proportion, and adding details like antennae and legs.

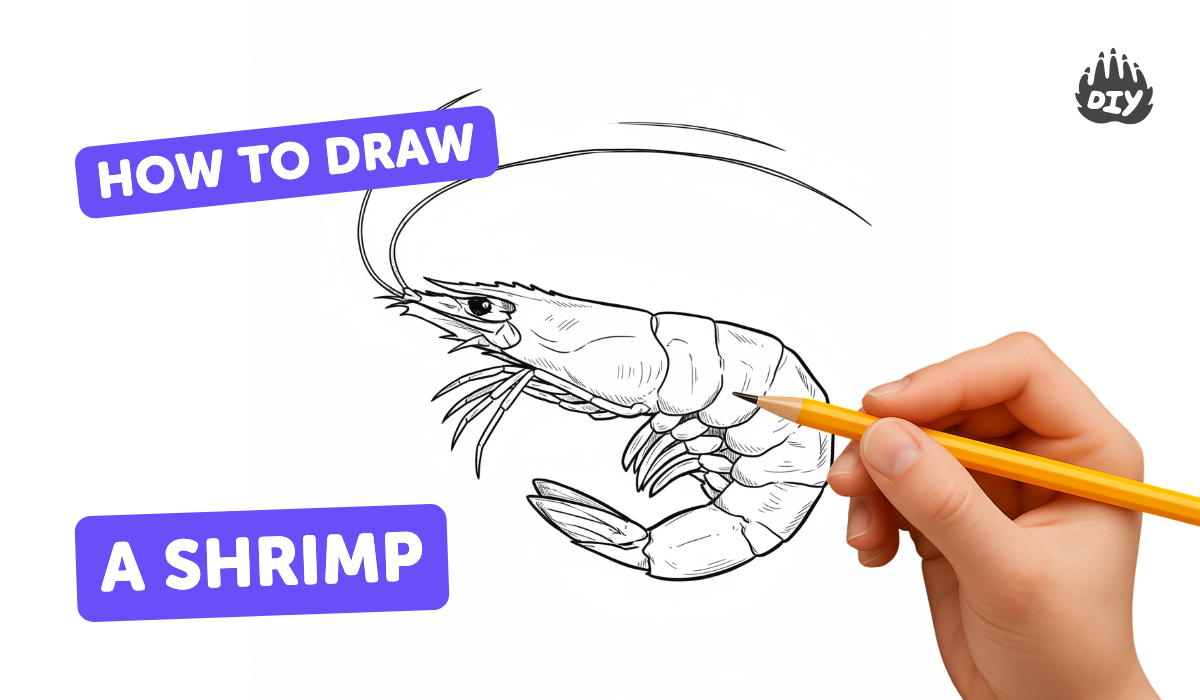
Step-by-step guide to draw a shrimp
HOW TO DRAW SHRIMP for kids : Step by step easy drawing tutorial
Step 1
Gather your paper pencil eraser sharpener and colouring materials.
Step 2
Lightly draw a gentle S-shaped curve across the paper to make the shrimp's center line.
Step 3
Near the front end of the S draw a small rounded oval for the shrimp's head.
Step 4
Draw a long curved outline around the S from the head toward the back to form the shrimp's body.
Step 5
Add three to five short curved lines across the body to show the segments.
Step 6
Draw a fan-shaped tail at the back using a few short curved shapes.
Step 7
Draw two long thin curved antennae from the head that reach past the body.
Step 8
Draw small thin curved legs under each body segment.
Step 9
Draw a small round eye near the front of the head.
Step 10
Add a short pointed rostrum (a little beak) extending forward above the eye.
Step 11
Erase the light S guide line and any extra sketch marks to clean up your drawing.
Step 12
Shade the segments with light pencil strokes to show roundness.
Step 13
Color your shrimp with your colouring materials using light layers for texture.
Step 14
Take a photo of your finished shrimp and share it on DIY.org.
Help!?
What can we use if we don't have a pencil, eraser, sharpener, or colouring materials?
If you don't have a pencil or sharpener, use a ballpoint pen or marker for the S guide and outline, swap an eraser for correction tape or draw very lightly, and substitute crayons, colored pencils, or watercolor paints for the colouring materials while still applying light layers for texture.
What should I do if my S guide line is too dark or my shrimp's segments look flat?
If the S guide is too dark, carefully erase it after you finish the outline as the instructions say, and make the segments look rounder by adding light pencil strokes across each segment and gently smudging with your finger or a blending stump.
How can I adapt this drawing activity for different age groups?
For younger kids simplify by drawing a big S, a single curved body and a fan-shaped tail they can color with crayons, while older kids can add three to five detailed segments, thin curved legs, a pointed rostrum, and practice shading and light layering before photographing for DIY.org.
How can we extend or personalize the shrimp drawing once it's finished?
Personalize your shrimp by adding spots or stripes on the body, drawing a coral reef background with your colouring materials, trying watercolor washes or metallic pens for highlights, and then take the photo as instructed to share on DIY.org.
Watch videos on how to draw a shrimp
How To Draw A Shrimp - Fun & Easy Step-By-Step Drawing and Coloring Guide
4 Videos
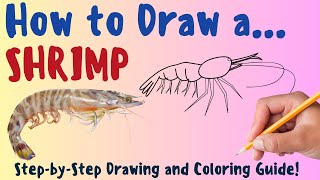
How To Draw A Shrimp - Fun & Easy Step-By-Step Drawing and Coloring Guide
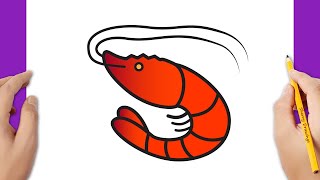
How to draw a shrimp easy

How to Draw a Shrimp Step by Step
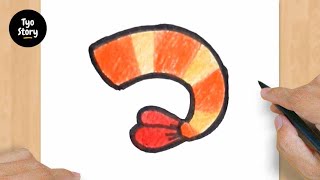
#457 How to Draw a Shrimp - Easy Drawing Tutorial
Facts about animal drawing for kids
🦐 Shrimp have a segmented body (head, thorax, abdomen) — perfect for breaking a drawing into simple shapes!
👁️ Many shrimp have compound eyes on little stalks — drawing the stalks helps them look lively.
🐾 Shrimp are decapods, which means they usually have 10 legs you can sketch in pairs for correct proportion.
🎨 The mantis shrimp sees far more colors than people — a fun reminder to play with bright colors when coloring your drawing.
🔁 Shrimp molt their hard shells as they grow, creating overlapping plates you can show with curved lines and shading.
How do I teach my child to draw a shrimp step by step?
What materials do I need to draw a shrimp with my child?
What ages is drawing a shrimp suitable for?
What are the benefits of learning to draw a shrimp?
