How to draw a shell - a free shell drawing guide
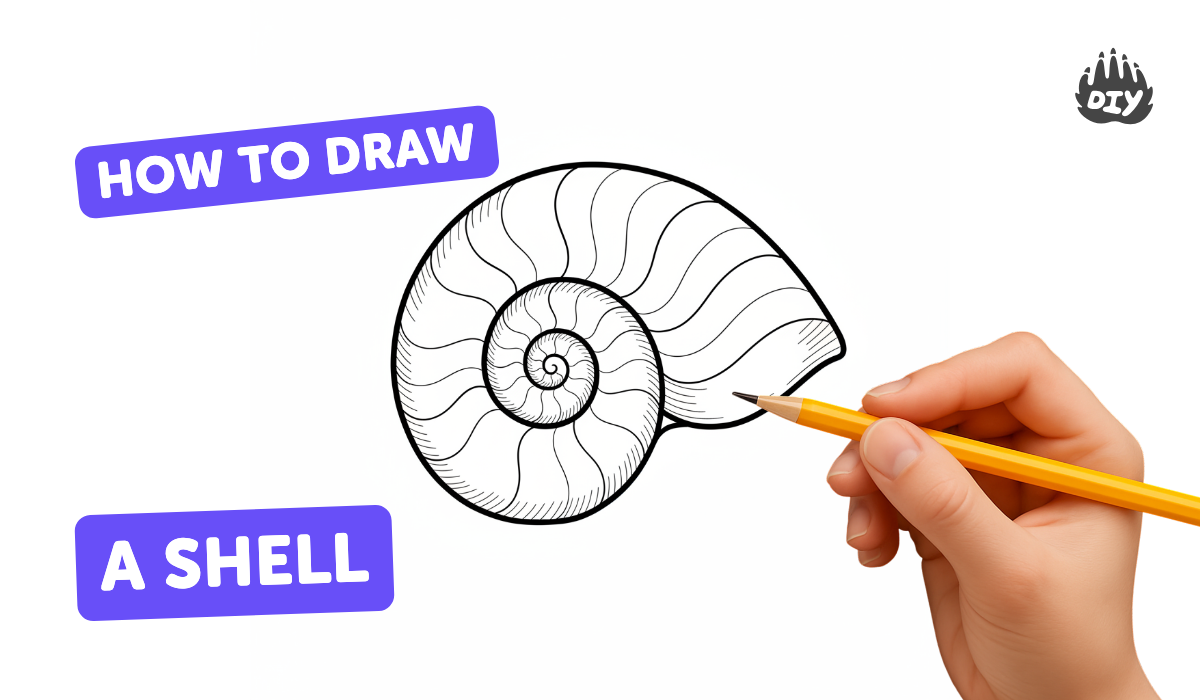
Draw a spiral seashell using pencil, curved guide lines, and shading. Practice observation, proportion, and depth through step-by-step sketching and coloring.

Drawing Apps
Photos of spiral seashell drawings


Step-by-step guide to draw a spiral seashell
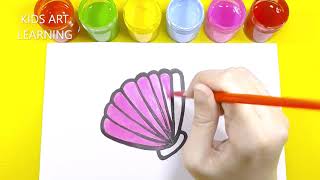
How To Draw A Seashell 🐚 Very Easy For Kids Drawing & Coloring Tutorial
Step 1
Gather your materials and place them on a flat table so everything is easy to reach.
Step 2
Look closely at your seashell photo or a real shell to notice its spiral shape and where the light hits it.
Step 3
Lightly draw a small circle near the center of your paper to mark the spiral’s starting point.
Step 4
From the circle draw a light spiral curve that grows outward with smooth curved strokes.
Step 5
Draw the outer shell outline around the spiral as a teardrop or cone shape that fits the spiral inside.
Step 6
Add several gentle curved growth lines that follow the spiral from the center to the outer edge.
Step 7
Erase any extra guide lines so the spiral and outer shape look neat.
Step 8
Draw curved ridge lines across the shell following the growth lines to add texture.
Step 9
Decide where the light is coming from so you know which parts will be brighter and which will be shaded.
Step 10
Shade the inner coils and the areas under each ridge darker to show depth and shadow.
Step 11
Blend the shaded areas gently with a blending stump or cotton bud to make smooth shadows.
Step 12
Color the shell with soft strokes that follow the curves if you want to add color.
Step 13
Use your eraser to lift tiny highlights along the ridges and clean up any smudges.
Step 14
Take a photo of your finished spiral seashell and share your creation on DIY.org.
Help!?
What can I use instead of a blending stump or cotton bud if I don't have one?
If you don't have a blending stump or cotton bud for step 11, use a clean tissue, a fingertip, or a soft piece of fabric to gently blend the shaded areas.
My spiral looks uneven or wobbly—how can I fix it?
If the spiral in step 4 is wobbly, lightly erase and redraw with several short, smooth curved strokes while rotating the paper and using the small circle from step 3 as a guide to keep the shape even.
How can I adjust this drawing activity for younger kids or older kids?
For younger kids simplify by making the starting circle in step 3 bigger, using crayons and skipping blending in step 11, and for older kids add more ridge detail in step 7, layered shading in steps 9–11, and finer color texture in step 12.
How can we personalize or extend the finished seashell drawing before sharing it on DIY.org?
Before taking the photo in step 13, personalize the piece by adding a sandy or underwater background with watercolor or colored pencil, include extra shells or sea creatures using the same spiral technique from step 4, and lift tiny highlights with the eraser from step 11 for extra realism.
Watch videos on how to draw a spiral seashell
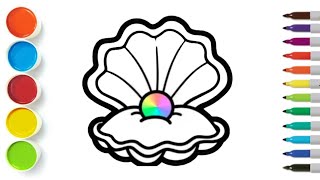
🐚✏️How to Draw Gorgeous Seashells🦪 | Easy Step-by-Step for Kids | Chiki Doodle
4 Videos

🐚✏️How to Draw Gorgeous Seashells🦪 | Easy Step-by-Step for Kids | Chiki Doodle
How To Draw A Seashell | Easy Drawing Step By Step 😊
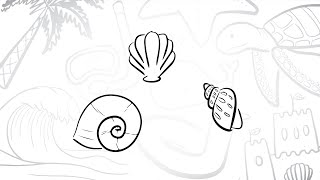
🐚 How To Draw Some Simple Seashells | Step-by-Step Lesson ✏️
How to Draw Sea Shell || Step by Step Drawing for Kids || Friends With Brushes
Facts about drawing and shading techniques
🐚 Seashells are made by animals called mollusks — the shell grows with the animal and protects it.
🌀 Many seashells follow a logarithmic spiral, so the shell keeps the same shape as it gets bigger.
📏 The spiral patterns in some shells are related to the Fibonacci sequence, a math pattern often seen in nature.
✏️ Artists use pencil grades (H = lighter, B = darker); softer B pencils are great for deep, velvety shadows on shells.
👀 Drawing from observation trains your eye — regular sketching improves proportion, detail, and depth perception fast.
How do you draw a spiral seashell step by step?
What materials do I need to draw a spiral seashell?
What ages is drawing a spiral seashell suitable for?
What are the benefits, safety tips, and variations for drawing seashells?
