How to draw a sea otter - a free sea otter drawing guide
Draw a friendly sea otter step-by-step using simple shapes, lines, shading, and textures. Practice observation, proportions, and adding fur details.

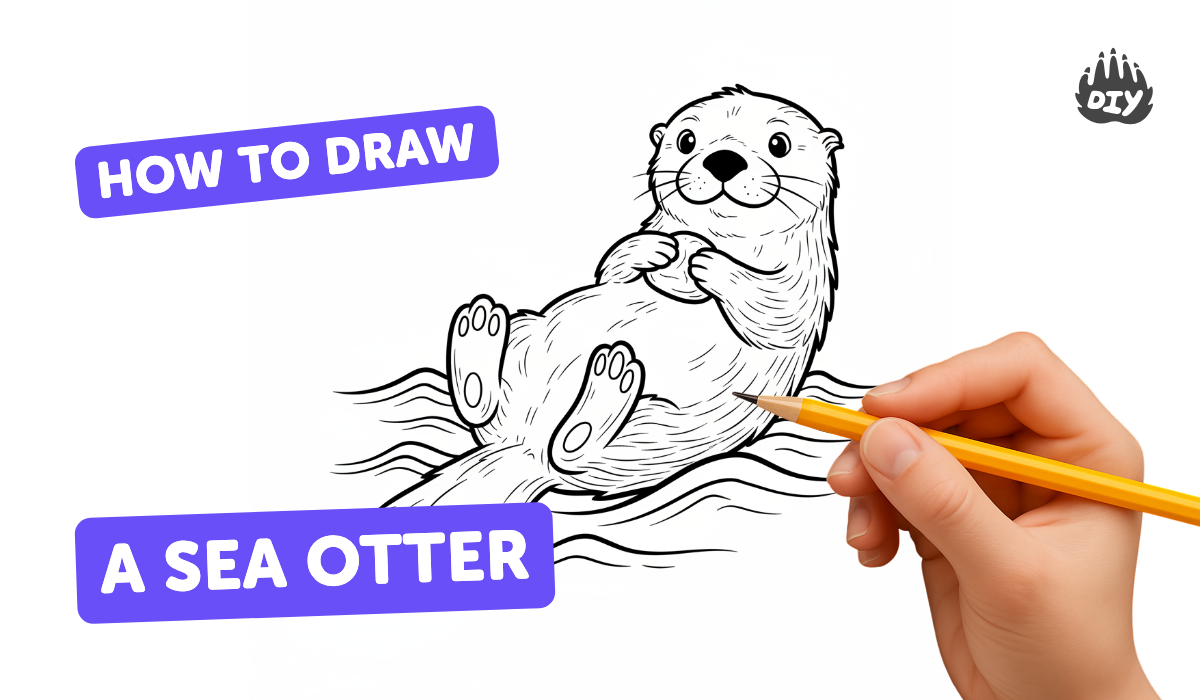
Step-by-step guide to draw a sea otter
How to draw a cute sea otter easy
Step 1
Find a clean flat table and place your paper and pencil in front of you so you are ready to draw.
Step 2
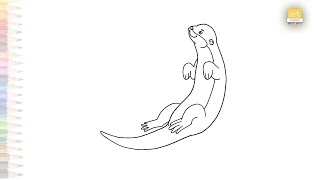
Lightly sketch the otter’s basic shapes by drawing a big horizontal oval for the body and a smaller circle that touches the top of the oval for the head.
Step 3
Draw a light vertical line and a light horizontal line across the head circle to make simple guidelines for the face.
Step 4
Using the guidelines draw the facial features by adding two small round eyes a small rounded triangle nose and a short curved line for the mouth.
Step 5
Add two small rounded ear shapes on top of the head one on each side.
Step 6
Draw three short curved whisker lines on each side of the snout.
Step 7
Sketch the front paws by drawing two mitten shaped paws near the front of the body overlapping the oval a little.
Step 8
Draw the back flippers and a short tail at the rear of the body using rounded flipper shapes.
Step 9
Add fur texture by making lots of short curved strokes following the direction of the body’s fur.
Step 10
Shade the belly the underside of the head and under the paws with light pencil strokes to make soft shadows.
Step 11
Trace the final important lines with a darker pencil or a black pen to make your otter stand out.
Step 12
Gently erase the light guidelines and any stray pencil marks so your otter looks neat.
Step 13
Colour your sea otter using brown and cream tones and add darker patches for contrast and the eyes and nose.
Step 14
Share your finished sea otter drawing on DIY.org
Help!?
What can we use if we don’t have a black pen or brown/cream colors for the sea otter?
Use a darker graphite pencil or a fine-tip marker to trace the final important lines and substitute brown/cream tones with crayons, colored markers, or watercolor when you colour the sea otter, still shading the belly and under the paws with light strokes.
My otter looks lopsided or the head doesn't sit right on the body — how can I fix it?
Lightly erase and re-sketch the big horizontal oval and the smaller circle so the circle touches the top of the oval, then redraw the light vertical and horizontal guidelines on the head to correctly place the eyes, nose, and mouth while keeping strokes light for easy erasing.
How can I adapt this drawing activity for younger or older children?
For younger children simplify step 2 by tracing a template oval and circle and let them use crayons, for school-age kids follow all steps including short curved fur strokes and light shading under the paws, and for older kids add finer fur texture and stronger contrast when tracing the final lines.
How can we extend or personalize the sea otter drawing once it’s finished?
After erasing guidelines and colouring your otter, personalize it by adding a kelp forest or rocks in the background, giving the otter a shell or toy between its mitten-shaped paws, experimenting with mixed media like watercolor washes before tracing, or scanning and sharing your finished sea otter on DIY.org.
Watch videos on how to draw a sea otter
How to Draw a Cute Sea Otter Underwater | Easy Drawing for Kids🌊
4 Videos
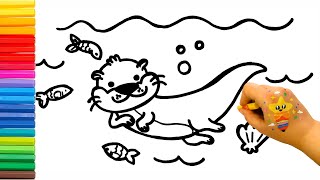
How to Draw a Cute Sea Otter Underwater | Easy Drawing for Kids🌊
How to Draw an Otter | Fun & Easy Step-by-Step Tutorial for Kids | Doodle Dreamers
How to draw a sea otter easy step by step
Sea Otter drawing video | Animal drawing tutorials | How to draw A Otter step by step | #artjanag
Facts about animal drawing for kids
🦦 Sea otters have the densest fur of any mammal — up to about 1 million hairs per square inch to keep them warm in cold water.
🎨 Many artists begin by blocking in simple shapes (circles, ovals, rectangles) to get proportions right before adding details.
🪨 Sea otters float on their backs and famously use rocks as tools to crack open shellfish, sometimes keeping a favorite rock in a pouch under their arm.
📏 Adult sea otters are roughly 4–5 feet long (1.2–1.5 meters), a handy size reference when scaling your drawing.
🌊 Sea otters are a keystone species that help protect kelp forests by eating sea urchins — a great idea for drawing a natural background.
How do I draw a friendly sea otter step-by-step?
What materials do I need to draw a sea otter with kids?
What ages is drawing a sea otter suitable for?
What are the benefits of teaching kids to draw a sea otter?
