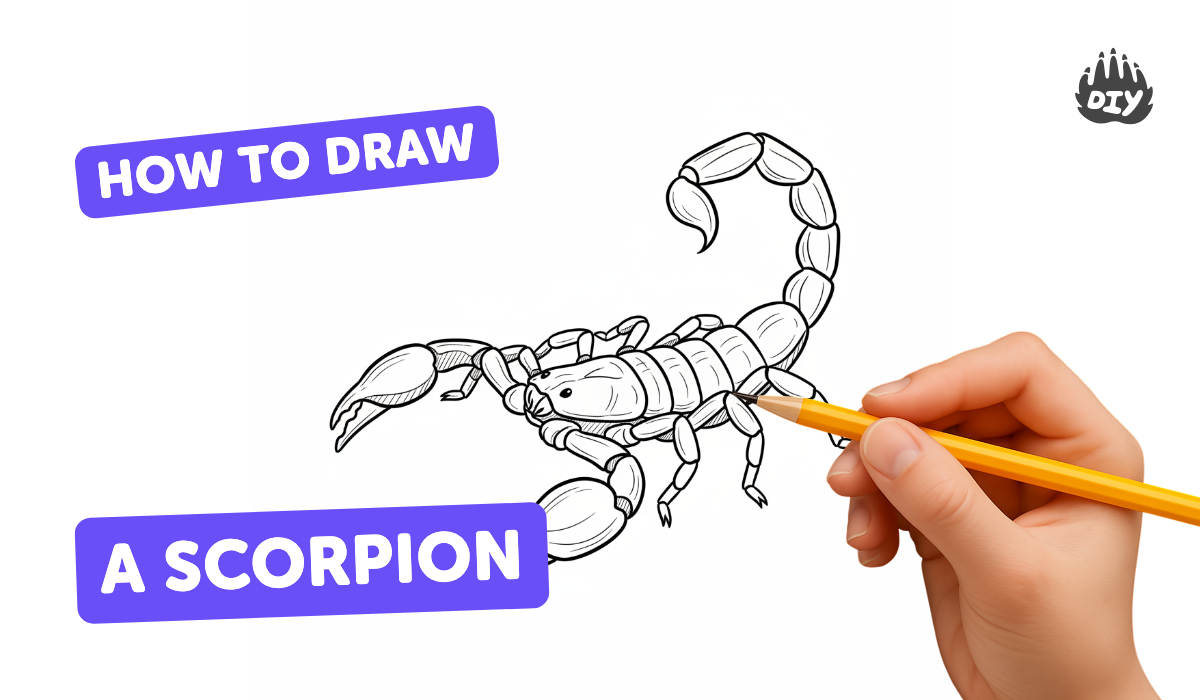
How to draw a scorpion - a free scorpion drawing guide
Draw a realistic scorpion step by step using simple shapes, shading, and texture techniques. Practice observation, proportion, and safe fine motor control.

Drawing Apps
Photos of realistic scorpion drawings


Step-by-step guide to draw a realistic scorpion
How To Draw A Scorpion (for kids)
Step 1
Find a clean flat workspace and place your paper and pencil within easy reach.
Step 2
Study a scorpion photo for one minute and notice its main parts like the pincers segmented body and curved tail.
Step 3
Lightly draw a small rounded head at the front of the page where your scorpion will face.
Step 4
Draw a light oval behind the head to show the main body where the segments will go.
Step 5
Sketch a curved line extending from the back of the oval to mark the center line of the tail.
Step 6
Divide the oval into six sections with gentle curved lines to create the scorpion’s segmented abdomen.
Step 7
Draw four pairs of jointed legs on each side using three short line segments per leg and angle them outward.
Step 8
Add two teardrop-shaped pincers attached to short arms at the front near the head.
Step 9
Along the curved tail line draw a row of tapering rounded tail segments that get smaller toward the tip.
Step 10
Finish the tail with a hooked stinger shape at the end.
Step 11
Go over the lines you like with slightly darker pencil strokes and erase extra construction marks.
Step 12
Add texture by drawing short curved strokes and tiny bumps along the segments and pincers.
Step 13
Decide where your light is coming from and gently shade the opposite sides of each segment and under the body to create form.
Step 14
Use a tissue or cotton swab to softly blend shaded areas and add tiny hair and joint details for realism.
Step 15
If you want, lightly add colour following your shading then share your finished scorpion on DIY.org.
Help!?
What can we use instead of a tissue or cotton swab for blending if we don't have one?
Use a clean finger, a folded piece of paper towel, or a blending stump to softly blend shaded areas as described in the 'Use a tissue or cotton swab to softly blend shaded areas' step.
My scorpion's legs look stiff—how can I make them look properly jointed like in step 6?
Redraw each leg following step 6 with three short angled line segments per leg, curve the middle segment slightly, angle the legs outward, and erase extra construction marks so they appear jointed.
How can I adapt this drawing activity for younger or older children?
For younger children, simplify by tracing or drawing only the head, one oval body, and a curved tail, while older kids can complete all steps including dividing the oval into six segments, adding texture strokes, shading, and blending with a tissue or cotton swab.
What are easy ways to personalize or improve my scorpion beyond the basic instructions?
Personalize your scorpion by choosing a color palette before light shading, adding a desert or rock background, emphasizing tiny hair and joint details from the texture step, and optionally sharing the finished drawing on DIY.org.
Watch videos on how to draw a realistic scorpion
How To Draw A Scorpion
4 Videos
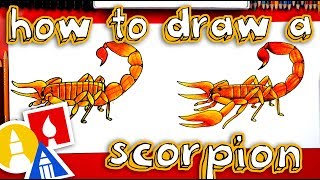
How To Draw A Scorpion
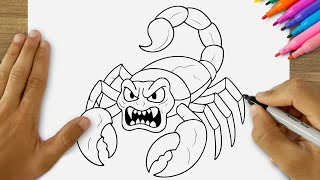
How to Draw a Scorpion | Easy Step by Step Scorpion Drawing for Beginners

How to draw a scorpion easy step by step
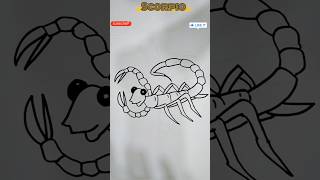
🦂 Easy Scorpion Drawing & Coloring | Step by Step for Kids #scorpio #trending #drawingforkids
Facts about drawing techniques for kids
🦂 Scorpions have existed for over 400 million years — they're older than dinosaurs!
👀 Scorpions glow blue-green under ultraviolet light because chemicals in their exoskeleton fluoresce.
✏️ Cross-hatching uses layers of intersecting lines to build up shadow and texture in drawings.
🎨 Chiaroscuro is the art technique of strong light and dark contrasts that makes drawings look 3D.
🦴 A scorpion's tail (metasoma) has five segments before the stinger — handy to count for correct proportions.
How do I teach my child to draw a realistic scorpion step by step?
What materials do I need to draw a realistic scorpion with my child?
What ages is drawing a realistic scorpion suitable for?
What are the benefits of practicing realistic scorpion drawing with kids?
