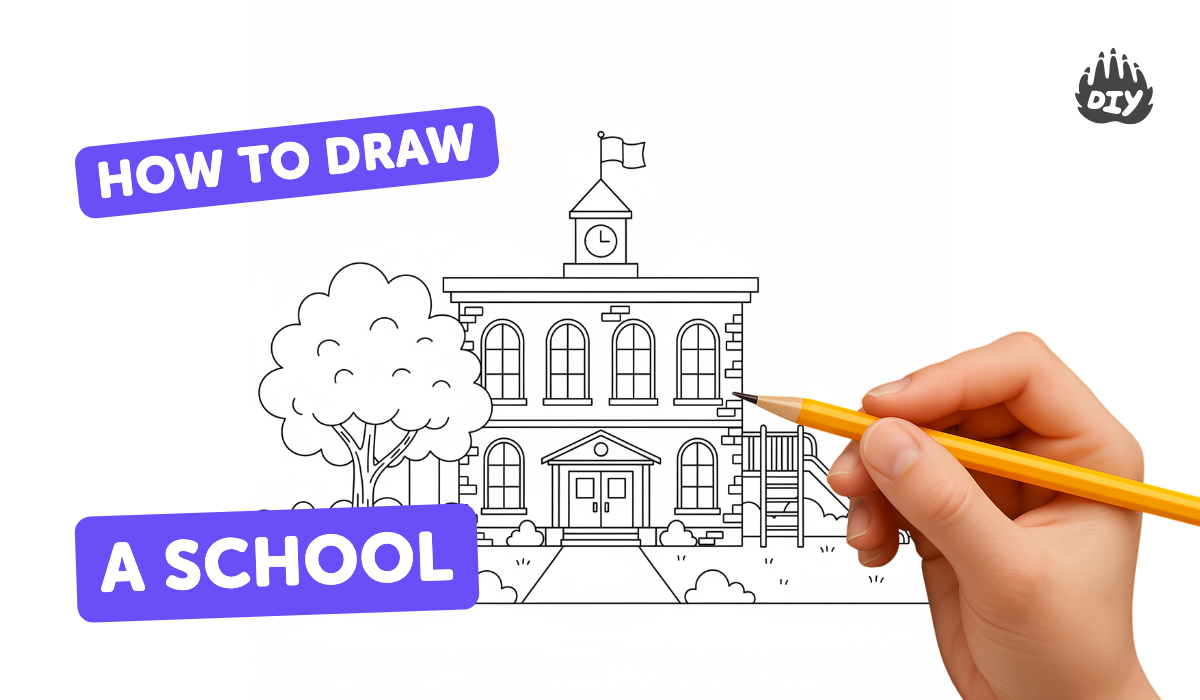
How to draw a school - a free school drawing guide
Draw a complete school scene using shapes: create the building, windows, doors, roof, and playground; practice proportion, perspective, and basic shading.

Drawing Apps
Get inspired with these


Instructions
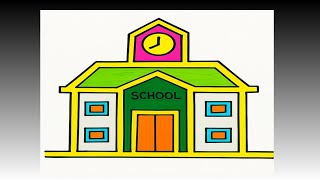
Easy School Drawing for Kids 🏫✏️ | Step By Step Drawing | Chiki Art | HooplaKidz How To
Step 1
Gather your materials and place them where you can reach them
Step 2
Lightly draw a horizontal horizon line across the page about one third from the top
Step 3
Mark a single vanishing point somewhere on the horizon line to use for perspective
Step 4
Lightly draw a large rectangle near the bottom of the page for the front face of the school building
Step 5
Draw a roof shape on top of the rectangle using a triangle or a slanted rectangle
Step 6
Draw a rectangle for the front door at the bottom center of the building
Step 7
Draw a few parallel horizontal lines in front of the door to make steps leading up to it
Step 8
Draw evenly spaced rectangle windows on the building face using the ruler to keep sizes similar
Step 9
Draw faint guide lines from the building edges and window sides toward the vanishing point to show depth
Step 10
Draw playground items like a slide and a swing beside the building using simple shapes
Step 11
Point to one side of the page to decide where your light source is coming from
Step 12
Shade the building sides the roof and playground parts that face away from the light using gentle pencil strokes
Step 13
Trace the important final lines with the black marker or dark pencil to make your drawing pop
Step 14
Erase the faint guide lines and any extra pencil marks you no longer need
Step 15
Share your finished school scene on DIY.org
Help!?
What can I use if I don't have a ruler or a black marker?
Use the straight edge of a hardcover book or a credit card to draw the front rectangle and guide lines, and substitute a dark colored pencil or fine-tip pen for the black marker when tracing the final lines.
My windows or building look skewed—what should I try to fix it?
If the building or windows look skewed, lightly redraw the horizon line, re-mark a clear single vanishing point, and use a ruler or book edge to re-extend faint guide lines from the building edges and window sides toward that vanishing point before tracing.
How can I adapt this activity for different ages?
For preschoolers use big simple shapes for the rectangle, door, and playground and let them color after light pencil guides; for elementary kids follow all steps with a ruler and basic shading; for older kids add brick texture, detailed window panes, and stronger pencil shading on the building sides and roof.
How can we make the school drawing more creative or advanced?
Personalize and extend the scene by adding a school name above the door, drawing students on the steps and playground, adding shingle or brick textures, trying two-point perspective or colored pencils/watercolor after erasing guide lines, then trace and shade the final composition before sharing on DIY.org.
Related videos
How to Draw a School Easy | Step by Step Drawing for Kids
4 Videos
How to Draw a School Easy | Step by Step Drawing for Kids
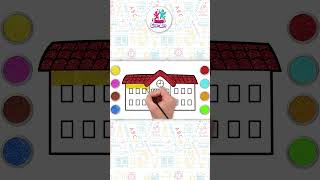
Easy School Drawing And Coloring Tutorial For Kids ✏️🎨#shorts #easydrawing #chikidoodle

How to ACTUALLY Start Drawing? (for beginners)

How to Draw Cute School Girl Easy
Fun Facts
🏫 Boston Latin School, founded in 1635, is the oldest public school in the United States.
📐 Filippo Brunelleschi is credited with formalizing linear perspective in the early 1400s, transforming how artists drew depth.
🎨 Chiaroscuro literally means "light-dark" in Italian and artists use it to make flat drawings look three-dimensional.
🔷 Artists often simplify complex scenes into basic shapes — cubes, cylinders, and cones are go-to building blocks for sketching buildings.
🛝 Playgrounds became popular in the late 1800s to give city children safer places to play; modern designs now use soft surfacing to reduce injuries.
How do I teach my child to draw a complete school scene using shapes, proportion, perspective, and basic shading?
What materials do we need to draw a school scene at home?
What ages is this school-scene drawing activity suitable for?
What are the benefits of drawing a school scene for children?
