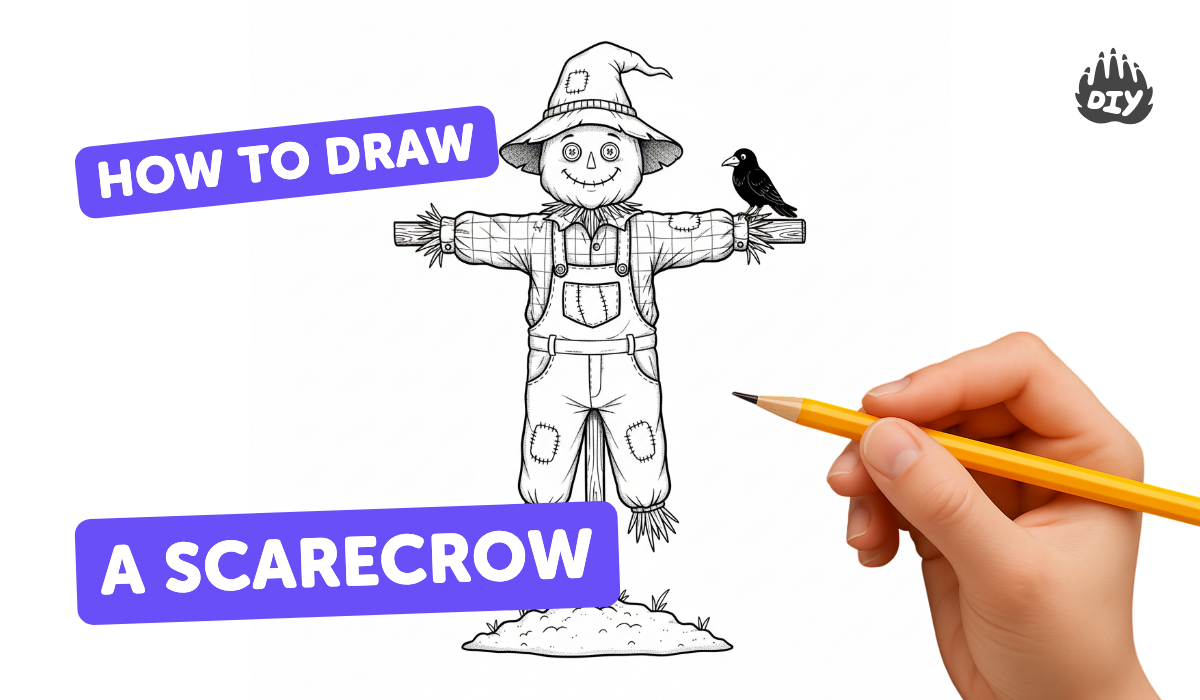
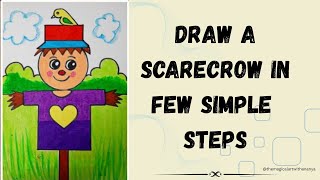
How to draw a scarecrow - a free scarecrow drawing guide
Draw a friendly scarecrow step-by-step using basic shapes, lines, and simple shading to create hat, face, straw, and clothing. Practice proportions and texture.

Drawing Apps
Photos of friendly scarecrow drawings


Step-by-step guide to draw a friendly scarecrow
🌾How To Draw A Scarecrow! (Art For Kids!) - Easy Step By Step Beginner Art/Drawing Lesson! 🌾
Step 1
Lightly draw a large oval or rectangle in the middle of your paper for the scarecrow's torso.
Step 2
Draw a circle above the torso that slightly overlaps to make the head.
Step 3
Sketch a simple hat on top of the head using a rectangle for the crown and a wide oval for the brim.
Step 4
Lightly draw a vertical and horizontal guideline across the head to help place the face.
Step 5
Draw a friendly face using two small ovals for eyes with dots for pupils a simple triangle or rounded nose and a curved smiling mouth with a few stitch marks.
Step 6
Add straw hair by drawing lots of short straight lines poking out from under the hat and around the neck.
Step 7
Draw two stick arms coming out from the sides of the torso and add small rectangular sleeves where the arms meet the shirt.
Step 8
Add straw details at each sleeve cuff by drawing short straight lines poking out from the sleeves.
Step 9
Sketch a simple shirt over the torso with a V or round collar and draw one or two uneven patches on the shirt.
Step 10
Draw two short legs below the shirt and add simple boot shapes at the bottom of each leg.
Step 11
Add texture and simple shading by drawing short lines for straw texture and light crosshatching on the clothes and under the hat brim.
Step 12
Finish the line art by tracing the lines you like with your marker and then erase the extra pencil guidelines.
Step 13
Color your scarecrow using your coloring materials and make fun choices for hat shirt patches and boots.
Step 14
Share your finished scarecrow on DIY.org
Help!?
What can we use if we don't have a marker or fancy coloring tools?
If you don't have a marker, trace your finished line art with a ballpoint pen or colored crayon and use crayons, colored pencils, watercolor paints, or washable markers as your coloring materials.
My face or hat looks crooked — how can we fix that?
If the face or hat look off, lightly redraw using the vertical and horizontal guidelines across the head to place the eyes, nose, and mouth, and keep all initial strokes light so you can erase mistakes before tracing with your marker.
How can we change this activity for different ages?
For younger kids, pre-draw the torso and head and let them add simple eyes, a smile, and straw hair with thick crayons or stickers, while older kids can add extra straw texture, uneven patches, light crosshatching, and more detailed boot shapes before inking.
Any ideas to make the scarecrow more special or grown-up?
To personalize and extend the project, glue fabric or paper patches onto the shirt, use real straw or yarn for the hair, add button eyes or painted boots, create a farm background, or attach arms with a brad fastener for movable limbs before coloring and sharing on DIY.org.
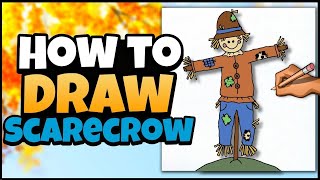
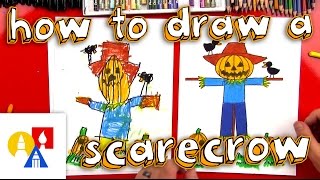
Watch videos on how to draw a friendly scarecrow
🍁 How to Draw a Scarecrow🍂 | Art for Kids | Step by Step Lesson
4 Videos
🍁 How to Draw a Scarecrow🍂 | Art for Kids | Step by Step Lesson
How To Draw A Scarecrow
How To Draw a Scarecrow - Easy drawing, painting and coloring for kids
Easy Scarecrow Drawing for Kids | Step by Step Tutorial
Facts about basic drawing techniques for kids
🌾 Scarecrows have been used for thousands of years—ancient Egyptians made simple bird-deterring frames to protect their wheat.
🐦 Farmers today often combine scarecrows with noise makers, reflective tape, or kites to keep birds away more effectively.
✏️ Artists and animators often start drawings with simple shapes (circles, ovals, rectangles) to build correct proportions.
👒 Adding a hat or patched clothes to a scarecrow is a classic way to give it personality and practice drawing texture and folds.
🎃 Scarecrows are a beloved symbol of harvest time and are commonly featured in festivals and friendly Halloween art displays.
How do I draw a friendly scarecrow step-by-step?
What materials do I need to draw a scarecrow with my child?
What ages is drawing a scarecrow suitable for?
What are the benefits of drawing a scarecrow with kids?
