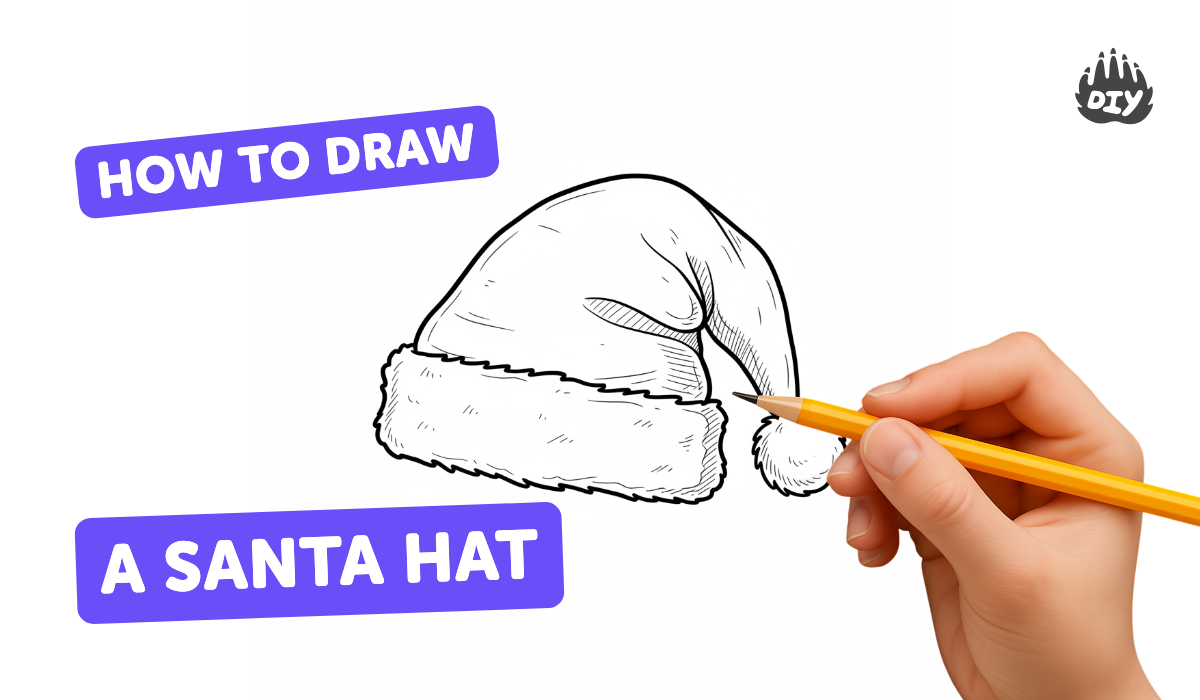
How to draw a santa hat - a free santa hat drawing guide
Draw a Santa hat step-by-step using pencil, paper, and crayons. Practice basic shapes, symmetry, and simple shading to create a cheerful holiday illustration.

Drawing Apps
Photos of Santa hat drawings


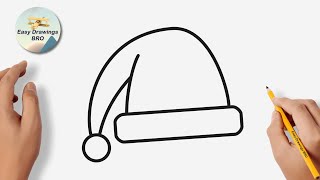
Step-by-step guide to draw a Santa hat
How to Draw a Cute Christmas Santa Hat - Easy Step-by-Step for Kids!
Step 1
Place your paper flat in front of you.
Step 2
Lightly draw a vertical center guideline from top to bottom.
Step 3
Draw a slightly curved horizontal line across the middle for the top edge of the fluffy brim.
Step 4
Draw a scalloped wavy line just below that curved line to make the fluffy bottom edge of the brim and connect the ends.
Step 5
From the left end of the brim draw a smooth curved line upward and slanting to the right to start one side of the hat cone.
Step 6
From the right end of the brim draw another smooth curved line upward to meet the first line and form the cone tip.
Step 7
Draw a circle at the very tip of the cone to make the pompom.
Step 8
Erase any pencil lines that cross into the pompom so it looks attached to the hat.
Step 9
Draw a short curved crease line near the brim to show where the hat folds.
Step 10
Lightly shade the lower edge of the brim with pencil strokes to make a shadow under the hat.
Step 11
Lightly shade one side of the cone following its curve to show rounded volume.
Step 12
Color the cone red with your colouring materials.
Step 13
Lightly shade the fluffy brim and pompom with a light grey or soft pencil for texture.
Step 14
Erase the center guideline and any stray marks to tidy your drawing.
Step 15
Share your finished Santa hat drawing on DIY.org.
Help!?
What can we use if we don't have red coloring materials or a soft pencil for shading?
Use a red crayon, marker, watercolor, or colored pencil for the cone and a light graphite pencil or soft gray crayon to lightly shade the fluffy brim and pompom as instructed.
My cone sides don't meet evenly at the tip—how do I fix it?
Use the vertical center guideline as a mirror reference, redraw the smooth curved side lines lightly, erase extra pencil marks, then redraw the cone tip and pompom so the sides meet cleanly.
How can I make this activity easier for a toddler or more challenging for a pre-teen?
For toddlers, pre-draw the scalloped brim and let them color and stick a cotton ball pompom, while pre-teens can add curved shading, cross-hatching on one side of the cone, or detailed patterns before coloring.
How can we personalize or extend the Santa hat drawing before sharing on DIY.org?
Decorate the cone with stripes, stars, or a name, glue on glitter or a cotton pompom, or draw a Santa face or winter background, then erase stray marks and share the finished drawing on DIY.org.
Watch videos on how to draw a Santa hat
Learn How to Draw Santa's Hat for Kids | Easy Drawing Tutorial
4 Videos
Learn How to Draw Santa's Hat for Kids | Easy Drawing Tutorial
How to Draw a Santa Hat Easy
How to Draw Santa Claus Hat - Very Easy For KIDS
Drawing Santa Claus hat tutorial | How to draw a Santa hat | Christmas Drawing
Facts about drawing for kids
🎅 The modern red-and-white Santa hat is tied to the same image of Santa made famous in the 19th century by illustrator Thomas Nast.
🖼️ Early popular images of Santa (including his hat) helped standardize his look across postcards, ads, and holiday cards by the late 1800s.
🖍️ Crayons were first sold under the Crayola name in 1903, and they make practicing shading and color blending fun and easy for kids.
✏️ The modern pencil (a mix of graphite and clay) was developed in 1795 by Nicolas-Jacques Conté — great for sketching your hat outline!
🔁 Drawing symmetrical shapes like a centered hat and pom-pom helps pictures look balanced and pleasing to the eye.
How do you draw a Santa hat step-by-step?
What materials do I need to draw a Santa hat with my child?
What ages is drawing a Santa hat suitable for?
What are the benefits, safety tips, and variations for drawing a Santa hat?
