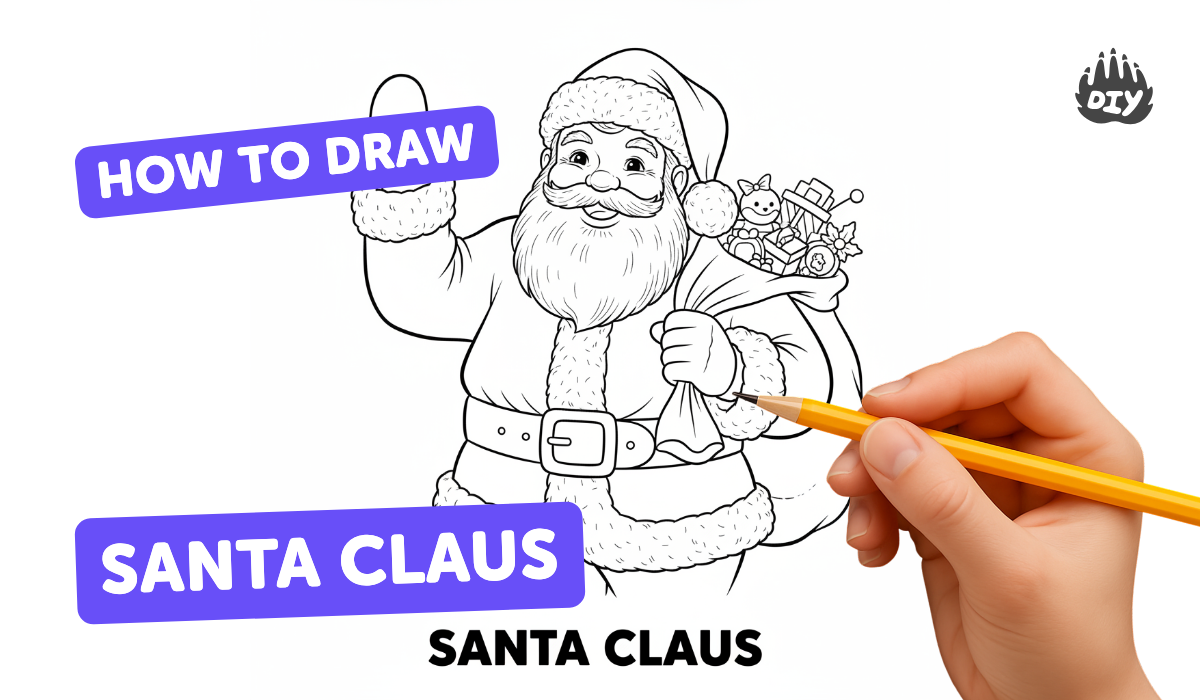
How to draw a santa claus - a free santa claus drawing guide
Draw a Santa Claus step-by-step using pencil and colors, creating face, beard, hat, suit, and background. Practice proportions and simple shading.

Drawing Apps
Photos of Santa Claus drawing examples


Step-by-step guide to draw a Santa Claus
Easy Santa Claus Drawing for Kids | Step-by-Step Tutorial
Step 1
Lightly draw a circle near the top middle of your paper to make Santa's head.
Step 2
Draw a light vertical line down the center of the circle and a horizontal line across the lower third to help place features.
Step 3
Draw a small oval where the lines cross for Santa's nose.
Step 4
Draw two small almond-shaped eyes on the horizontal guide line.
Step 5
Draw two short curved lines above the eyes for eyebrows.
Step 6
Draw a gentle curved line under the nose to make Santa's smiling mouth.
Step 7
Draw a fluffy mustache above the mouth with two rounded cloud shapes that meet in the middle.
Step 8
Draw a big fluffy beard around the chin using large rounded cloud shapes that connect to the mustache.
Step 9
Draw Santa's hat on top of the head by sketching a thick curved brim across the forehead and a tall floppy cone that ends with a pom-pom.
Step 10
Draw two sloping lines from the sides of the beard to make Santa's shoulders and a simple coat shape below.
Step 11
Add fluffy trim by drawing small rounded scallops along the hat brim and coat collar.
Step 12
Lightly shade the left or right side of Santa's face and the area under the hat brim with the side of your pencil to show roundness.
Step 13
Colour the hat and suit red and the fluffy trim white while leaving the beard mostly white.
Step 14
Colour Santa's face with a skin tone and add a small rosy pink circle on the nose and cheeks.
Step 15
Take a photo or scan your finished Santa and share your creation on DIY.org
Help!?
What can we use instead of colored pencils and a scanner if we don't have them?
Use crayons, markers, or watercolour to colour the hat and suit red, a cotton ball with white paint for the fluffy trim if you want texture, and take a smartphone photo instead of scanning to share on DIY.org.
My Santa's features look lopsided—how can I fix that?
Erase carefully and redraw using the light vertical and horizontal guide lines across the circle to reposition the small oval nose, almond eyes, and mustache so they align, and keep initial strokes faint so you can adjust the fluffy beard cloud shapes.
How can I adapt this drawing for different age groups?
For younger children, pre-draw the circle, simplified beard clouds, and bold scallop trim for them to trace and colour with crayons, while older kids can add the side-of-pencil shading, detailed scallops, realistic skin tones, and patterns on the coat.
How can we make the finished Santa more special or display-worthy?
Glue a small cotton ball to the hat pom-pom and add white craft glue plus glitter to the fluffy trim, write a personalized name on the coat, or mount the coloured drawing on cardstock before photographing to share on DIY.org.
Watch videos on how to draw a Santa Claus
How to Draw a Cute Santa Claus - Simple and Easy Step-by-Step for Kids!
4 Videos
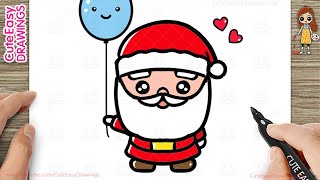
How to Draw a Cute Santa Claus - Simple and Easy Step-by-Step for Kids!
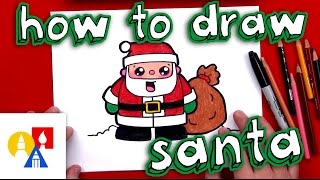
How To Draw Cartoon Santa Claus
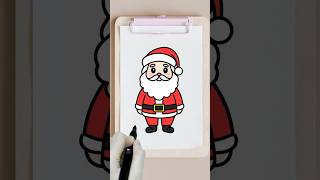
How to Draw Santa Claus | Step-by-Step Tutorial for Beginners

How To Draw Santa Using Shapes - Preschool
Facts about drawing and shading for kids
🎅 The red-suited, white-bearded Santa we draw today was shaped by 19th-century illustrations and 20th-century ads!
✏️ Many artists begin with simple shapes — a circle for the head and a line for the center — to get Santa’s face in the right place.
🧔 You can show beard fluff with short curved strokes or light hatching to suggest direction and volume.
🎨 Adding a few darker reds and small green accents makes Santa’s suit look richer and more festive.
🌲 A simple snowy sky or a Christmas tree silhouette in the background makes your Santa pop without lots of detail.
How do I draw a Santa Claus step-by-step with pencil and colors?
What materials do I need to draw Santa Claus with pencil and colors?
What ages is this Santa Claus drawing activity suitable for?
What are the benefits of drawing a Santa Claus with pencil and colors?
