How to draw a samurai - a free samurai drawing guide
Learn step by step to draw a samurai character with simple shapes, add armor details, a sword, and practice shading and proportion.

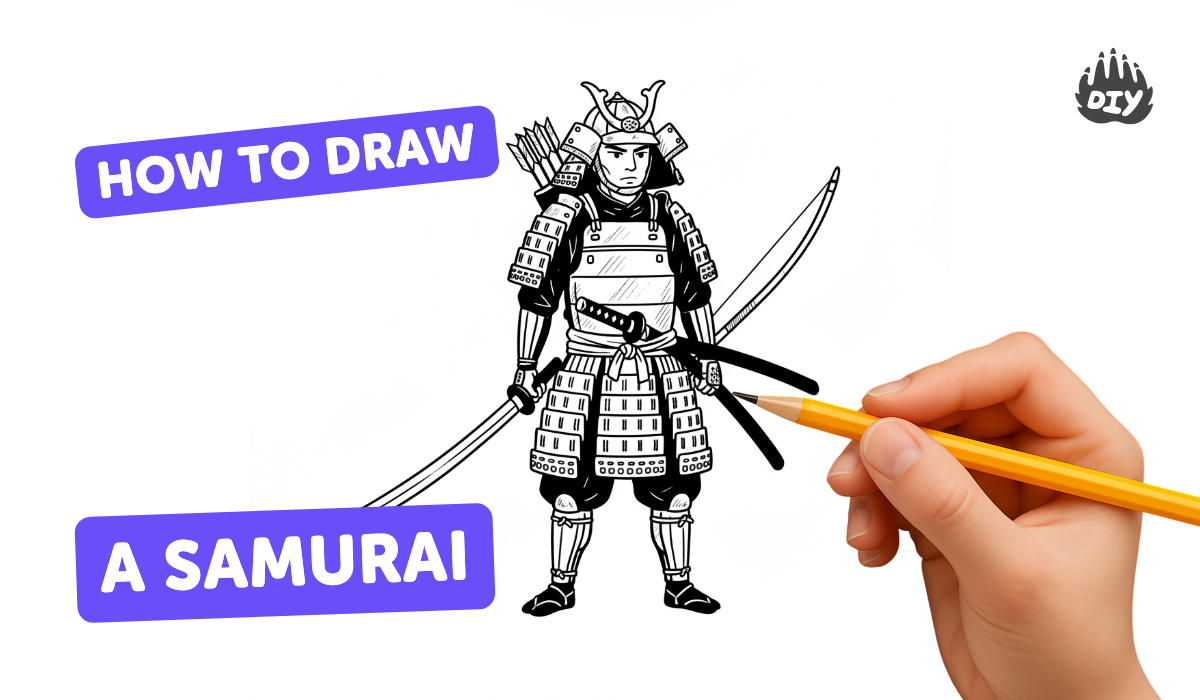
Step-by-step guide to draw a samurai character
Easy samurai drawing for beginners | how to draw a samurai step-by-step
Step 1
Draw a light circle near the top of the paper for the samurai's head.
Step 2
Draw a vertical centerline inside the circle to show which way the face faces.
Step 3
Draw a horizontal eye line across the circle about halfway down.
Step 4
Draw a short neck and a simple trapezoid or rounded rectangle under the head for the torso.
Step 5
Draw two small ovals where the torso meets the head line for the shoulder pads.
Step 6
Draw both arms as long cylinders extending from the shoulder ovals down toward the waist.
Step 7
Add mitten-shaped hands at the ends of the arm cylinders.
Step 8
Draw two tapered rectangles under the torso for the legs.
Step 9
Sketch a curved helmet over the head and a short neck guard behind it.
Step 10
Draw curved horizontal plate lines across the torso and add simple details on the shoulder ovals for armor.
Step 11
Draw a long thin rectangle for the sword blade and add a small handle and guard where a hand would hold it.
Step 12
Erase the light guidelines so only the samurai outline and armor details remain.
Step 13
Trace your final clean lines with the black marker or fineliner and let the ink dry.
Step 14
Add shading by darkening areas under armor plates and inside creases then colour your samurai with your colouring materials.
Step 15
Share your finished creation on DIY.org
Help!?
What can I use if I don't have a black marker or fineliner to trace the final lines?
Use a dark ballpoint pen, thin-tipped Sharpie, gel pen, or a sharpened dark pencil to trace over the cleaned-up pencil outline as in the 'Trace your final clean lines' step and let the ink or pen lines dry before erasing.
My samurai's proportions look wrong after erasing the guidelines—how can I fix them?
Keep the head circle, vertical centerline, and horizontal eye line very light so you can adjust proportions early, and if arms or legs look off simply erase those arm cylinders or tapered rectangles and redraw them aligned to the centerline and shoulder ovals.
How can I adapt this activity for different age groups?
For younger kids simplify to big shapes only (light circle head, trapezoid torso, mitten hands, tapered rectangle legs), while older kids can add the curved helmet, detailed horizontal armor plates, sword hilt details, and more shading under the plates.
What are simple ways to personalize or make the samurai drawing more advanced?
Add a family crest or pattern on the torso plates, change the long thin rectangle into a katana or spear by altering the blade and handle, vary helmet ornamentation, and use layered colouring and extra shading before sharing on DIY.org.
Watch videos on how to draw a samurai character
How to Draw a Samurai Step by Step | Easy Anime Samurai Drawing Tutorial
4 Videos
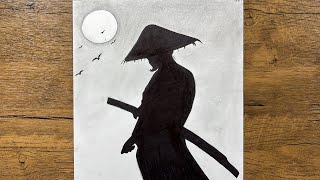
How to Draw a Samurai Step by Step | Easy Anime Samurai Drawing Tutorial

How To Draw A Samurai | Step By Step
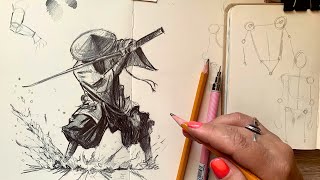
Drawing a Samurai Body with Pencil | Step-by-Step Tutorial
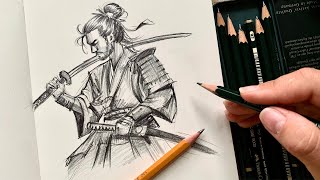
Drawing a Samurai with a Pencil: Step-by-Step Process
Facts about character drawing for kids
🎎 Many samurai practiced arts like calligraphy and poetry as well as fighting—great inspiration for designing a character's pose and style.
🗡️ Samurai usually carried two swords called a daishō: a long katana and a shorter wakizashi.
🛡️ Traditional samurai armour used lacquered plates and colorful silk cords, which create fun textures and patterns to draw.
🪖 The kabuto (helmet) often had dramatic crests and shapes—perfect for practicing bold silhouette drawings.
📏 Armor and layered clothing change body proportions, so learning basic shapes and shading helps your samurai look strong and balanced.
How do you draw a samurai step by step?
What materials do I need to draw a samurai with my child?
What ages is learning to draw a samurai suitable for?
What are the benefits of learning to draw a samurai?
