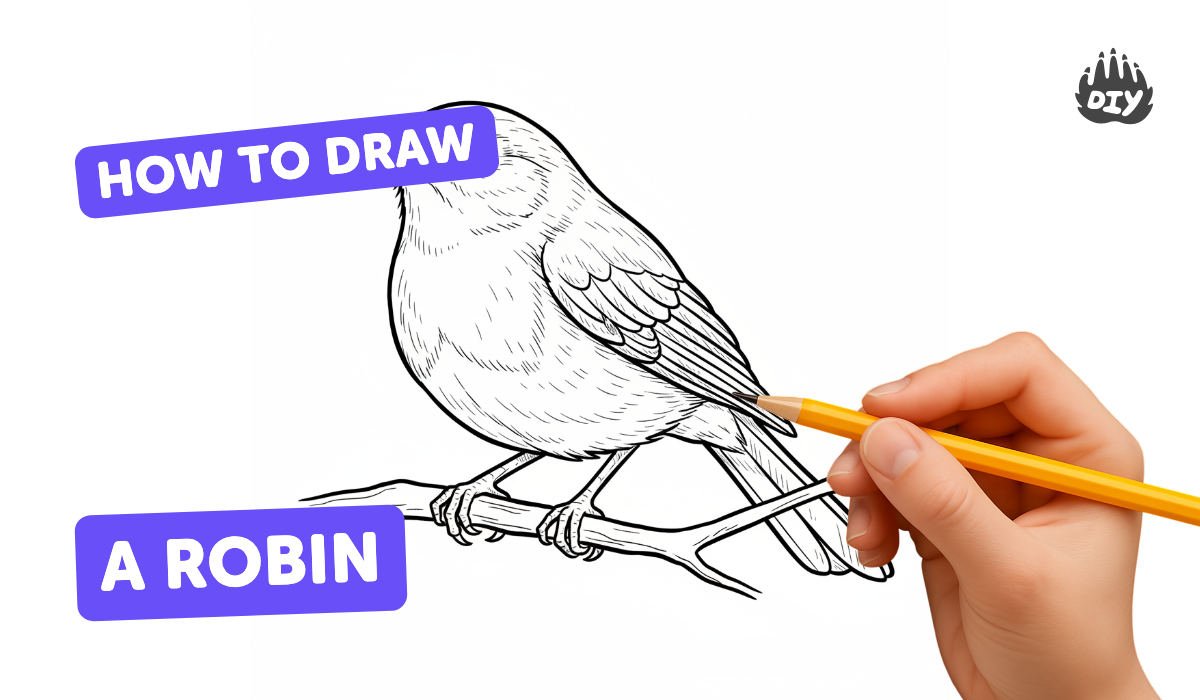
How to draw a robin - a free robin drawing guide
Draw a robin using simple shapes, correct proportions, shading, and color. Practice observation, texture, and step by step drawing skills.

Drawing Apps
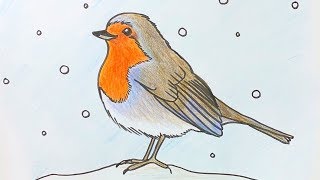
Photos of robin drawing examples


Step-by-step guide to draw a robin
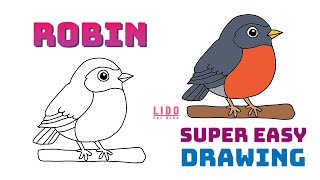
How To Draw A Robin Bird - Preschool
Step 1
Find a clear photo or picture of a robin to look at while you draw.
Step 2
Study the photo for one minute and notice the size of the head the round body the orange chest and the short tail.
Step 3
Lightly draw a large oval for the robin's body with your pencil.
Step 4
Lightly draw a smaller circle overlapping the top of the oval for the robin's head.
Step 5
Draw a short pointed triangle on the head for the beak.
Step 6
Draw a small circle on the head for the eye.
Step 7
Draw a short curved line joining the head and body to show the neck.
Step 8
Draw a long narrow triangle at the back of the oval for the tail.
Step 9
Draw two thin lines under the body for the legs with three little toes on each line.
Step 10
Draw a teardrop shape on the side of the body to make the wing.
Step 11
Trace a smooth single outline around your robin shapes to create the final outer shape.
Step 12
Erase the inside construction lines so only the clean robin outline remains.
Step 13
Add short fine pencil strokes on the wings and chest to suggest feather texture.
Step 14
Lightly shade the back and head and then color the robin to match your photo using orange on the chest and darker colours on the back and tail; blend gently with a tissue if you like.
Step 15
Share your finished robin drawing on DIY.org
Help!?
What can we use instead of a printed photo, colored pencils, or a tissue for blending?
Use a clear photo on a phone or tablet for the 'Find a clear photo' step, swap crayons or markers for colored pencils to color the orange chest and darker back, and blend gently with your fingertip or a scrap of paper if you don't have a tissue.
My robin's head doesn't look connected to the body—how do we fix the head, neck, and overlapping shapes?
Lighten your pencil marks, redraw the smaller circle so it overlaps the top of the oval and adjust the short curved line joining the head and body to create a natural neck before tracing the smooth single outline and erasing construction lines.
How can I adapt this drawing for younger or older children?
For preschoolers, pre-draw the large oval and teardrop wing for them to color the orange chest with crayons, while older kids should draw the overlapping head and body themselves, add short fine pencil feather strokes on the wings and chest, and practice light shading and blending on the back and head with a tissue as described.
How can we make the robin drawing more creative or display-worthy?
Personalize the clean robin outline by adding a branch and nest under the long narrow triangle tail, paint a background gradient before blending the orange chest, or glue small twigs as a perch and then share your finished robin drawing on DIY.org.
Watch videos on how to draw a robin
Beginners - How to draw a robin step by step
4 Videos
Beginners - How to draw a robin step by step
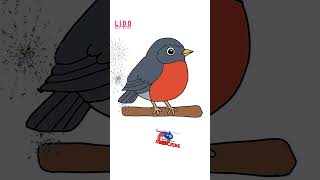
How to Draw a Cute Robin - Easy Bird Drawing for Kids & Beginners #lidoartworks
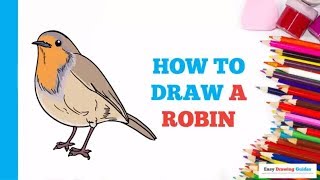
How to Draw a Robin in a Few Easy Steps: Drawing Tutorial for Beginner Artists
How to Draw a Robin Bird Easy for Kids and Beginners! #lidoartworks
Facts about drawing birds
🐦 The European robin's orange-red breast inspired its name — but the American robin is a different species with a similar-colored belly.
🥚 Robins usually lay 3–5 bright blue eggs, often called "robin eggs" and a classic sight for spring artists.
✏️ Many artists start bird drawings by blocking in simple shapes (circles, ovals, and triangles) to get correct proportions quickly.
🌤️ Shading makes feathers look layered — choose a single light source so tiny feather shadows and highlights read clearly.
👀 Drawing robins is great observation practice: they have distinctive posture (upright with a round chest) and subtle texture differences between breast and back.
How do I draw a robin step-by-step with my child?
What materials do I need to draw a robin with my child?
What ages is drawing a robin suitable for?
What are the benefits of drawing a robin with children?
