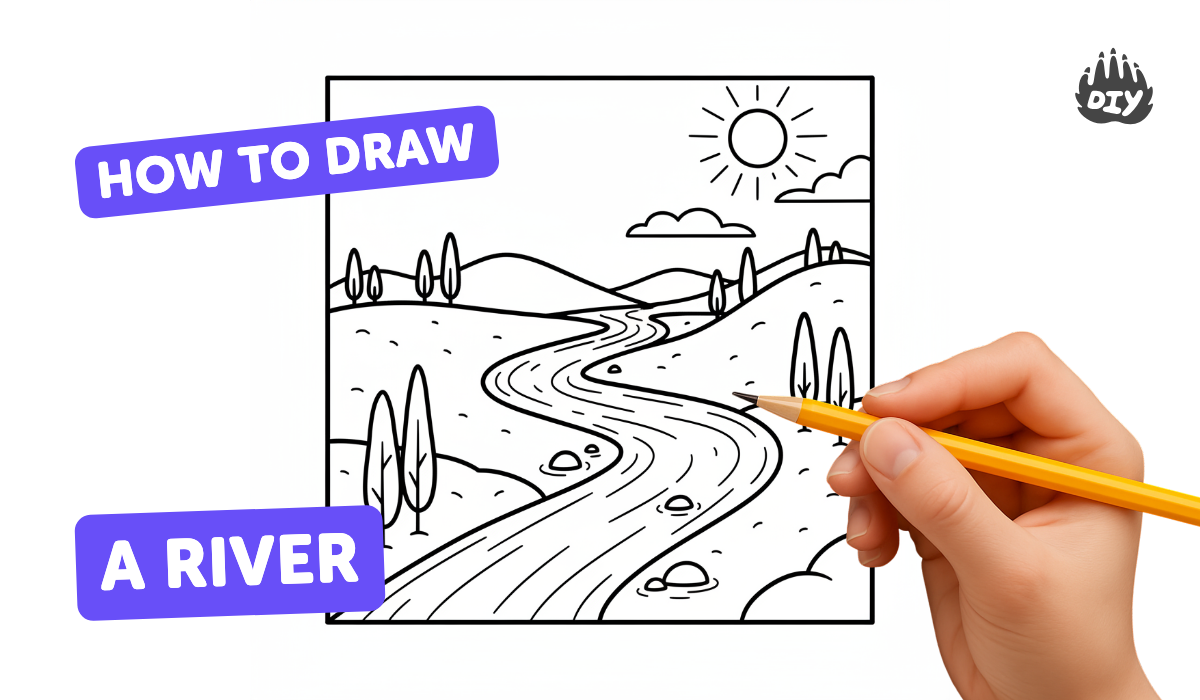
How to draw a river - a free river drawing guide
Draw a realistic river scene using pencil and watercolor to practice perspective, shading, and reflections. Follow step by step techniques and observe flowing water.


Instructions
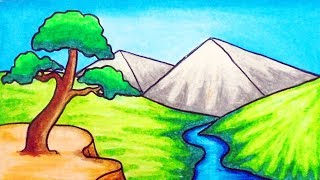
How to draw a River - Easy step-by-step drawing lessons for kids
Step 1
Tape your watercolor paper to the table with masking tape so it stays flat.
Step 2
Lightly draw a horizontal horizon line about one-third down from the top of the paper.
Step 3
Mark a small vanishing point on the horizon where the river will disappear.
Step 4
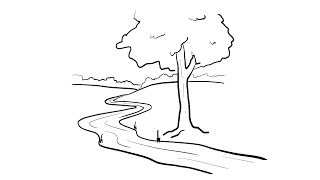
Sketch two curving riverbank lines that start wide at the bottom and meet at the vanishing point.
Step 5
Draw simple shapes for trees rocks and grasses along the banks using smaller shapes near the horizon to show distance.
Step 6
Mark a light source in the sky with a small sun or arrow so you know where highlights and shadows will fall.
Step 7
Shade the riverbanks and tree shadows lightly with your pencil leaving the water area noticeably lighter.
Step 8
Add reflections by drawing light vertical broken lines in the water that mirror the nearby trees and rocks.
Step 9
Wet only the water area lightly with a clean brush to prepare for wet-on-wet watercolor.
Step 10
Paint the river with diluted blues and greens using strokes that follow the flow from foreground to horizon.
Step 11
Paint the banks trees and rocks with more concentrated color using wet-on-dry for sharper details.
Step 12
Use a clean damp brush or a dab of paper towel to lift small areas of paint to create bright highlights on the water.
Step 13
Add small ripple lines and fine texture with a thin brush or pencil to show flowing water.
Step 14
Sign your name on the corner of your finished artwork.
Step 15
Share your finished river scene on DIY.org
Help!?
What can we use if we don't have watercolor paper or masking tape?
If you don't have watercolor paper, use heavyweight mixed-media or thick printer paper and replace masking tape with low-tack painter's tape so the paper won't tear when you remove it after painting.
My colors are bleeding into the riverbanks—how do I fix that?
Follow step 9 and wet only the water area lightly, blot excess water with a paper towel, and make sure the banks are fully dry before applying concentrated wet-on-dry paint in step 11 to prevent bleeding.
How can I adapt the activity for younger or older kids?
For younger children, pre-draw the horizon, vanishing point, and simple bank curves and give them larger brushes and washable watercolors, while older kids can refine perspective, add detailed reflections in step 8, and paint fine ripple lines in step 13 with a thin brush or pencil.
How can we extend or personalize the finished river drawing?
Enhance the scene by adding torn-paper collage for textured banks before painting, sprinkling salt on the wet river paint for grainy highlights, including small animals or a boat, and signing in the corner as in step 15 before sharing on DIY.org.
Related videos
How to Draw a Simple River | Step-by-Step Lesson
4 Videos
How to Draw a Simple River | Step-by-Step Lesson
How to draw river view scenery step by step | drawing with pencil sketch @drawingcraftarts
Beautiful River Drawing Easy Scenery Drawing for Beginners
How to Draw Easy Scenery | Drawing River and Mountain Scenery Step by Step with Oil Pastels
Get inspired with these


Fun Facts
🌊 Rivers carve valleys and move sediment — over geological time they can change the course of continents!
🎨 Watercolor became a popular standalone art medium in the 18th century and is loved for its transparent, glowing washes.
🔭 One-point perspective was formalized during the Renaissance and helped artists make flat canvases look deep and realistic.
🪞 Calm water acts like a mirror: even tiny ripples break reflections into lively, shimmering patterns painters mimic.
✏️ Many artists begin with a light pencil underdrawing to plan composition, values, and where reflections will fall before watercolor.
How do I draw a realistic river scene with pencil and watercolor step by step?
What materials do I need to draw a river scene with pencil and watercolor?
What ages is drawing a river scene suitable for?
What are the benefits of drawing a river scene with pencil and watercolor?
