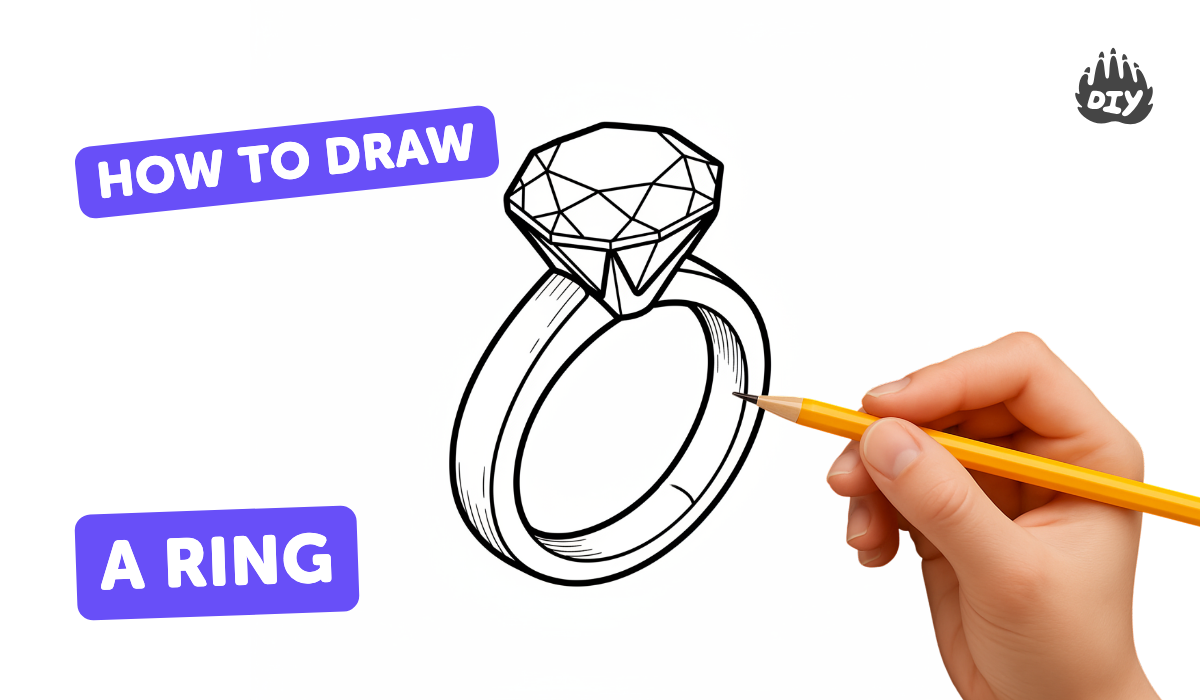
How to draw a ring - a free ring drawing guide
Draw a three-dimensional ring using circles, ellipses, and shading. Practice perspective and light to make a realistic, shiny metal ring.

Drawing Apps
Photos of three-dimensional ring drawings


Step-by-step guide to draw a three-dimensional ring
HOW TO DRAW AN EASY RING
Step 1
Place your paper on a flat surface and lightly mark the center with a small dot where your ring will sit.
Step 2
Decide how tilted you want the ring to be and draw a light horizontal guide line through the center dot to help keep shapes level.
Step 3
Place your round object and lightly trace an oval (ellipse) for the outer top edge of the ring to make the ring look tilted.
Step 4
Inside that outer ellipse draw a slightly smaller concentric ellipse to make the top hole of the ring.
Step 5
Draw a second smaller ellipse just below and inside the top hole ellipse to show the inner lower rim and the band thickness.
Step 6
Connect the outer ellipse and the lower inner ellipse at the left and right with smooth curved lines to form the band sides.
Step 7
Erase any extra guide marks so the ring shape looks clean and connected.
Step 8
Choose a light direction and mark a small arrow outside the drawing to remind you where the light is coming from.
Step 9
Lightly shade the inner edges and the side away from the light with soft pencil strokes to build shadow.
Step 10
Add a darker band of shadow under the rim and where the band curves away from the light to create depth.
Step 11
Use your blending tool or a tissue to smooth the shaded areas into a soft gradient for a metal look.
Step 12
Leave a thin bright highlight on the side facing the light by keeping it white or erasing a thin strip to make the metal shine.
Step 13
Take a photo of your shiny 3D ring and share your finished creation on DIY.org
Help!?
What can we use if we don't have a round object or a blending tool?
Use a coin, jar lid, or bottle cap to trace the outer ellipse and use a clean tissue, cotton swab, or your fingertip to blend the pencil shading instead of a blending tool.
My ellipses look lopsided or the ring looks flat — how can I fix it?
Redraw a light horizontal guide line through the center dot, re-trace concentric ellipses around the center, erase extra guide marks, and adjust shading with soft pencil strokes to build a curved shadow so the ring appears tilted and 3D.
How can I change this activity for younger or older kids?
For younger kids, pre-trace the outer ellipse and let them connect the sides with a marker and simple shading, while older kids can draw more precise concentric ellipses, refine the thin bright highlight by erasing, and experiment with multiple tones using different pencils.
How can we personalize or improve the shiny metal look?
Add engraved initials or tiny 'gemstones' on the band with colored pencils or metallic pens, deepen the darker band of shadow under the rim for contrast, and photograph different tilt angles to choose the best highlight placement before sharing on DIY.org.
Watch videos on how to draw a three-dimensional ring
How to Draw a Ring Step by Step
4 Videos
How to Draw a Ring Step by Step
How to Draw a Diamond Ring | Super Easy Step-by-Step Tutorial!

How to Draw a Ring Pop Easy Step by Step for Kids & Toddlers, Drawing Lesson
How to Draw a Ring : Simple jewelry sketching exercices for beginners
Facts about drawing and shading for kids
🌀 A ring's shape is a torus — the same mathematical shape as a donut!
⚪ Tilt a circle and it appears as an ellipse; that's the secret to drawing a ring's opening.
🔭 Linear perspective was formalized during the Renaissance to make flat images look 3D.
🪞 Specular reflection produces bright highlights that make metal look shiny and real.
✨ Polished metal gives crisp, sharp highlights, while rough metal scatters light and looks matte.
How do I teach a child to draw a three-dimensional shiny metal ring step by step?
What materials do we need to draw a realistic 3D ring with shading?
What ages is drawing a three-dimensional ring suitable for, and how can I adapt it?
What are the benefits and safety tips when children practice drawing realistic rings?
