How to draw a rhino - a free rhino drawing guide
Draw a rhinoceros step-by-step using basic shapes, outlines, and shading techniques. Practice observation, proportion, and texture while creating your final rhino drawing.

Drawing Apps
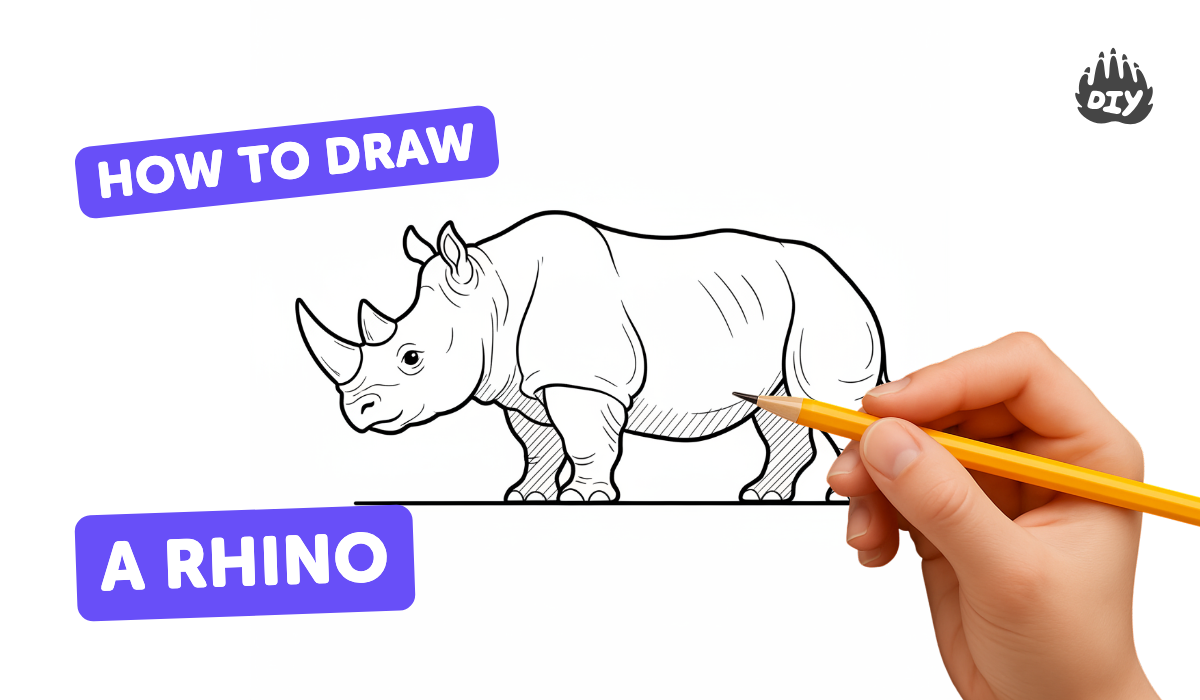
Photos of rhinoceros drawing examples


Step-by-step guide to draw a rhinoceros
How To Draw RHINO (Rhinoceros) Step by Step Animal Drawing Tutorial | Kids and Beginners Fun Art!
Step 1
Place your paper on a flat surface where you can draw comfortably.
Step 2
Lightly draw a large oval for the rhino's body.
Step 3
Lightly draw a circle overlapping the front of the oval for the rhino's head.
Step 4
Connect the head and body with two short curved lines to make the neck.
Step 5
Sketch four thick leg shapes under the body using straight or slightly curved lines.
Step 6
Refine each leg by adding small joint lines and rounding the bottoms into hooves.
Step 7
Draw a long cone shape on the snout for the main horn and a smaller cone behind it for the second horn.
Step 8
Add two small curved triangles on top of the head for ears.
Step 9
Draw a small circle for the eye and two small ovals near the snout for nostrils.
Step 10
Smoothly outline the rhino's back and belly to join all the shapes into one clean body shape.
Step 11
Gently erase the light guideline shapes that you no longer need.
Step 12
Add short curved strokes along the neck legs and body to show skin folds and rough texture.
Step 13
Choose which side the light is coming from so you know where to add shadows.
Step 14
Shade the areas opposite the light source such as under the belly under the chin and behind the legs using gentle pencil strokes and then soften the shading with your tissue or cotton swab.
Step 15
Share your finished rhino drawing on DIY.org
Help!?
What can I use instead of a tissue or cotton swab to soften the shading if I don't have them?
If you don't have a tissue or cotton swab, gently rub the pencil shading with a clean fingertip or a folded piece of kitchen paper towel to soften the areas as described in 'soften the shading with your tissue or cotton swab'.
My rhino's head and body look crooked — how can I fix the alignment when connecting the head and body?
If the head and large oval body look misaligned, erase the neck area, recheck the overlapping circle and oval positions from steps 'lightly draw a large oval' and 'lightly draw a circle overlapping the front of the oval,' redraw the two short curved neck lines lightly, and then refine the outline and gently erase the guideline shapes.
How can I adapt this drawing activity for younger children or older kids?
For younger children, pre-draw the oval and circle for them to trace and skip the detailed skin folds and shading, while older kids can follow the steps 'add short curved strokes' and 'shade... then soften the shading' to practice texture, lighting, and more precise horns and hooves.
What are simple ways to personalize or make the rhino drawing more advanced?
To personalize or advance the drawing, add a background habitat or extra rhinos, paint mud splashes on the body, and use colored pencils or stronger shading that follows the chosen light source from 'Choose which side the light is coming from' to deepen shadows under the belly and behind the legs.
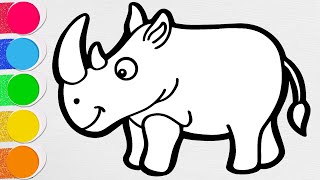
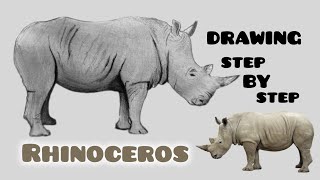
Watch videos on how to draw a rhinoceros
How to Draw a Rhinoceros | Easy Step by Step for Beginners
4 Videos
How to Draw a Rhinoceros | Easy Step by Step for Beginners

How to draw a Rhinoceros🦏🎨| Rhino drawing for kids step by step
to Draw a Rhinoceros Step by Step 🦏 | Easy Animal Drawing Tutorial
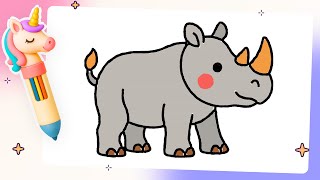
How To Draw a Rhinoceros 🦏 | Step By Step For Kids! | #draw #rhino
Facts about animal drawing for kids
🦏 Rhinos' horns are made of keratin—the same protein as human hair and fingernails.
✏️ Many artists start a rhino drawing with simple shapes (ovals, circles, cones) to get proportions right.
🎨 Chiaroscuro is a shading technique that uses strong light and dark to make a rhino look three-dimensional.
📏 Measuring with your pencil and arm while observing helps keep a rhino's legs, body, and head in correct proportion.
🌍 There are five species of rhino in the world, and most are gray or brown rather than white.
How do I draw a rhinoceros step-by-step with my child?
What materials do I need to draw a rhino with my child?
What ages is this rhino drawing activity suitable for?
What are the benefits of drawing a rhino for children?
