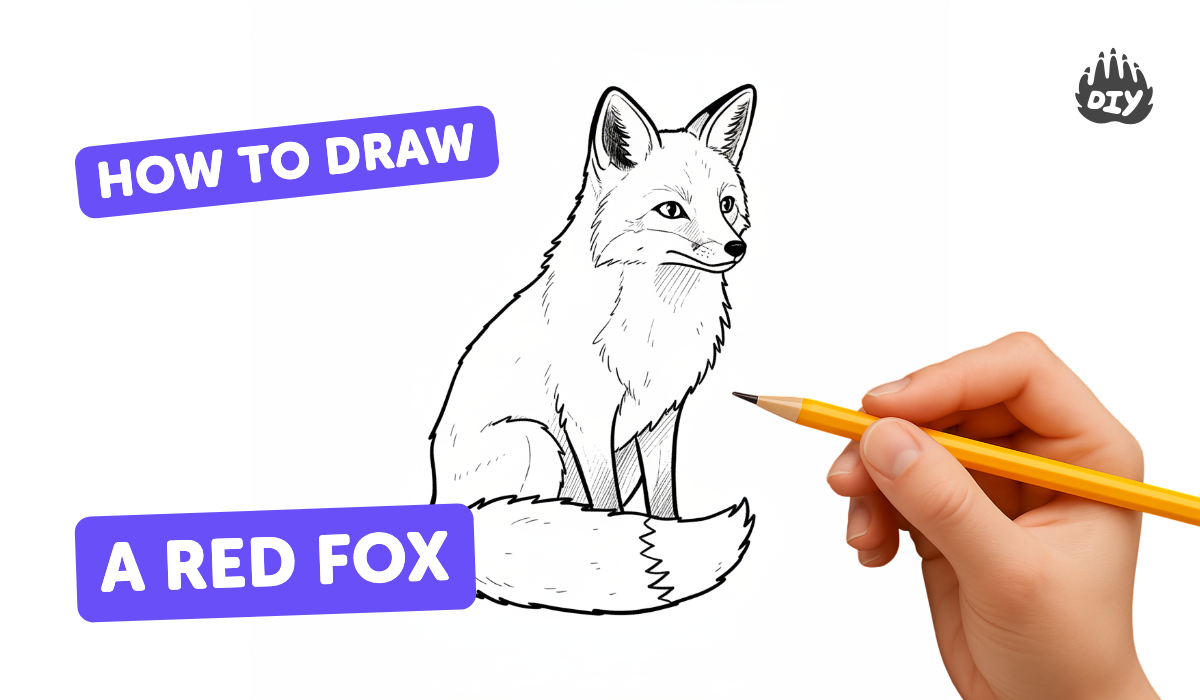
How to draw a red fox - a free red fox drawing guide
Draw a realistic red fox using simple shapes, step-by-step sketching, line refinement, and coloring with red, white, and black pencils. Practice observation.

Drawing Apps
Photos of red fox drawing examples


Step-by-step guide to draw a red fox
How to Draw a Red Fox: Easy Step by Step Drawing Tutorial for Beginners
Step 1
Find a clear picture of a red fox and look at it for one minute to notice its basic shapes.
Step 2
Lightly draw a circle for the head and an oval for the body to block in the fox’s main shapes.
Step 3
Draw a gentle curved line from the head toward where the tail will go to mark the spine and tail direction.
Step 4
Add a long narrow triangle for the snout sticking out from the head circle.
Step 5
Draw two upright triangles on top of the head for the ears.
Step 6
Sketch four long ovals under the body for the front and back legs.
Step 7
Connect the head body and leg shapes with smooth lines to form the fox’s outer outline.
Step 8
Draw two almond-shaped eyes and a small rounded triangle for the nose on the snout.
Step 9
Add a simple mouth line and a few tiny whisker dots near the snout.
Step 10
Draw the bushy tail outline and mark a white tip area at the end of the tail.
Step 11
Erase the extra construction lines so your fox drawing looks clean.
Step 12
Trace over the final outline with your pencil to make the edges clear and defined.
Step 13
Color the fox’s fur with the red colored pencil using short strokes that follow the fur direction.
Step 14
Use the white colored pencil to fill the chest cheeks and tail tip and gently blend the edges into the red.
Step 15
Use the black colored pencil to darken the nose eyes paw tips and add small shadow lines for depth.
Step 16
Share your finished red fox by uploading it to DIY.org so others can see your work.
Help!?
What can I use if I don't have red, white, or black colored pencils?
Use red, white, and black markers, crayons, or watercolor paints instead of the red/white/black colored pencils and apply the same short fur-direction strokes, white blending on chest/cheeks/tail tip, and black for nose/eyes/paw tips.
My fox looks messy after erasing the construction lines — how can I fix that?
Keep the circle/oval/triangle construction lines very light with a hard pencil, erase gently with a kneaded eraser after you trace the final outline, and retrace any faded edges with your pencil so the fox drawing looks clean.
How can I adapt this drawing for younger or older kids?
For younger kids, simplify to just the basic circle/oval/triangle blocks and color with crayons, while older kids can refine the outline, add short directional fur strokes and black shadow lines for more detail.
What are some ways to personalize or extend the activity after finishing the fox?
Change the spine/tail curve in step 3 to create different poses, add a background like trees or snow, experiment with mixed media (colored pencils plus a light watercolor wash), and then upload your finished red fox to DIY.org to share.
Watch videos on how to draw a red fox
How to draw RED FOXES - Step by Step Tutorial, Realistic Anatomy
4 Videos

How to draw RED FOXES - Step by Step Tutorial, Realistic Anatomy
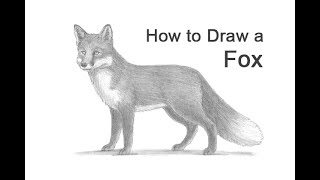
How to Draw a Fox (Red Fox)
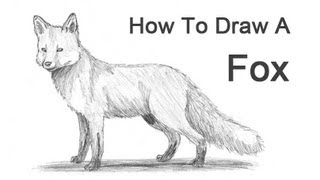
How to Draw a Fox (Red Fox)
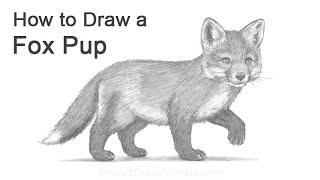
How To Draw a Red Fox Pup / Kit
Facts about animal drawing for kids
🦊 Red foxes are the most widely distributed wild canid, living across much of the Northern Hemisphere.
🎨 Many artists begin animal drawings by blocking in simple shapes (circles, ovals, triangles) to capture correct proportions.
✏️ Layering colored pencils—light red base, darker red strokes, then tiny black and white highlights—helps create realistic fur.
👀 Practicing observational drawing trains your visual memory and helps you notice small details that make drawings look real.
🧣 A red fox's bushy tail, called a "brush," can be about one-third of its body length and helps keep it warm and balanced.
How do I draw a realistic red fox step by step?
What materials do I need to draw a red fox with colored pencils?
What ages is drawing a realistic red fox suitable for?
What are some variations and extra practice ideas for drawing a fox?
