How to draw a rectangular prism - a free rectangular prism drawing guide
Draw a 3D rectangular prism using pencil, ruler, and vanishing point perspective techniques. Practice shading and labeling faces to understand depth and proportions.

Drawing Apps
Photos of 3D rectangular prism drawings


Step-by-step guide to draw a 3D rectangular prism using perspective
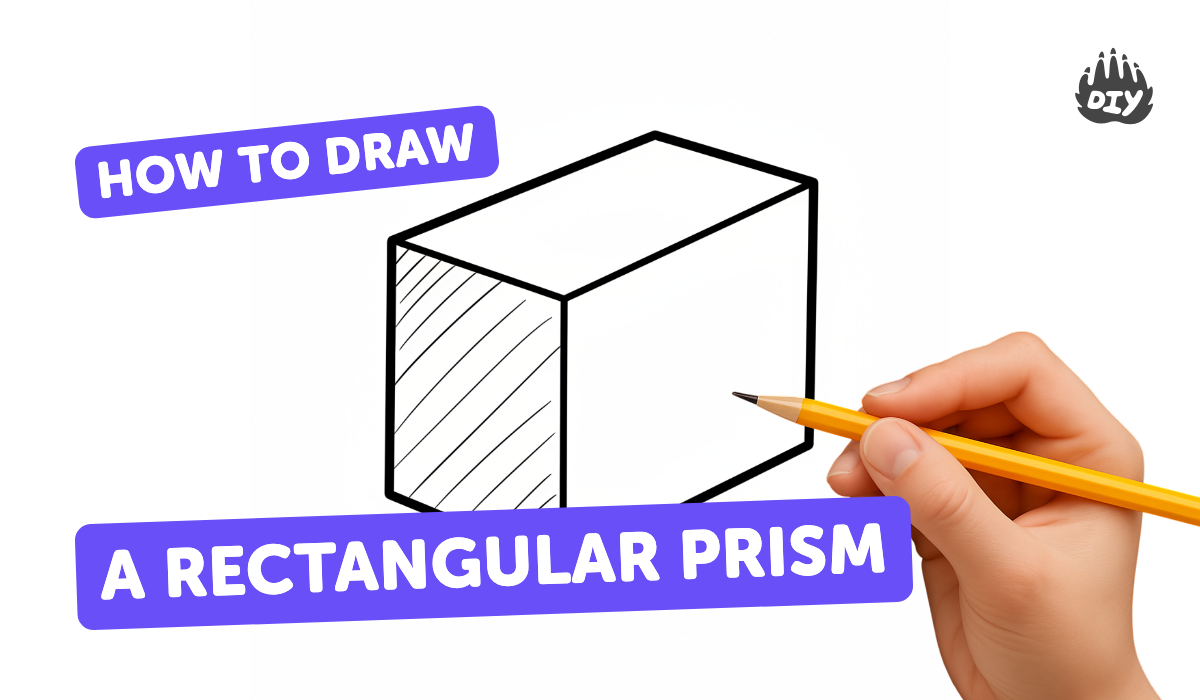
How to Draw a Rectangular Prism
Step 1
Gather your materials so everything is ready to draw.
Step 2
Place the paper flat in front of you on a table or desk.
Step 3
Use the ruler to draw a straight horizontal line about one-third from the top of the paper.
Step 4
Put a small dot on the horizon line to mark your vanishing point.
Step 5
Draw a neat rectangle below the horizon line to be the front face of your rectangular prism.
Step 6
From each corner of the front rectangle draw light straight guideline rays that go toward the vanishing point.
Step 7
Decide how deep the prism will be and connect the appropriate guideline ends to form the back face rectangle.
Step 8
Darken the outer edges of the rectangular prism so the shape stands out.
Step 9
Erase any extra construction lines that are outside the prism so the drawing looks clean.
Step 10
Pick a spot for your light source and draw a tiny sun or arrow to show where the light is coming from.
Step 11
Shade each visible face with your pencil and blending tool so the face closest to the light is lightest and the farthest face is darkest.
Step 12
Label the faces by writing "front" "top" and "side" on the correct faces and add small arrows or short measurements for width height and depth.
Step 13
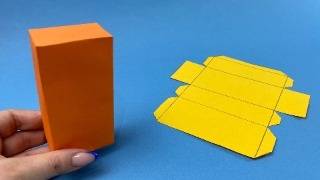
Take a photo or scan of your finished rectangular prism and share your creation on DIY.org.
Help!?
What can we use if we don't have a ruler or blending tool?
If you don't have a ruler use the straight edge of a book or credit card for the horizon and rectangle lines, and substitute a tissue, cotton swab, or your fingertip for the blending tool when shading the faces.
My back rectangle looks skewed — how do I fix the perspective?
If the back face looks skewed, redraw light guideline rays from each corner toward the vanishing point, mark equal depth points along those rays, then connect those marks to form the back rectangle before darkening the outer edges.
How can I adapt this drawing for younger or older kids?
For younger children trace or pre-print the front rectangle and have them color and label the faces, while older kids can try two-point perspective, use precise ruler measurements for width/height/depth, and add more detailed shading.
How can we make the finished prism more interesting or personal?
Add a cast shadow based on your chosen light source, texture each face with hatching or color them with colored pencils before blending, then photograph or scan the final drawing to share on DIY.org.
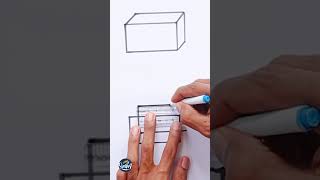
Watch videos on how to draw a 3D rectangular prism using perspective techniques
How to Make a Rectangular Prism? | Easy Method
4 Videos
How to Make a Rectangular Prism? | Easy Method

How to Make a Rectangular Prism | Easy 3D Shape Tutorial

How to Draw Rectangular Prism Step by Step for Kids
How to Draw a Rectangular Prism in 2 easy ways - 3D shape Drawing Tutorial #shorts
Facts about perspective drawing and 3D shapes
🖊️ One-point perspective sends all depth lines toward a single vanishing point — a trick Renaissance artists used to make scenes look realistic.
🎯 A vanishing point is where parallel lines appear to meet; moving it changes how deep or flat your box looks.
📐 A straightedge or ruler keeps your receding lines precise, which makes the rectangular prism look correctly proportioned.
🧮 A cuboid (rectangular prism) has 6 faces, 12 edges, and 8 corners — easy counts to label when you're learning 3D shapes.
🎨 Shading one face darker and blending tones gives a flat drawing instant depth by showing where the light hits and where shadows fall.
How do I draw a 3D rectangular prism using vanishing point perspective?
What materials do I need to draw a rectangular prism in perspective?
What ages are suitable for drawing a rectangular prism with perspective?
What are the benefits of practicing rectangular prism drawing and shading?
