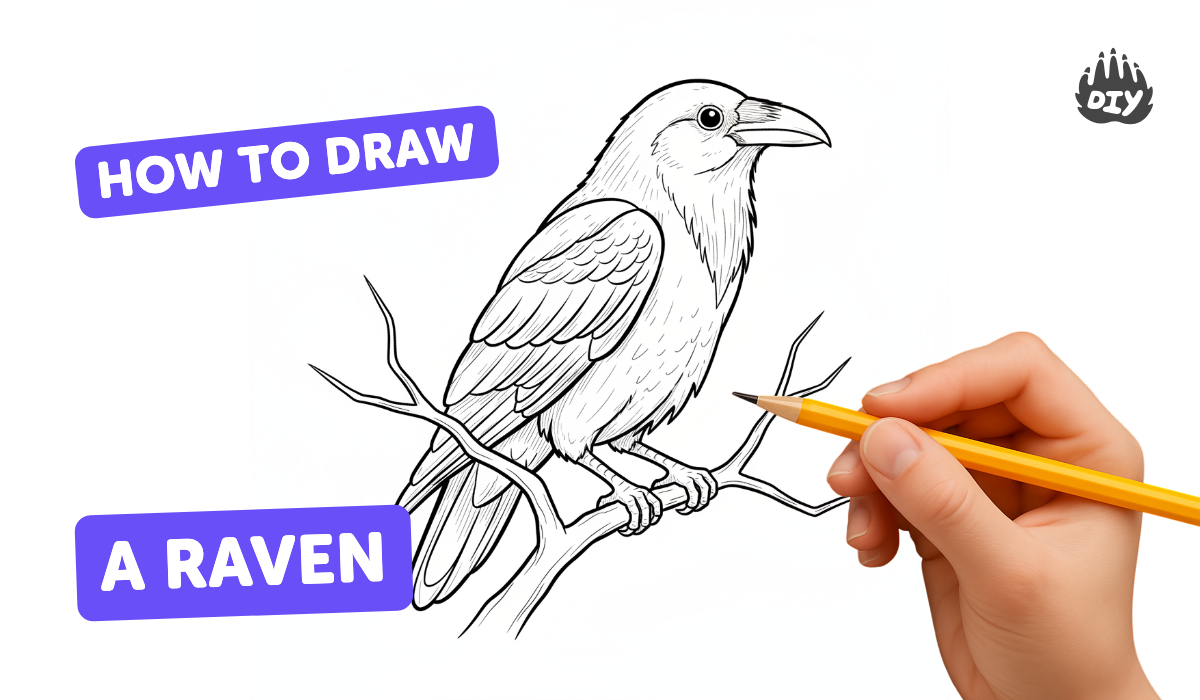
How to draw a raven - a free raven drawing guide
Draw a detailed raven step by step using pencil and eraser. Learn to shape, add feather texture, shading, and simple proportions.

Drawing Apps
Photos of raven drawing examples


Step-by-step guide to draw a raven
How to Draw a Raven - Easy Step-by-Step Guide for Kids & Beginners #howtodraw #drawingtutorial
Step 1
Place your paper on a clean flat surface so it won’t move while you draw.
Step 2
Decide which side the light will come from by pointing to that side of the paper.
Step 3
Sharpen your pencil until the tip is slightly pointed for both light lines and darker marks.
Step 4
Lightly draw a large oval in the middle of the paper for the raven’s body.
Step 5
Lightly draw a smaller circle overlapping one end of the oval for the raven’s head.
Step 6
Draw a short diagonal guideline from the head where the beak will point.
Step 7
Sketch the beak along the guideline using two curved lines that meet at a point.
Step 8
Add a long pointed tail shape at the back of the oval to show the raven’s tail.
Step 9
Draw a smooth curved line on the body to mark the wing’s outer edge.
Step 10
Sketch two thin lines under the body to make the raven’s legs.
Step 11
Add three forward toes and one back toe on each foot with short curved lines.
Step 12
Erase extra overlapping construction lines gently so the raven shape looks clean.
Step 13
Add feather texture with short overlapping curved strokes on the body and longer strokes on the wing and tail.
Step 14
Shade the raven with soft pencil strokes making the side away from the light darker to show form.
Step 15
Sign your drawing and share your finished raven on DIY.org
Help!?
What can I use if I don't have a sharpened pencil or eraser?
Use a mechanical pencil or a freshly sharpened colored pencil for both light lines and darker marks, and a kneaded or soft white eraser to gently remove the extra overlapping construction lines.
My raven looks messy and the shapes don't match—how can I fix it?
Redraw the large oval and the smaller overlapping head circle with very light strokes, add the short diagonal guideline to place the beak correctly, then gently erase construction lines so the wing, tail, and legs read clearly.
How can I adapt this drawing activity for different ages?
For younger children simplify to tracing or stickers for the oval, head, tail, and toes, for elementary kids follow all steps including feather strokes, and for older kids add detailed feather texture and careful shading on the side away from the light to show form.
How can we extend or personalize the raven drawing once it's finished?
Add a drawn branch or night sky background, experiment with colored pencils or ink for feather details, change which side you chose for the light to alter shading, then sign your drawing and share it on DIY.org.
Watch videos on how to draw a raven
HOW TO DRAW RAVEN STEP BY STEP | DARWING A RAVEN EASY
4 Videos

HOW TO DRAW RAVEN STEP BY STEP | DARWING A RAVEN EASY
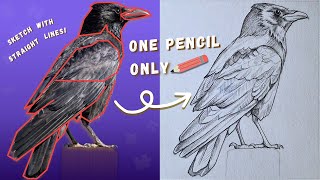
How to Draw a Raven with One Pencil | Easy Step-by-Step Guide
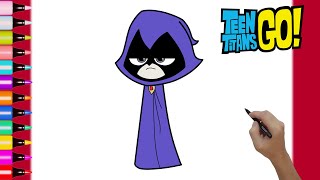
HOW TO DRAW RAVEN - TEEN TITANS GO - EASY STEP BY STEP DRAWING
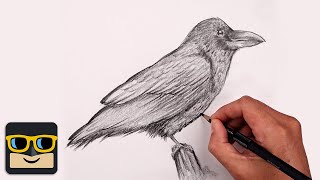
How To Draw a Raven | Sketch Tutorial
Facts about pencil sketching for kids
🐦 Ravens are one of the largest perching birds and can mimic sounds, even some human words!
✏️ Using a softer pencil like 2B–4B helps you make rich dark tones for shading feathers.
🪶 Feathers are made of tiny barbs that overlap — draw short, layered strokes to copy that texture.
🖤 Raven feathers look black but often reflect blue or purple highlights — add small light spots for shine.
🎨 Cross-hatching and gentle blending are two easy ways to create shadow and make your raven look 3D.
How do I draw a detailed raven step by step with pencil and eraser?
What materials do I need to draw a detailed raven?
What ages is drawing a detailed raven suitable for?
What are the benefits and fun variations of drawing a raven?
