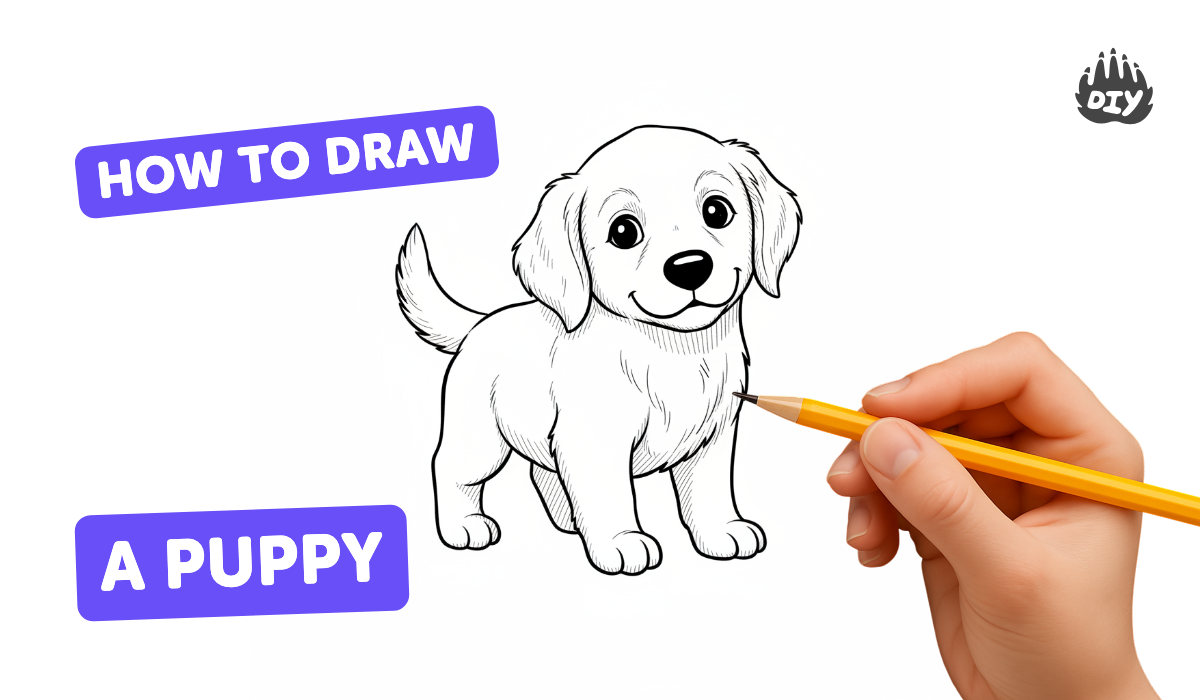
How to draw a puppy - a free puppy drawing guide
Draw a puppy step-by-step using basic shapes, outlines, details, and simple shading in pencil and color. Improve proportion, expression, and observation skills.

Drawing Apps
Get inspired with these


Instructions
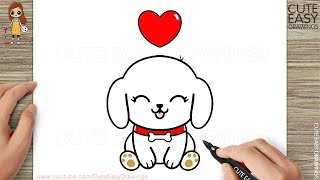
How to Draw a Cute Puppy Step by Step 🐶 | Easy Drawing for Beginners #cutedrawing #drawing4kids
Step 1
Lightly draw a circle near the top of your paper for the puppy’s head.
Step 2
Lightly draw a slightly larger oval that overlaps the bottom of the circle for the puppy’s body.
Step 3
Draw a light vertical line and a light horizontal line across the circle to help place the face features.
Step 4
Draw two small round eyes on the horizontal guideline inside the head circle.
Step 5
Draw a small rounded triangle or oval at the bottom center of the head for the nose.
Step 6
Draw a short curved line under the nose to make a smiling mouth.
Step 7
Draw two floppy ear shapes on each side of the head dropping down from the circle.
Step 8
Draw two front legs as long rounded rectangles coming down from the front of the body.
Step 9
Draw two back legs and little paw shapes at the bottom back of the body.
Step 10
Draw a curved tail at the back of the oval body that matches your puppy’s mood (curled or wagging).
Step 11
Erase the light guide lines and overlapping shape edges so the puppy shape looks neat.
Step 12
Add small fur lines and tiny details like whiskers and paw pads with short light pencil strokes.
Step 13
Add simple shading with your pencil where shadows fall and then color your puppy with the coloring materials.
Step 14
Take a photo of your finished puppy and share it on DIY.org.
Help!?
What can we use if we don't have colored pencils or a camera to share the finished puppy on DIY.org?
Use crayons, washable markers, or watercolor paint to color your puppy and use a smartphone, tablet camera, or ask an adult to scan the page to take the photo for uploading as described in the 'color your puppy' and 'take a photo' steps.
My puppy's face looks lopsided—how can I fix the eyes and nose placement?
Erase the features gently and redraw them using the light vertical and horizontal guide lines across the head circle (step 3) so the two small round eyes, rounded nose, and smiling mouth align symmetrically.
How can I adapt this drawing activity for different ages?
For younger kids simplify by tracing big pre-drawn circles and ovals and using stickers for eyes, while older kids can follow the 'add small fur lines' and 'add simple shading' steps to add texture, realistic legs, and detailed shading.
What are some ways to enhance or personalize the puppy drawing before sharing it?
Change ear shapes and tail position to show mood, add a patterned collar, background scene, and extra paw pad details, then use the shading and color step to make the drawing pop before photographing to share on DIY.org.
Related videos
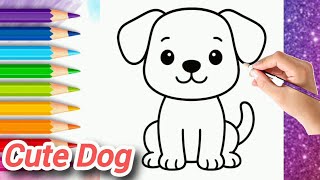
How to draw a puppy | Step by step drawing for kids
4 Videos
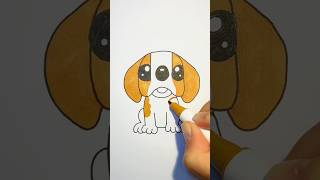
How to draw a puppy | Step by step drawing for kids
How to Draw a Dog (Step-by-Step for Beginners)||Draw a Cute Puppy in 5 Minutes! @happykidssdrawing
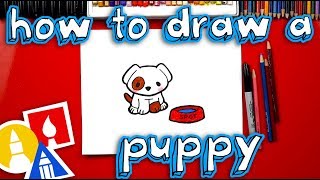
How To Draw The Cutest Puppy
Learn How to Draw a Cute Puppy in Easy Steps
Fun Facts
🐶 Puppies are born mostly toothless and grow about 28 baby teeth before their 42 adult teeth come in.
✏️ Many artists begin with simple shapes (circles, ovals, triangles) to map puppy proportions quickly and accurately.
🎨 When shading a puppy, value (light vs. dark) often matters more than exact color for showing fur texture and form.
📏 A puppy's head is proportionally larger than an adult dog's head, so drawing a bigger head helps make a sketch look young and cute.
👀 Puppies' eyes open around 10–14 days after birth and their expressions change fast—studying photos at different ages helps capture lifelike expressions.
How do I teach my child to draw a puppy step-by-step?
What materials do I need to draw a puppy with my child?
What ages is this puppy drawing activity suitable for?
What are the benefits of drawing a puppy step-by-step for children?
