How to draw a pretzel - a free pretzel drawing guide
Draw a realistic pretzel using simple shapes, outlines, and shading. Practice step-by-step observation and precise control of lines and tones.

Drawing Apps
Photos of realistic pretzel drawings


Step-by-step guide to draw a realistic pretzel
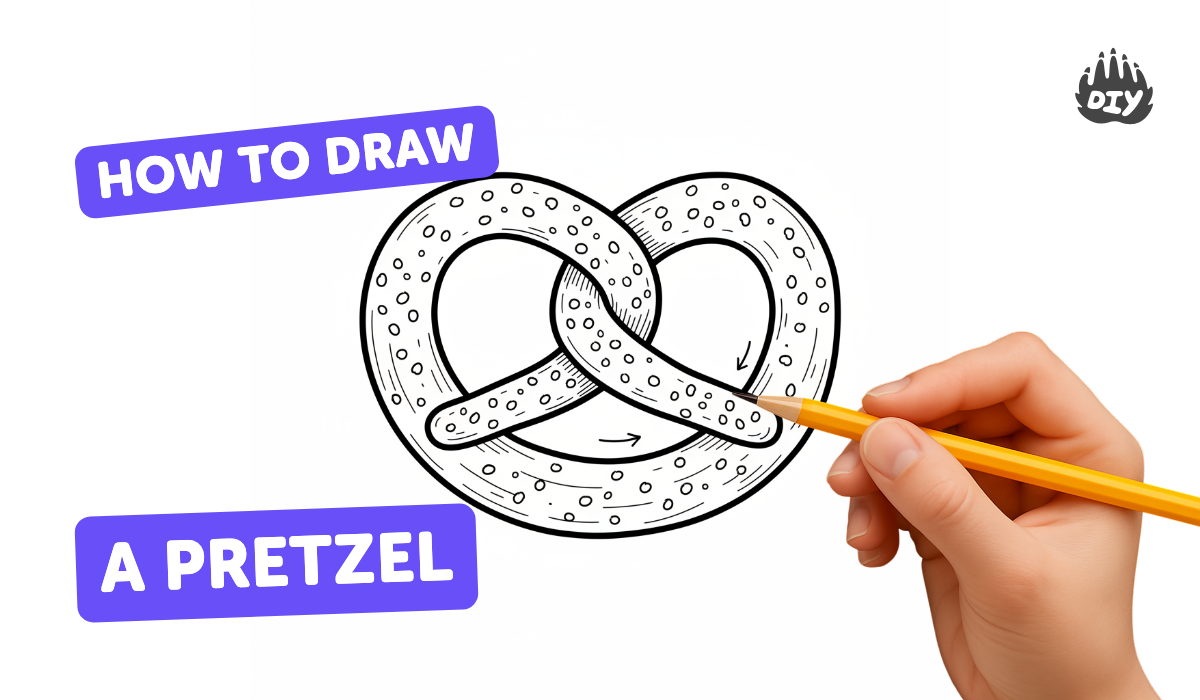
How to Draw a Simple Pretzel | Step-by-Step Lesson
Step 1
Gather your paper pencil eraser sharpener and a pretzel or picture and put them where you can see them easily.
Step 2
Look carefully at the pretzel and notice its three big puffy bumps and where the dough crosses over itself.
Step 3
Lightly sketch three overlapping circles to mark the three puffy parts of the pretzel.
Step 4
Draw two long curved lines that trace the outer path of the pretzel around the three circles to make the outside edge of the dough.
Step 5
Draw two parallel curved lines inside the outer lines to make the inner edge so the dough looks like a thick tube.
Step 6
Erase the circle guides so only the pretzel band shape remains.
Step 7
Add small curved lines at the places where the dough crosses to show which part sits on top and which goes underneath.
Step 8
Smooth and refine the outline so the pretzel has soft rounded edges and even thickness.
Step 9
Pick a light source by drawing a tiny sun or arrow outside the paper to show where the light is coming from.
Step 10
Lightly shade the side of the pretzel opposite the light source using gentle pencil strokes following the curve.
Step 11
Blend the shading with a blending stump or tissue to make the dough look rounded and smooth.
Step 12
Darken the shading a bit under the crossings and close to the edges to create depth and make the twist look real.
Step 13
Use the eraser to lift tiny spots on the lit side to make small highlights where the light hits.
Step 14
Add a few tiny dots or short dashes for salt crystals and color the pretzel if you want with brown and golden tones.
Step 15
Take a photo or scan your finished realistic pretzel and share your creation on DIY.org
Help!?
What can we use instead of a blending stump or a real pretzel if we don't have them?
If you don't have a blending stump use a clean tissue, cotton swab, or fingertip to 'Blend the shading,' and if you don't have a real pretzel use a printed picture or a clear photo as the reference to 'put them where you can see them easily.'
My pretzel looks flat or messy after erasing the guide circles—what should I do?
If the pretzel band looks flat or uneven after you 'Erase the circle guides,' lightly re-sketch the outer and inner curved lines, smooth the outline so the dough has even thickness, then follow 'Pick a light source' and 'Lightly shade' with blending to build form and use the eraser to lift highlights.
How can we change the activity for different ages?
For preschoolers simplify to drawing three big overlapping circles and coloring the band with crayons and skip 'Blend the shading,' while school-age kids can follow the full steps including 'Lightly shade,' 'Blend the shading,' 'Darken the shading a bit under the crossings,' and teens can add detailed highlights, salt marks, and color tones.
How can we extend or personalize the pretzel drawing activity?
To personalize and extend the lesson, draw a tray of different-sized pretzels with varied 'Pick a light source' directions, experiment with browns and golden tones when you 'color the pretzel,' add unique salt patterns, and photograph your best piece to share on DIY.org.
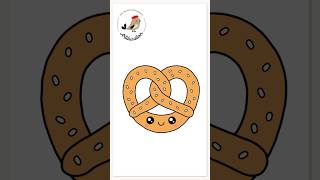
Watch videos on how to draw a realistic pretzel
How To Draw A Cute Pretzel | Easy Drawing For Kids
4 Videos

How To Draw A Cute Pretzel | Easy Drawing For Kids
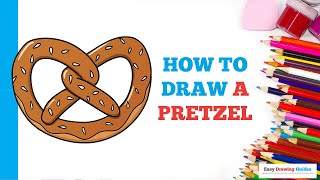
How to Draw a Pretzel in a Few Easy Steps: Drawing Tutorial for Beginner Artists

How To Draw A Pretzel
How To Draw A Cute Pretzel #artducation #pretzel #cutepretzel #drawing #shorts
Facts about observational drawing and shading
🥨 Pretzels have been around for over 1,300 years — some stories say they were invented by European monks!
🍞 A pretzel is a type of bread; its shiny brown crust comes from a quick wash in baking soda or lye before baking.
✏️ Artists often start realistic drawings by blocking in simple shapes (loops and cylinders) to get the pretzel's proportions right.
🎨 Hatching and cross-hatching are shading techniques that help turn flat outlines into a plump, three-dimensional pretzel.
🔬 Big salt crystals on a pretzel are perfect tiny highlights to draw for a crunchy, realistic look.
How do I draw a realistic pretzel step by step?
What materials do I need to draw a realistic pretzel with my child?
What ages is drawing a realistic pretzel suitable for?
What are the benefits of teaching children to draw realistic pretzels and can I try variations?
