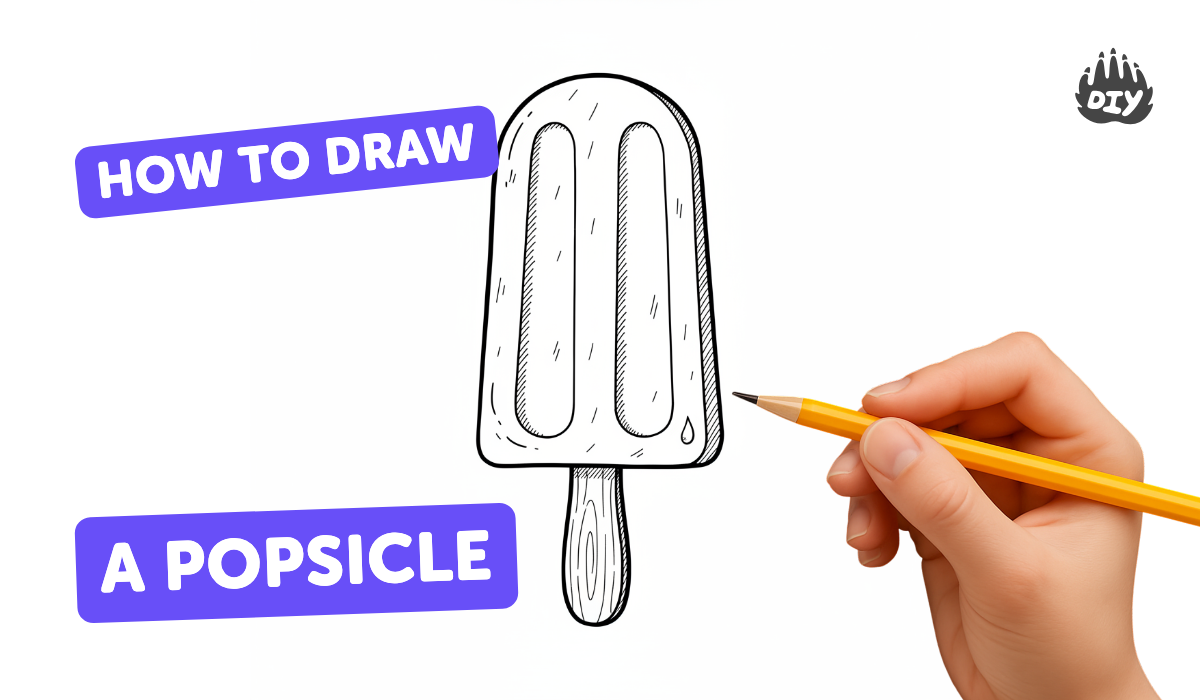
How to draw a popsicle - a free popsicle drawing guide
Draw a realistic popsicle step-by-step using simple shapes, shading, highlights, and color to add depth. Practice proportions, symmetry, and texture techniques.

Drawing Apps
Photos of realistic popsicle drawing examples


Step-by-step guide to draw a realistic popsicle
How to Draw a Popsicle for Kids | Easy Step-by-Step Tutorial
Step 1
Lightly draw a vertical center guideline down the middle of your paper to help keep the popsicle symmetrical.
Step 2
Draw a rounded rectangle centered on the guideline to make the main popsicle shape.
Step 3
Sketch a narrow rectangle centered under the popsicle so it becomes the stick that sticks out about one quarter of the popsicle height.
Step 4
Lightly erase any guideline lines that sit outside the popsicle and stick so the outline looks clean.
Step 5
Draw a long curved teardrop highlight on one side of the popsicle to show where the light hits.
Step 6
Draw a curved line near the opposite edge to mark the shadow zone where the popsicle will be darker.
Step 7
Shade the shadow zone with soft pencil strokes so the edge looks deeper than the middle.
Step 8
Gently blend the shaded area with a tissue or cotton swab to make the shadow smooth.
Step 9
Add tiny texture details like small frost dots or light horizontal lines across the popsicle surface.
Step 10
Color the main body of the popsicle with a base color while keeping the highlight area lighter.
Step 11
Add a darker tone along the shaded edge to create more depth and contrast.
Step 12
Gently blend the colored tones together with light pencil strokes or a tissue to make the color smooth.
Step 13
Color the stick with a wood tone so it looks natural.
Step 14
Draw a small soft shadow under the popsicle so it looks like it is resting on the page.
Step 15
Take a photo and share your finished popsicle drawing on DIY.org
Help!?
What can I use if I don't have a tissue, cotton swab, or colored pencils from the instructions?
Use a clean fingertip or a soft paper towel to blend the shaded area in step 7 and step 12, and substitute crayons or washable markers to color the main body in step 11 and the stick in step 13.
My popsicle looks lopsided after drawing—how do I fix symmetry and get a clean outline as in the steps?
Lightly redraw the vertical center guideline from step 1, compare each side as you adjust the rounded rectangle in step 2, and use a kneaded eraser to lift stray marks in step 4 until both sides match.
How can I adapt this activity for different ages?
For younger children pre-draw the vertical guideline and rounded rectangle from steps 1–2 and let them color the main body in step 11, while older kids can refine step 6 by shading the shadow zone, step 8 by blending with a stump, and step 9 by adding fine frost texture.
What are simple ways to enhance or personalize the popsicle drawing before sharing it on DIY.org?
Add a bitten corner or layered stripes when you color the main body in step 11, sprinkle tiny frost dots in step 9, deepen the shaded edge in step 12 for realism, and stage a small background before taking the photo in step 15.
Watch videos on how to draw a realistic popsicle
How to Draw a Cute Popsicle - Easy Drawing Tutorial for Kids & Beginners
4 Videos
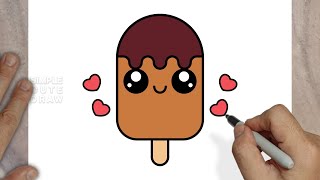
How to Draw a Cute Popsicle - Easy Drawing Tutorial for Kids & Beginners
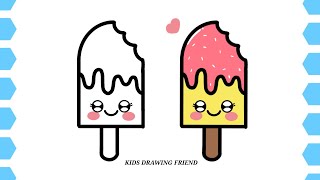
How to Draw Easy Cute Popsicle Step by Step Drawing and Coloring for Kids and Toddler

How To Draw A Cartoon Popsicle
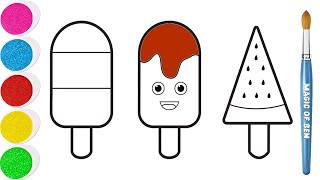
How To Draw And Color A Popsicle: 3 Flavors Step By Step (Easy Tutorial)
Facts about drawing and shading for kids
🍦 The modern Popsicle was accidentally invented in 1905 by 11-year-old Frank Epperson.
✏️ Starting with simple shapes — a rounded rectangle for the ice and a thin rectangle for the stick — makes proportions and symmetry easier to manage.
🎨 Complementary colors (opposite on the color wheel) make each other look more vivid — great for making a popsicle 'pop'.
🖼️ Smooth gradients and careful light-to-dark shading create realistic volume, a technique related to chiaroscuro used by Renaissance artists.
🔁 Many ice pops are nearly vertically symmetrical, so mirroring one side helps your drawing look balanced and believable.
How do you draw a realistic popsicle step-by-step?
What materials do I need to draw a realistic popsicle?
What ages is drawing a realistic popsicle suitable for?
What are the benefits of drawing a realistic popsicle?
