How to draw a plane - a free plane drawing guide
Draw a realistic airplane step-by-step using basic shapes and perspective. Practice sketching wings, fuselage, cockpit, and shading to create a finished plane.

Drawing Apps
Get inspired with these


Instructions
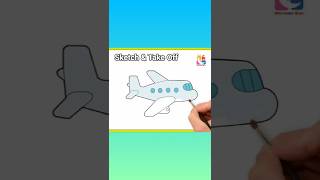
How to Draw an Airplane | Easy Step-by-Step Drawing for Kids | @ArtKidsFinger ✈️🎨
Step 1
Place your paper in landscape orientation on a flat surface.
Step 2
Lightly draw a horizontal horizon line across the page to set the background level.
Step 3
Lightly draw a straight centerline at a slight angle to show the plane's direction.
Step 4
Sketch a long rounded rectangle or cylinder along the centerline for the fuselage.
Step 5
Draw a rounded cone shape at the front of the fuselage for the nose.
Step 6
Draw a tapered end at the back of the fuselage for the tail.
Step 7
Draw a vertical tail fin on top of the tapered tail end.
Step 8
Draw the main wings as long trapezoids attached to the fuselage and make the near wing slightly larger to show perspective.
Step 9
Draw engines as rounded cylinders under each wing.
Step 10
Draw the cockpit window at the front top of the fuselage.
Step 11
Draw a row of small passenger windows along the side of the fuselage.
Step 12
Lightly erase stray construction lines that you no longer need.
Step 13
Darken the final clean outlines with firmer pencil strokes.
Step 14
Add shading to the underside of the fuselage and wings to show shadows from one chosen light source.
Step 15
Share your finished airplane drawing on DIY.org.
Help!?
What can I use instead of drawing paper, a sharp pencil, or an eraser if I don't have them?
Use any plain printer or notebook paper placed in landscape orientation, a sharpened colored pencil or ballpoint pen for light construction lines if a drawing pencil isn't available, and a soft rubber eraser or clean cloth to lift stray construction lines.
My plane looks flat or the wings are the wrong size—what should I fix?
Lightly redraw the straight centerline at a slight angle to set the plane's direction, make the near wing slightly larger to show perspective, keep construction lines light so you can erase stray construction lines before darkening the final outlines, and reposition engines as rounded cylinders under each wing if needed.
How can I adapt this drawing activity for different ages and skill levels?
For younger children simplify by tracing or cutting and gluing basic shapes like rounded rectangles for the fuselage and trapezoids for wings and using sticker windows, while older kids can refine the fuselage into a cylinder, add a tapered tail and vertical tail fin, draw detailed engines and rows of small passenger windows, and practice shading the underside for a chosen light source.
What are some ways to extend or personalize the airplane drawing after finishing the basic steps?
Add color and a custom livery along the row of small passenger windows, draw a detailed horizon line background with runway and clouds, glue on cotton for 3D clouds or cut paper tabs to make movable flaps, then share the finished airplane drawing on DIY.org.
Related videos
How to draw a Airplane for Kids | Airplane Easy Draw Tutorial
4 Videos
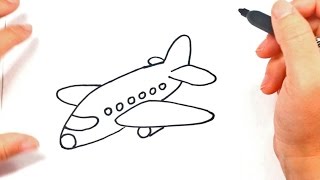
How to draw a Airplane for Kids | Airplane Easy Draw Tutorial
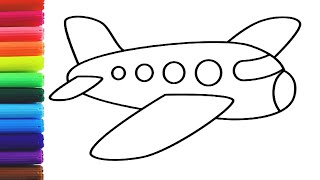
How to draw an airplane easy step by step | Painting and coloring for kids and toddlers
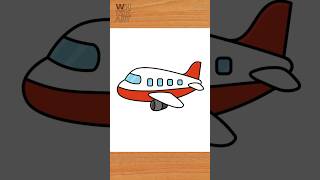
How to Draw an Airplane ✈️ | Easy Drawing Tutorial
Draw an Airplane in 60 Seconds | Easy Step-by-Step Tutorial ✏️
Fun Facts
✈️ The Wright brothers' first powered flight in 1903 lasted just 12 seconds and covered about 120 feet — tiny beginnings for aviation!
📐 One-point perspective uses a single vanishing point — great for drawing a plane's nose or a runway that fades into the distance.
🧩 Airplane parts are made of simple shapes: the fuselage looks like a cylinder, wings like tapered rectangles or triangles, and the cockpit like a dome.
🎨 Shading and highlights turn flat outlines into 3D forms — darken the underside of the wings to make them pop.
🛫 Many modern planes have winglets (curved wingtips) to reduce drag — a small detail that adds realism to your drawing.
How do I draw a realistic airplane step-by-step?
What materials do I need to draw a realistic airplane?
What ages is this airplane drawing activity suitable for?
What are the benefits of learning to draw airplanes?
