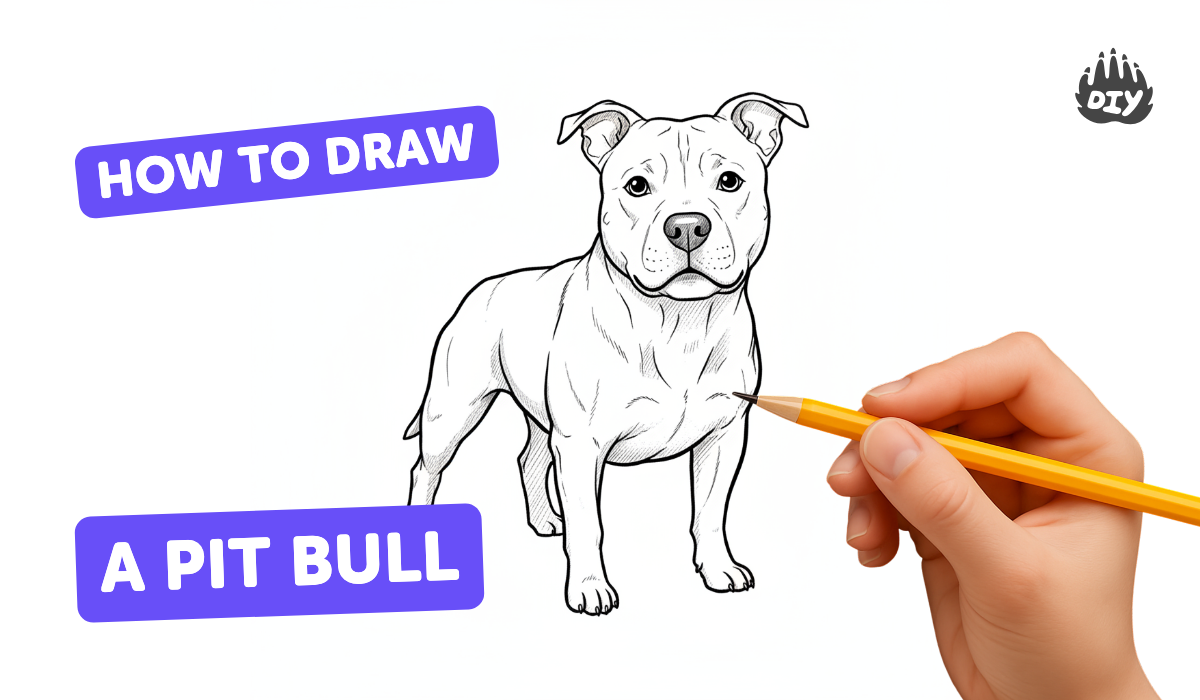
How to draw a pitbull - a free pitbull drawing guide
Draw a realistic pitbull step-by-step using simple shapes, add shading and details, and practice proportions and facial expressions with pencil and eraser.

Drawing Apps
Photos of pitbull drawing examples


Step-by-step guide to draw a pitbull
How to Draw a Pit Bull Puppy Dog Easy
Step 1
Pick a clear reference photo of a pitbull and look closely at the head shape and facial expression.
Step 2
Lightly draw a circle for the skull and a short rectangle or box shape for the muzzle to build the basic head.
Step 3
Draw a vertical center line and a horizontal eye line across the head to guide where features will go.
Step 4
Sketch the jawline and cheek muscles by connecting the skull circle and muzzle with curved lines.
Step 5
Add the ears as simple triangle or folded shapes placed on top of the skull circle.
Step 6
Draw a thick neck and the top of the chest using rounded shapes to show the pitbull’s muscular build.
Step 7
Mark small shapes where the eyes nose and mouth will sit using the guide lines to check spacing and proportion.
Step 8
Erase any guide lines that fall outside the refined head outline so the face looks cleaner.
Step 9
Refine the eyes nose and mouth by drawing eyelids pupils nostrils and the lip line with clearer strokes.
Step 10
Draw short curved lines for skin folds and wrinkles to capture the expression and personality.
Step 11
Shade the main light and shadow areas with your pencil using soft strokes and blend gently with the stump or tissue.
Step 12
Add short pencil strokes to suggest fur texture following the direction of the hair.
Step 13
Lift tiny highlights with your eraser and make final contrast adjustments to finish the drawing.
Step 14
Take a photo of your finished pitbull drawing and share your creation on DIY.org
Help!?
What can I use instead of a blending stump if I don't have one?
If you don't have a stump for step 12's shading and blending, use a folded tissue, a cotton swab, or your fingertip to gently blend the pencil strokes.
My pitbull's muzzle looks too long or too short—how can I fix the proportions?
If the muzzle looks off after drawing the circle and short rectangle in step 2, recheck placement using the vertical center line and horizontal eye line from step 3, erase the rectangle, and redraw it before refining the jawline in step 4.
How can I adapt this drawing activity for different age groups?
For younger kids simplify step 2 to a single oval and skip detailed steps like 9–13, while older kids can focus on refining wrinkles (step 10), adding fur texture (step 13), and practicing more advanced shading in step 12.
How can I enhance or personalize my finished pitbull drawing?
To extend the drawing from step 14, add a colorful collar or background with colored pencils or markers, try different expressions from your reference photo, and then photograph and share your creation on DIY.org as in step 15.
Watch videos on how to draw a pitbull
How To Draw Pit Bull Terrier | Sketch Tutorial
4 Videos
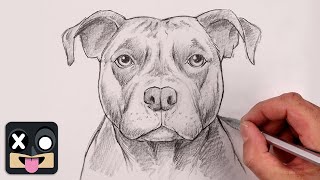
How To Draw Pit Bull Terrier | Sketch Tutorial
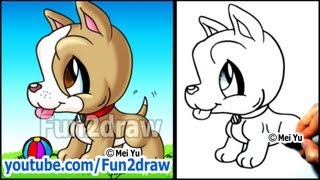
Pitbull PUPPY - How to Draw a Dog - Cute Easy Cartoon Tutorial | Learn from Home: Online Art Lessons
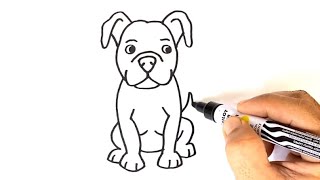
How to DRAW PITBULL EASY DRAWING DOG STEP BY STEP
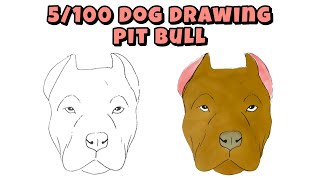
Learn to Draw Pit Bull - Beginner-Friendly 5/100 Dog Drawing for All Ages
Facts about animal drawing and pencil sketching for kids
🐶 The American Pit Bull Terrier was originally bred for strength and agility, so artists studying one get great practice with muscular dog anatomy.
✏️ Many artists begin animal drawings with simple shapes (circles, ovals, triangles) to lock in proportions before adding details.
🎨 Shading techniques like hatching and soft blending help turn flat shapes into rounded forms—perfect for a pitbull's strong muzzle and brow.
🐾 A pitbull's short coat makes its skin and muscle shapes more visible, so short strokes and clear light directions create realistic fur effects.
🧠 Small changes in the eyes, ear tilt, and mouth make huge differences in expression—learning these helps you draw believable canine emotions.
How do I draw a realistic pitbull step-by-step?
What materials do I need to draw a realistic pitbull?
What ages is drawing a realistic pitbull suitable for?
What are the benefits of practicing realistic pitbull drawings?
