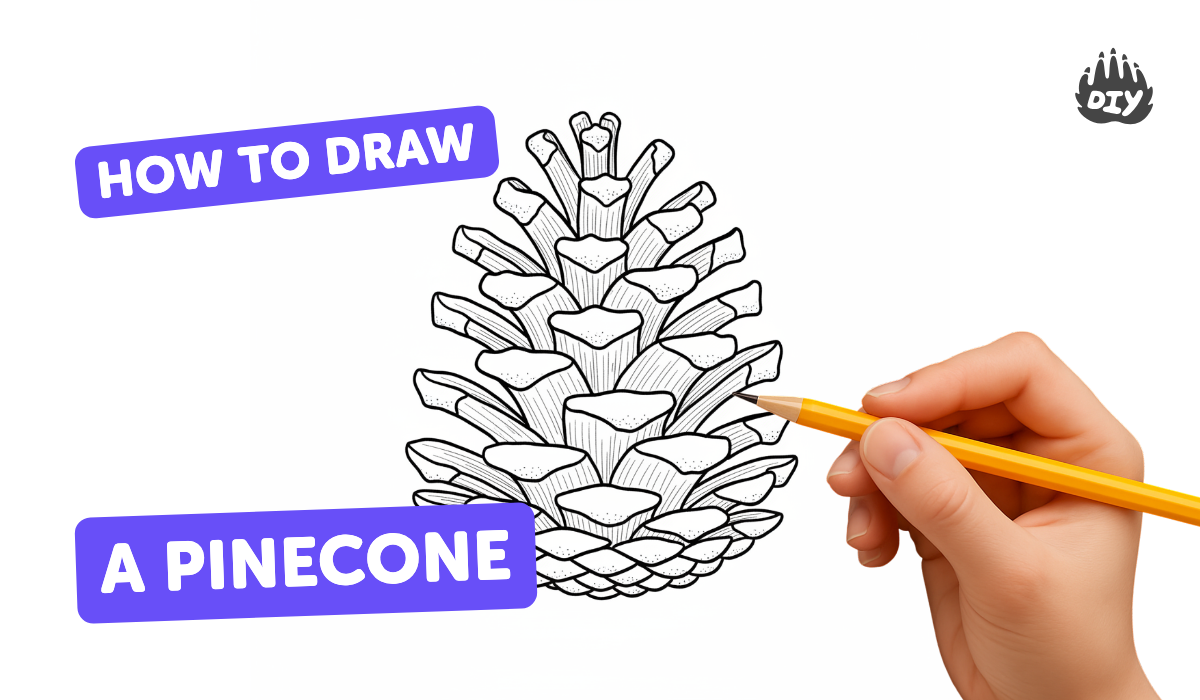
How to draw a pinecone - a free pinecone drawing guide
Draw a detailed pinecone step-by-step using basic shapes, scale, and shading techniques with a pencil. Practice texture, proportion, and observational drawing skills.

Drawing Apps
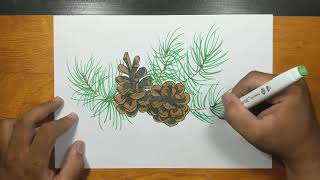
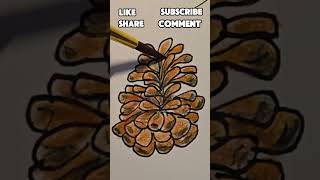
Photos of pinecone drawing examples


Step-by-step guide to draw a pinecone
How To Draw A Pinecone
Step 1
Look closely at the pinecone or picture and notice its overall teardrop shape and how the little scales overlap.
Step 2
Lightly draw a teardrop outline to mark the outer shape of your pinecone.
Step 3
Draw a faint vertical center line inside the teardrop to help keep the rows of scales balanced.
Step 4
Add several faint horizontal guide lines across the teardrop spaced wider at the bottom and closer together at the top.
Step 5
On the bottom guideline draw a row of large overlapping rounded scales across the width of the cone.
Step 6
On the next guideline up draw a row of slightly smaller overlapping scales that sit on top of the bottom row.
Step 7
Continue drawing rows of scales upward, making each row a bit smaller until you reach the tip.
Step 8
Add texture by drawing short curved lines on each scale following its shape.
Step 9
Decide where the light is coming from and mark the light direction with a small arrow in a corner of your paper.
Step 10
Shade the underside of each scale darker where it overlaps to create depth.
Step 11
Gently blend shaded areas with a tissue or cotton swab to make smooth transitions.
Step 12
Erase any remaining guide lines so only your pinecone drawing is visible.
Step 13
Share your finished pinecone drawing on DIY.org
Help!?
What can we use instead of a tissue or cotton swab if we don't have them for blending?
If you don't have a tissue or cotton swab for the step 'Gently blend shaded areas with a tissue or cotton swab', use a fingertip, a corner of a paper towel, a Q‑tip, or a paper stump/blending stump as substitutes.
My rows of scales look uneven—how do I fix them?
If the scales are uneven, redraw faint horizontal guide lines and the vertical center line (steps 2–4) and keep marks light so you can erase and reposition rows until the scales sit evenly.
How can I adapt this activity for different ages?
For younger kids simplify by tracing a teardrop and drawing large overlapping ovals for scales, while older kids can add finer texture lines and more detailed shading of the underside of each scale (steps 1, 5, 9–10).
How can we enhance or personalize the finished pinecone drawing?
After erasing guide lines (step 12), personalize your pinecone by adding color, a background forest scene, repeating it into a pattern for wrapping paper, or photographing it and sharing on DIY.org with your marked light direction.
Watch videos on how to draw a pinecone
🌲 How to Draw a Simple Pinecone | Step-by-Step Lesson 🍂
4 Videos

🌲 How to Draw a Simple Pinecone | Step-by-Step Lesson 🍂

How To Draw A Pine Cone Step By Step For Beginners | Easy Pine Cone Drawing Tutorial | Pine Cone
How to draw PINE CONE WITH BRANCH step by step
"How to Draw and Paint a Pine Cone: Step-by-Step Tutorial"
Facts about pencil drawing and sketching
🌲 Pine cones are the seed-bearing structures of pine trees and some species' cones can stay closed for years until fire or heat opens them.
✏️ Graphite pencils come in graded hardness (like 4H to 8B) so artists use different grades to get light lines or dark shading.
👀 Practicing observational drawing—like sketching a real pinecone—improves visual memory and helps you notice tiny details and proportions.
🔺 The scales on many pine cones form spirals that follow Fibonacci numbers, a neat natural pattern artists love to highlight.
🎨 Shading tricks like cross-hatching, blending with a tortillon, and lifting highlights with a kneaded eraser give pencil drawings depth and texture.
How do I draw a detailed pinecone step-by-step?
What materials do I need to draw a detailed pinecone?
What ages is this pinecone drawing activity suitable for?
What are the benefits of drawing pinecones for children?
