How to draw a pineapple - a free pineapple drawing guide
Draw a pineapple step-by-step using basic shapes, add scale texture and crown leaves, then color and shade to create a realistic fruit illustration.

Drawing Apps
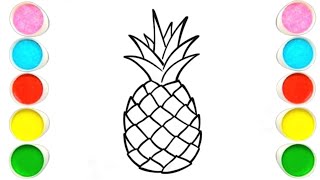
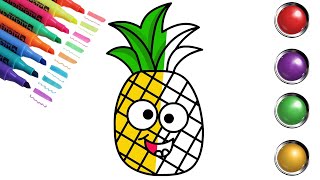
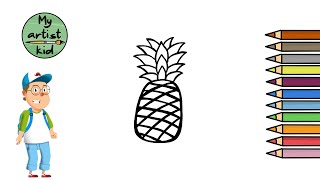
Photos of pineapple drawing examples


Step-by-step guide to draw a pineapple
How to Draw a Pineapple for Kids | Easy Step-by-Step Drawing Tutorial
Step 1
Gather your paper pencil eraser black marker and colouring materials so everything is ready.
Step 2
Lightly draw a tall slightly pointed oval in the middle of the paper to make the pineapple body.
Step 3
Draw a short curved line at the top of the oval to show where the crown leaves will attach.
Step 4
Draw evenly spaced diagonal lines slanting down to the left across the oval.
Step 5
Draw evenly spaced diagonal lines slanting down to the right across the oval to form diamond shapes.
Step 6
Inside each diamond draw a small curved V or tiny teardrop to mark the center of each scale.
Step 7
Draw one tall pointed leaf coming up from the top center curved line for the crown's middle leaf.
Step 8
Add several more pointed leaves on each side of the center leaf overlapping slightly to make a full crown.
Step 9
Trace over your final pencil lines with the black fine-tip marker to make the drawing bold.
Step 10
Gently erase the pencil guidelines so only the marker lines and scale marks remain.
Step 11
Color the pineapple body with a light yellow base to cover the whole oval evenly.
Step 12
Color the scales by adding light brown to the diamond edges or centers to create texture.
Step 13
Color the crown leaves with different greens to give them depth and variety.
Step 14
Add shading and highlights by darkening one side of the pineapple scales with a darker brown and rubbing lightly to blend; add a few light strokes of white or a lighter color for highlights.
Step 15
Take a photo or scan your finished pineapple and share your creation on DIY.org.
Help!?
What can I use if I don't have a black fine-tip marker or certain colouring materials?
If you don't have a black fine-tip marker, trace the final pencil lines with a dark ballpoint pen or thin permanent marker, and substitute crayons, colored pencils, or watercolors for the light yellow base and green crown colors.
My diagonal lines and diamonds look uneven or my marker smudged when erasing — what should I do?
Draw the diagonal lines very lightly with your pencil so the diamonds can be adjusted, only trace with the black marker once you're happy with the scales and crown, wait for the ink to dry, then gently erase pencil guidelines with the eraser to avoid smudging.
How can I adapt this pineapple drawing for different ages or skill levels?
For preschoolers, simplify to a single oval with large leaves and basic coloring, for early elementary follow all steps but skip detailed shading, and for older kids add small curved V scale marks, layered greens in the crown, and blended darker-brown shading for texture.
How can we extend or personalize the pineapple activity after finishing the drawing?
Personalize your pineapple by adding a painted or patterned background, using tissue-paper or crayon rubbings to texture the diamond scales, varying leaf colors, and then photograph or scan the finished piece to share on DIY.org.
Watch videos on how to draw a pineapple
🍍 Easy Pineapple Drawing | Step by Step for Kids & Beginners ✏️🎨
4 Videos
🍍 Easy Pineapple Drawing | Step by Step for Kids & Beginners ✏️🎨
Cute Pineapple Step by Step | Easy Drawing for Kids 🍍🎨
Learn How to Draw a Pineapple - Easy drawing, painting and coloring for kids

How to Draw a Cute Pineapple Simple & Easy for Kids
Facts about drawing and illustration for kids
🍍 Pineapples are actually a cluster of many flowers whose individual berries fuse together into one fruit.
🌱 The spiky top of a pineapple is called the crown — you can replant it to grow a new pineapple plant!
✏️ Artists often begin drawings by blocking in simple shapes (circles, ovals, triangles) to get proportions right.
🔶 A pineapple’s skin is made of repeating diamond-shaped “eyes,” perfect practice for drawing textured patterns.
⏳ A pineapple plant usually takes about 18–24 months to produce fruit — great reminder that art practice needs patience too!
How do you draw a pineapple step-by-step?
What materials do I need to draw a pineapple with my child?
What ages is this pineapple drawing activity suitable for?
What are the benefits of drawing a pineapple for kids, and are there any safety tips?
