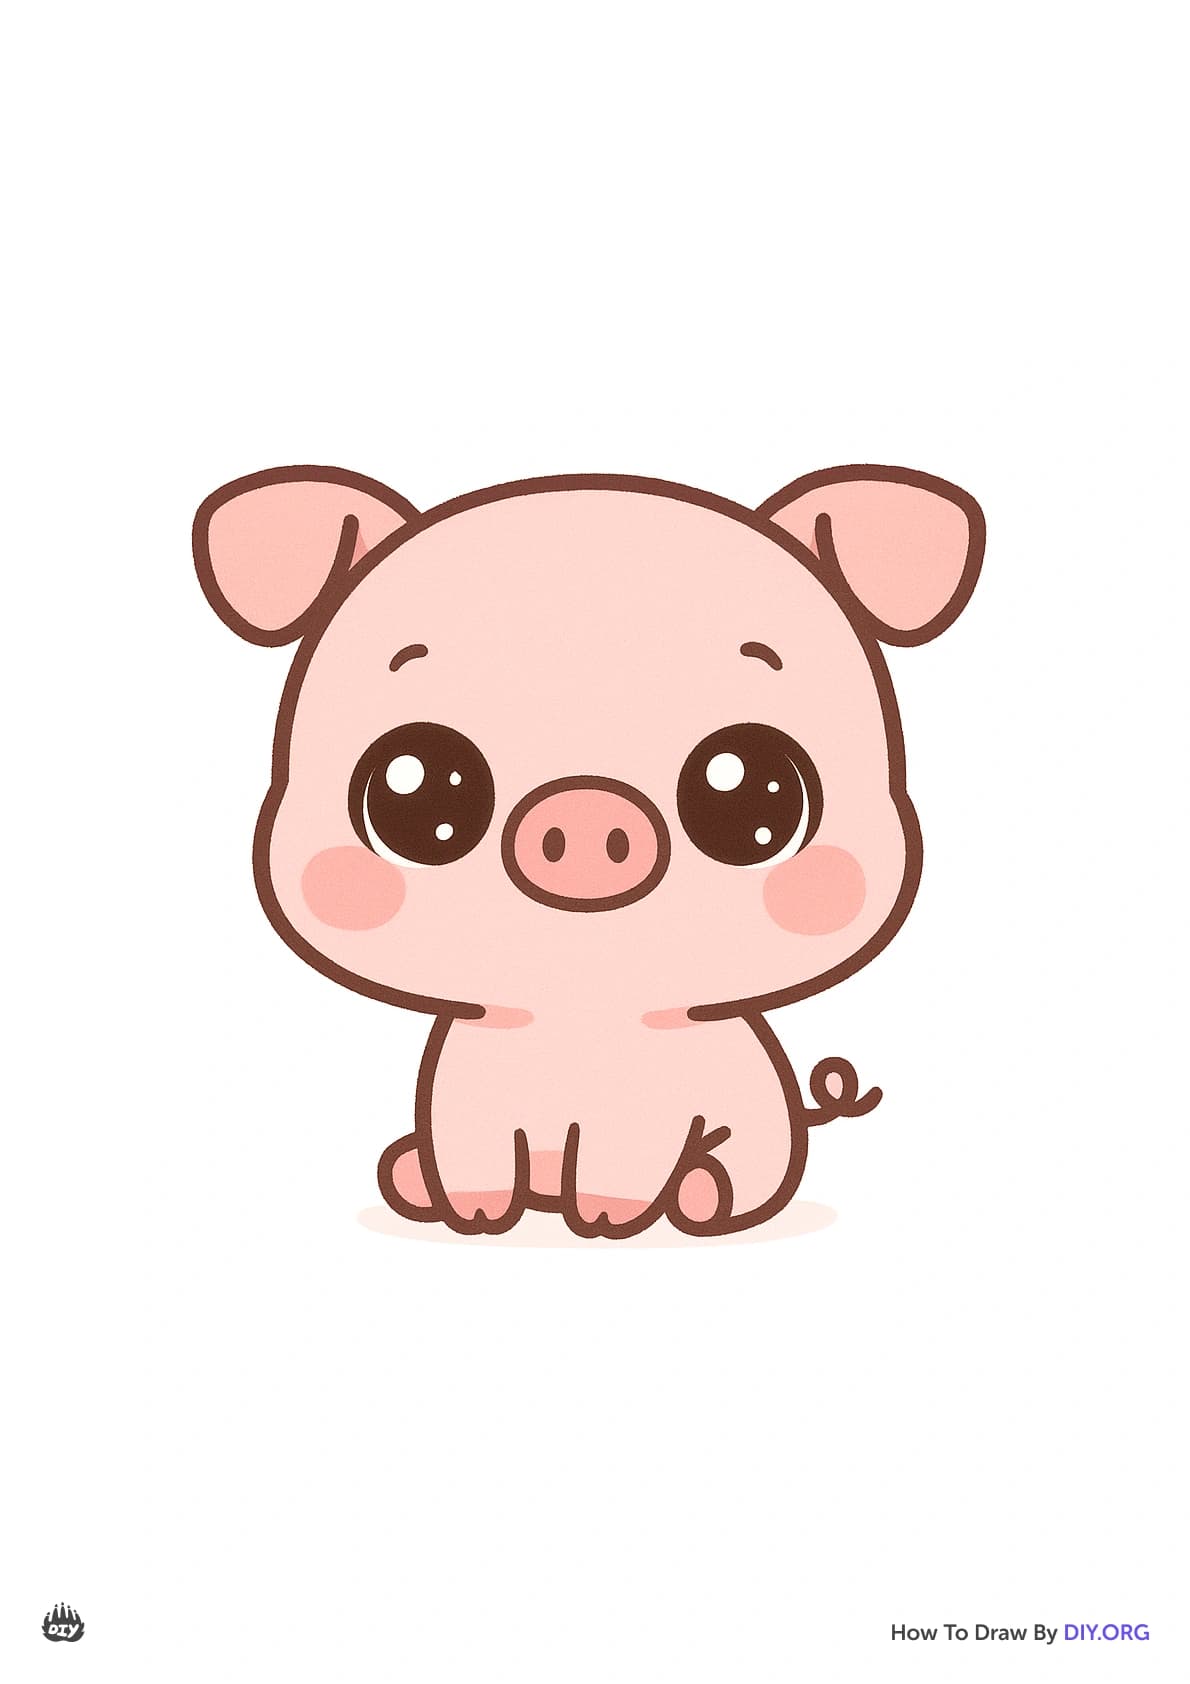
How to draw a pig - a free pig drawing guide
Draw a cartoon pig step by step using simple shapes, outlines, and colors. Practice proportions, facial features, and shading to finish your pig drawing.


Drawing Apps
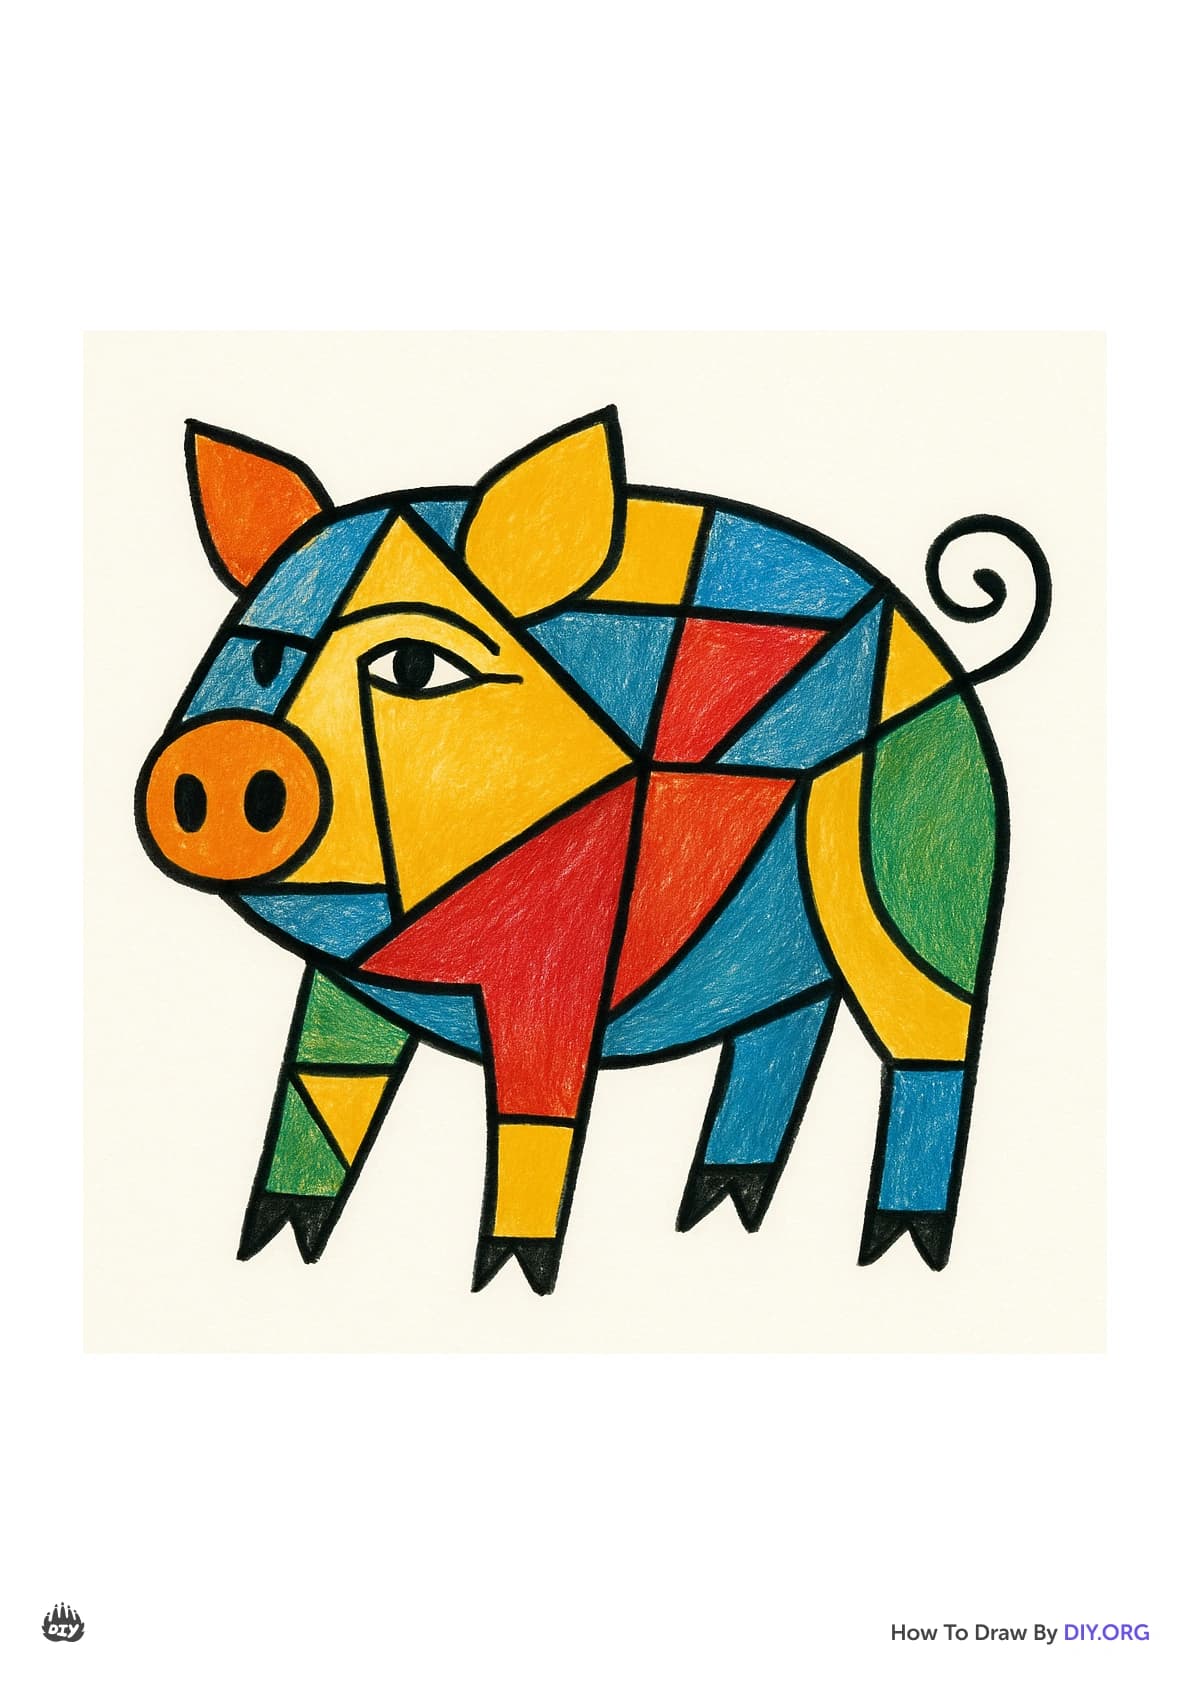
Get inspired with these
Instructions
How to Draw a Pig Step by Step for Kids | Easy Pig Drawing Tutorial for Children | Learn to Draw
Step 1
Place your paper and pencil on a flat surface so you are ready to draw.
Step 2
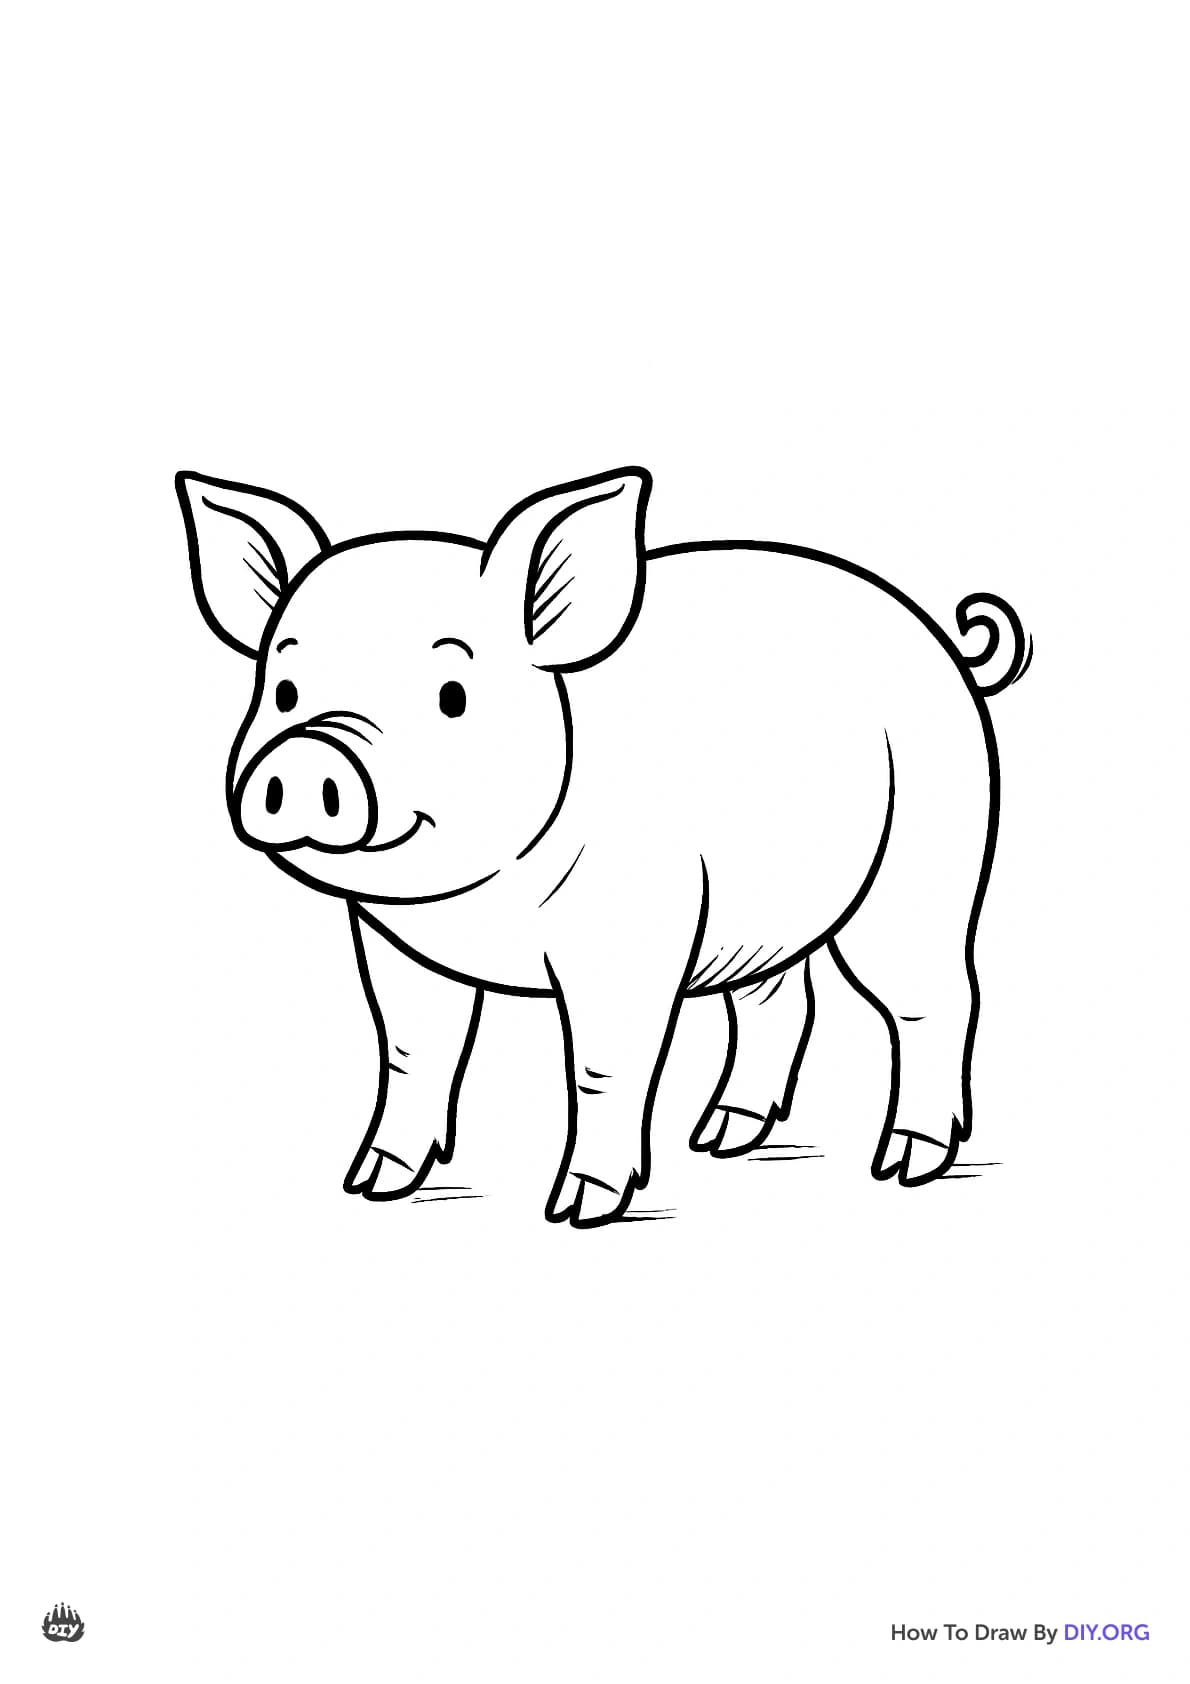
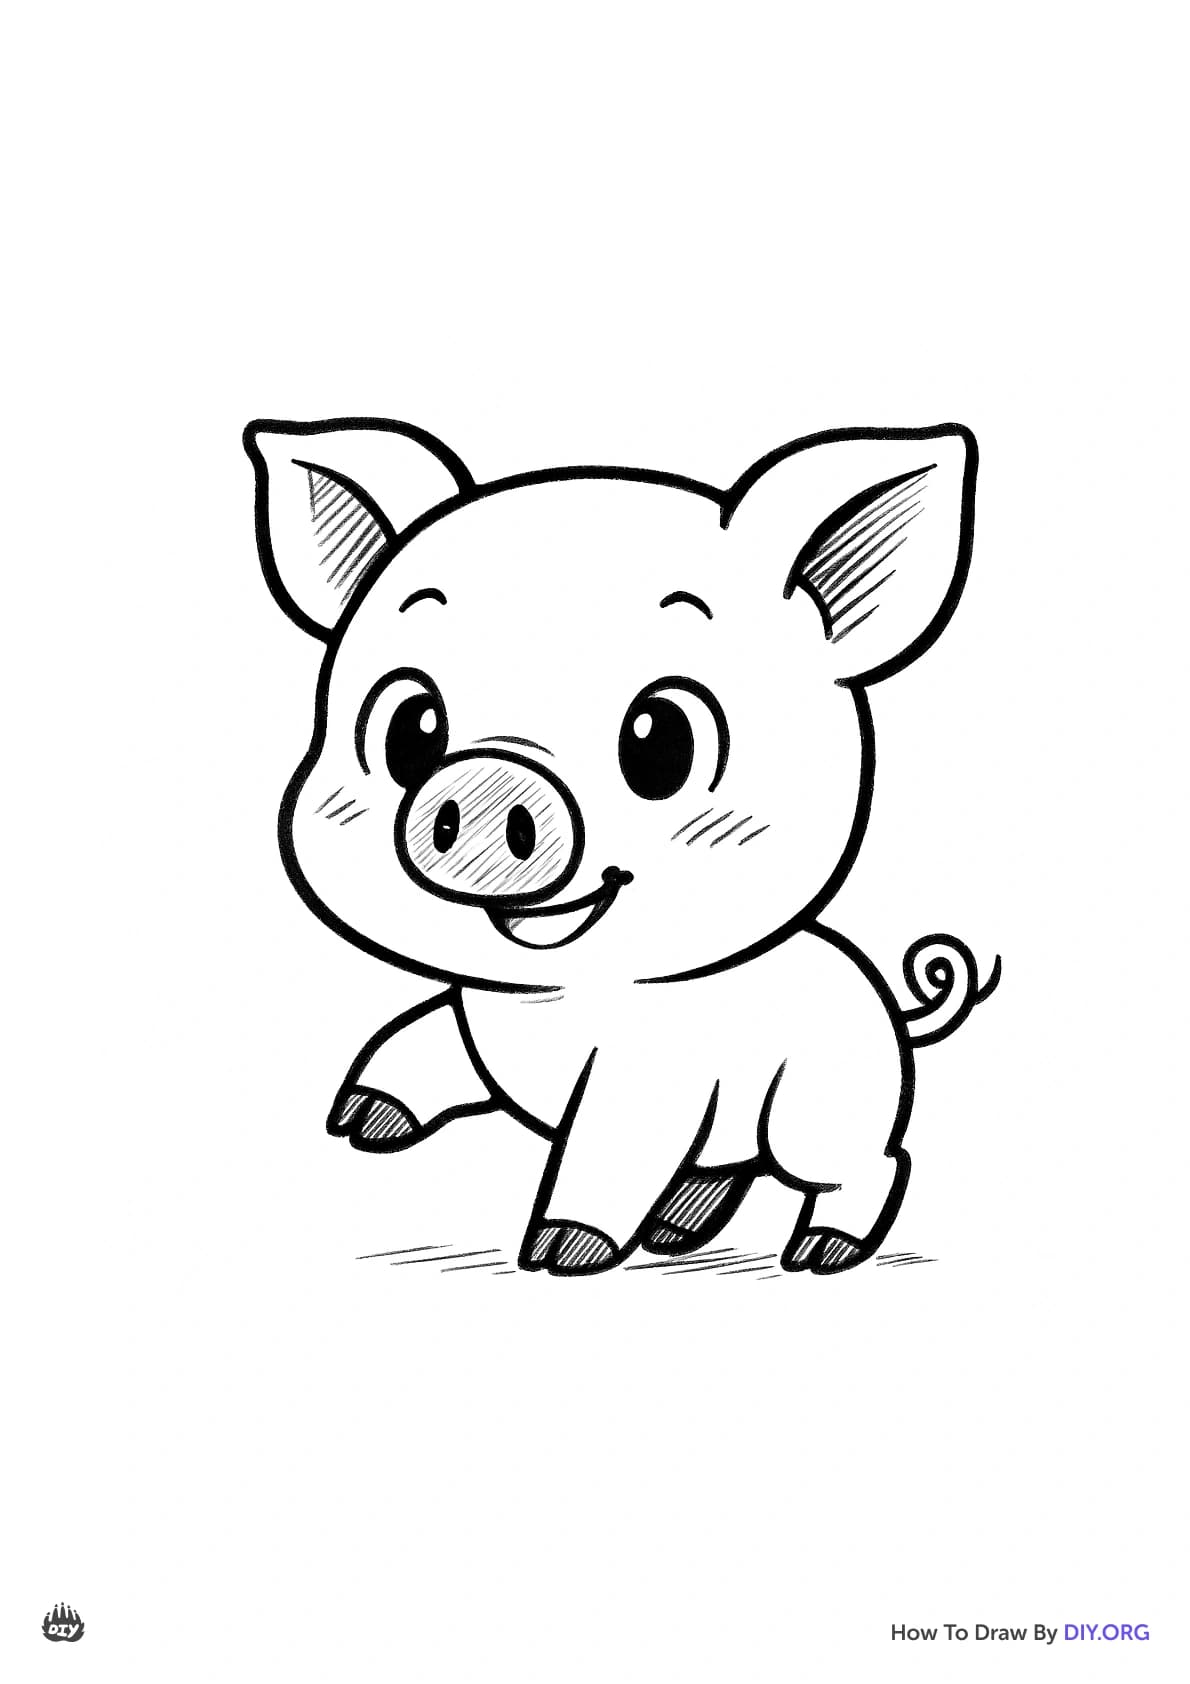
Lightly draw a medium circle near the top-center of the page for the pig's head.
Step 3
Draw a larger oval that overlaps the bottom of the circle for the pig's body.
Step 4
Add two small rounded triangles on top of the head to make the pig's ears.
Step 5
Draw a wide horizontal oval at the front of the head to create the snout.
Step 6
Put two small filled circles inside the snout for the pig's nostrils.
Step 7
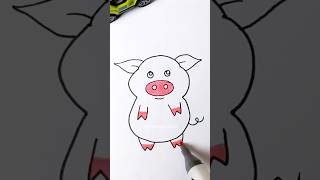
Draw two small round eyes above the snout to give your pig a face.
Step 8
Draw four short straight legs under the body to make the pig stand.
Step 9
Add small horizontal lines at the ends of each leg to form hooves.
Step 10
Draw a curly spiral tail at the back of the body for a playful look.
Step 11
Erase any extra overlapping or construction lines so the pig looks neat.
Step 12
Trace your final lines with a black marker or a darker pencil to make the drawing bold.
Step 13
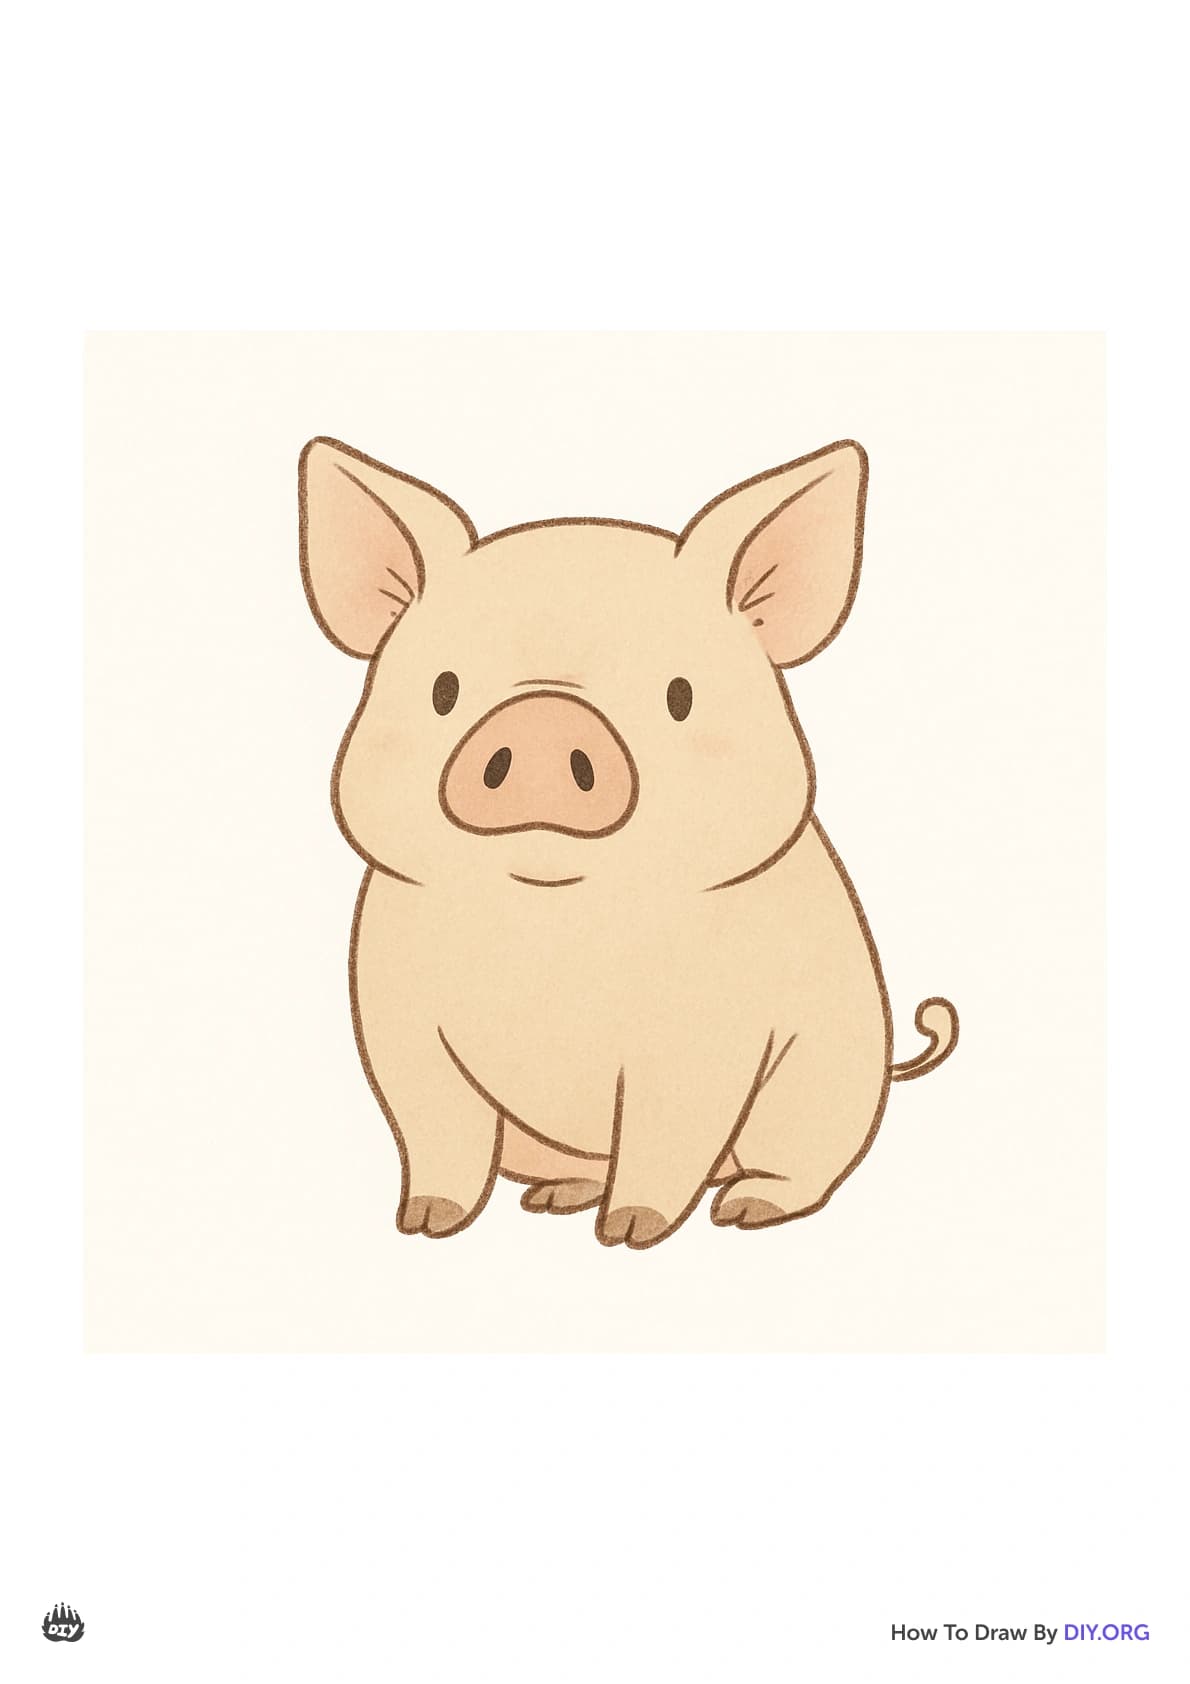
Color the pig using your coloring materials to bring it to life.
Step 14
Write your name and the date in a corner to sign your artwork.
Step 15
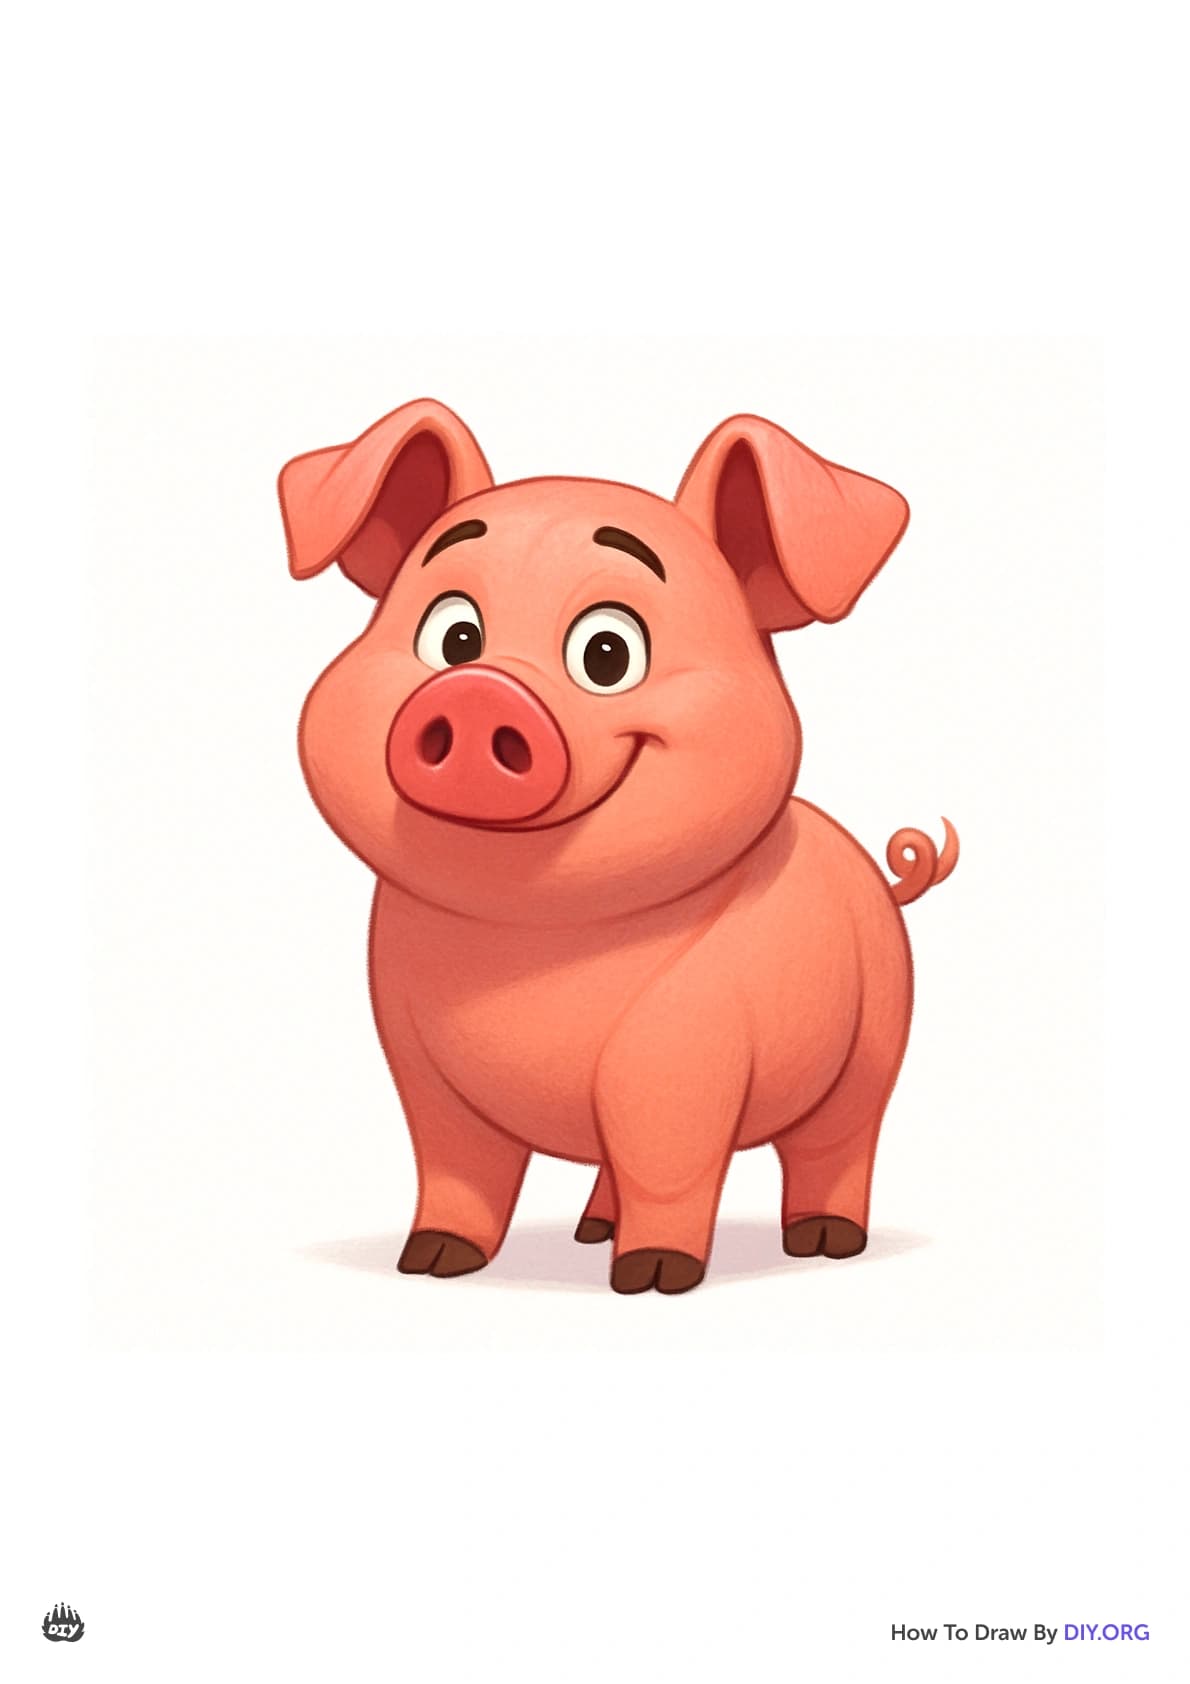
Share your finished creation on DIY.org.
Help!?
What can we use if we don't have a black marker or certain coloring materials?
If you don't have a black marker to trace your final lines as instructed, use a dark ballpoint pen or a sharp crayon and substitute crayons or washable markers for the coloring step.
My pig's head and body overlap strangely or the legs look wrong — how can I fix it?
If the circle head and oval body overlap awkwardly or the four short legs are uneven, lightly erase the problematic construction lines as in 'Erase any extra overlapping...' and redraw the shapes more lightly before retracing.
How can I adapt this activity for younger or older kids?
For younger children, pre-draw the head and body circles and have them add ears, snout, and hooves, while older kids can add shading, a farm background, and trace final lines with a black marker per the instructions.
What are some ways to personalize or extend the pig drawing once it's finished?
To enhance the drawing, add mud splashes, patterns, or a curly-tail variation, color creatively, write your name and the date in a corner, and then share your finished creation on DIY.org as the final step.
Related videos
How to Draw a Pig Step by Step 🐷 | Easy Drawing for Kids
3 Videos
How to Draw a Pig Step by Step 🐷 | Easy Drawing for Kids
🐖 How to Draw a Simple Pig | Step-by-Step Lesson 🐷
Cute Pig Drawing for Kids in Just 30 Seconds! 🐽Easy Step-by-Step Drawing Tutorial #drawing4kids
Fun Facts
🐷 Pigs are very clever — drawing little expressions (eyes, ears) really brings a pig character to life!
✏️ Cartoonists often build characters from simple shapes (circles, ovals, rectangles) before adding details.
🖐️ Step-by-step drawing practice helps build fine motor skills and better pencil control for kids.
👀 Observational drawing trains your eyes to spot small details like ear angle and snout curves.
📏 A handy proportion tip: a pig’s snout is roughly one-third the length of its head — great for quick sketches!
How do I teach my child to draw a pig step by step?
What materials do I need to draw a pig with my child?
What ages is drawing a pig suitable for?
What are the benefits of drawing a pig for my child's development?
