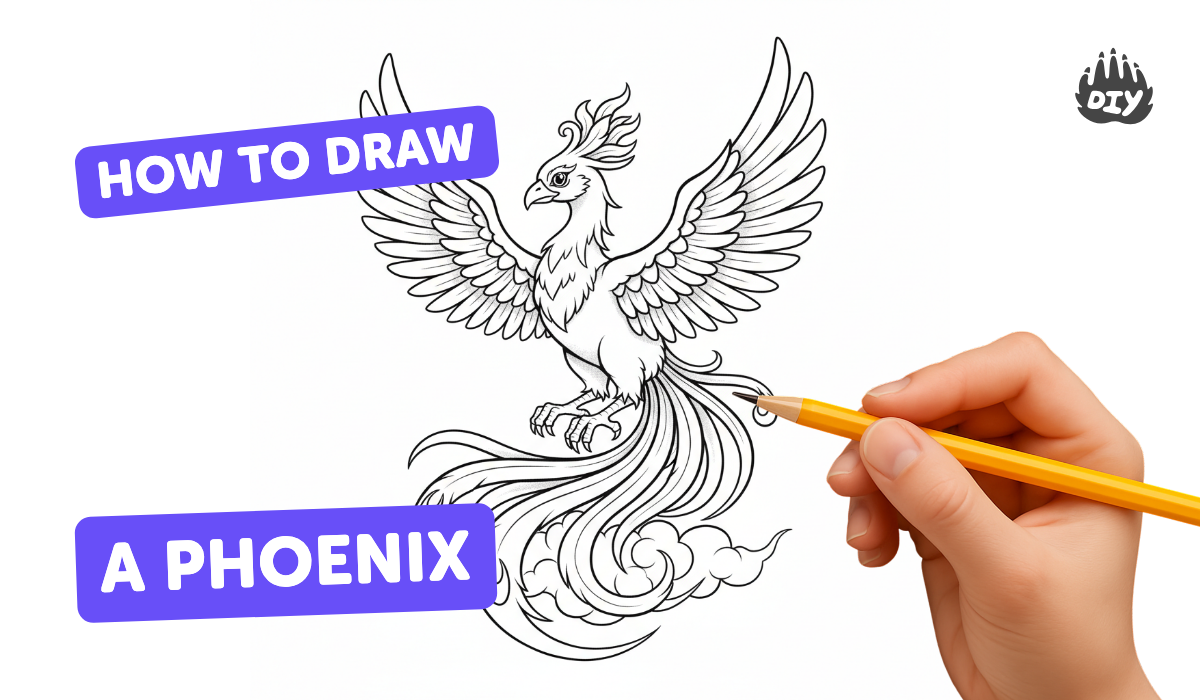
How to draw a phoenix - a free phoenix drawing guide
Draw a phoenix step by step using pencil, ink, and color. Practice shape construction, feather patterns, and warm color blending to create dramatic flames.

Drawing Apps
Photos of phoenix drawing examples


Step-by-step guide to how to draw a phoenix
How To Draw A Cute Phoenix
Step 1
Lightly sketch a small circle for the head and a larger oval for the body to set the phoenix pose.
Step 2
Draw a flowing curved line from the head through the body to show the neck tail and general movement.
Step 3
Add simple guiding lines for where the wings will spread and which way the tail will flow.
Step 4
Block in the wing and tail masses by drawing large curved feather shapes and long flame like tail shapes.
Step 5
Refine the head by drawing a pointed beak and an eye to give your phoenix expression.
Step 6
Draw layered curved feather outlines on the wings tail and chest starting from the body outward.
Step 7
Add smaller feather pattern strokes and flame like details to the tail and wing tips for motion.
Step 8
Lightly erase the extra construction lines you no longer need so the sketch looks cleaner.
Step 9
Carefully ink over your final pencil outlines with the black pen following the main shapes and feather edges.
Step 10
Let the ink dry completely before touching the paper.
Step 11
Gently erase any remaining pencil marks after the ink is dry.
Step 12
Apply a base layer of yellow across the flames and feathers to create a warm foundation.
Step 13
Add orange over the yellow to build a smooth warm gradient on the feathers and tail.
Step 14
Add red and darker tones and blend them into the base then add highlights and the darkest shadows to finish the dramatic flames.
Step 15
Share your finished phoenix on DIY.org
Help!?
I don't have a black pen or paint—what can I substitute for the 'Carefully ink...' and color steps?
Use a fine‑tip felt marker or dark HB pencil to trace your final lines for the 'Carefully ink over your final pencil outlines' step, and substitute colored pencils, crayons, or markers to layer the yellow→orange→red gradient described in 'Apply a base layer of yellow...' and 'Add orange over the yellow...'.
My ink smudged and pencil lines are still visible—how do I fix that as I follow the instructions?
If ink smudges, follow 'Let the ink dry completely' before touching the paper, then gently erase remaining pencil marks as in 'Gently erase any remaining pencil marks' and use lighter initial sketches like 'Lightly sketch a small circle...' so erasing is easier next time.
How can I change this activity for different ages while still using the steps like sketching shapes and adding feathers?
For younger children, simplify by tracing printed circle/oval guides for 'Lightly sketch a small circle...' and coloring with crayons for 'Apply a base layer of yellow...', while older kids can refine the head and layered feathers, ink with a fine pen, and practice smooth orange/red blending from the later color steps.
What are some ways to extend or personalize the phoenix after finishing the basic drawing and coloring?
Personalize by adding metallic gold or glitter highlights during the 'add highlights and the darkest shadows' stage, designing a dramatic background scene, or creating multiple poses to photograph and share the finished phoenix series on DIY.org.
Watch videos on how to draw a phoenix
How To Draw A Phoenix
4 Videos
How To Draw A Phoenix
Learn To Draw a Phoenix | Step by Step Sketch Course
How to Draw a Phoenix : Step-by-Step Pencil Sketch Tutorial for Beginners

How to Draw a Phoenix in a Few Easy Steps: Drawing Tutorial for Beginner Artists
Facts about drawing and illustration for kids
🔥 The phoenix is a mythological bird associated with rebirth, often described as bursting into flames and rising from its own ashes.
🪶 Feathers are made of keratin (like human hair) and flight feathers are asymmetrical to help birds fly.
🎨 Warm colors—reds, oranges, and yellows—tend to "advance" toward the viewer and make scenes feel hotter and more dramatic.
✍️ Fast gesture sketches help capture the phoenix's dynamic pose before you add detailed feather patterns and ink lines.
🖋️ India ink and waterproof inks give deep blacks that work beautifully under watercolor or marker color washes.
How do I draw a phoenix step by step with pencil, ink, and color?
What materials do I need to draw a phoenix using pencil, ink, and color?
What ages is drawing a phoenix with pencil, ink, and color suitable for?
What are the benefits of drawing a phoenix for kids?
