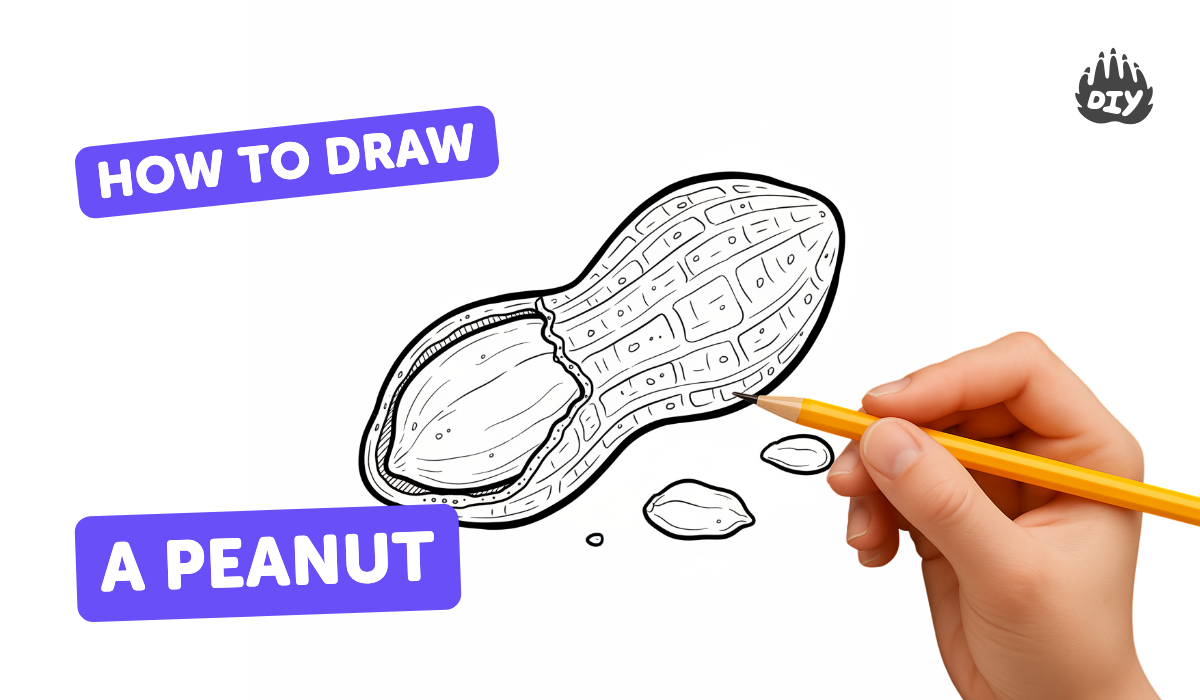
How to draw a peanut - a free peanut drawing guide
Draw a realistic peanut using simple shapes, outlines, texture, and shading. Practice observation, proportion, and step-by-step drawing skills to improve accuracy.

Drawing Apps
Photos of realistic peanut drawings


Step-by-step guide to draw a realistic peanut
#257 How to Draw a Peanut - Easy Drawing Tutorial
Step 1
Find a real peanut or a picture of a peanut and study its shape and bumpy shell for one minute.
Step 2
Decide where the light is coming from and draw a tiny arrow on your paper to show the light direction.
Step 3
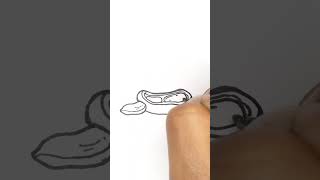
Lightly draw two overlapping ovals to make the two rounded lobes of the peanut.
Step 4
Connect the ovals with a narrow curvy waist and smooth outer lines to form the peanut outline.
Step 5
Erase any extra construction lines so only the peanut outline remains.
Step 6
Draw a slightly curved seam line down the middle where the shell splits.
Step 7
Add small short curved lines and dots across the shell to create the peanut’s texture.
Step 8
Shade the side of the peanut that is away from your light arrow using soft pencil strokes.
Step 9
Gently blend the shaded area with your finger or a cotton swab to make smooth tones.
Step 10
Darken the deepest shadows along the seam and under the curves to make the peanut look round.
Step 11
Draw a soft cast shadow beneath the peanut to make it sit on the page.
Step 12
Share your finished peanut drawing on DIY.org
Help!?
What can I use if I don't have a real peanut, cotton swabs, or a blending stump?
For step 1 use a clear photo of a peanut on a phone or printed paper, and for step 9 replace a cotton swab or blending stump with a fingertip, tissue, or a small piece of paper towel to gently blend the shaded area.
My peanut looks flat—what step did I miss and how do I fix it?
Check your light arrow from step 2, then darken the shaded side in step 8 and the deepest shadows along the seam and under the curves in step 11, and blend those areas (step 9) to make the peanut look round.
How can I adapt the activity for younger or older kids?
For younger children simplify step 3 by tracing two large ovals with a crayon and skip blending in step 9, while older kids can add detailed shell texture from step 7, refine shadows in step 11, and experiment with highlights or colored pencils.
How can we extend or personalize our peanut drawing after finishing step 12?
Try changing the light direction in step 2 to practice new shadow shapes, draw several peanuts with different textures from step 7 including one split at the seam from step 6 to show the nut, add color or background, and then share your result on DIY.org as in step 13.
Watch videos on how to draw a realistic peanut
Easy Peanuts Drawing and Colouring Step by Step For Kids And Toddlers
4 Videos
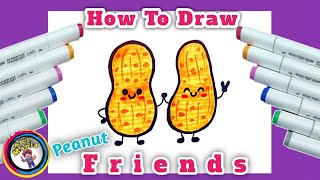
Easy Peanuts Drawing and Colouring Step by Step For Kids And Toddlers
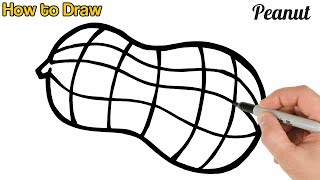
How to Draw a Peanut Easy | Food Drawings
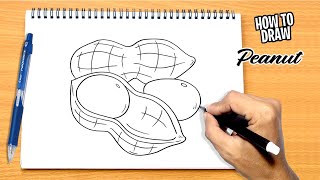
How to draw Peanut
HOW TO DRAW PEANUTS - ART TUTORIAL
Facts about drawing and shading for kids
🥜 Peanuts are actually legumes (like beans), not true nuts — they grow underground from the plant Arachis hypogaea.
🌱 After pollination, peanut flower stalks push into the soil so the peanuts develop underground — that’s why shells have a rough, protective texture.
🎨 Artists use cross-hatching and layered shading to make a bumpy peanut shell look three-dimensional on paper.
🔬 Most peanut shells contain two seed lobes, and the shell's external bumps usually mirror those inner shapes.
📏 An average edible peanut shell is about 1–2 inches (3–5 cm) long — a handy size reference for drawing accurate proportion.
How do I draw a realistic peanut step by step?
What materials do I need to draw a realistic peanut?
What ages is drawing a realistic peanut suitable for?
What are the benefits of drawing a realistic peanut?
