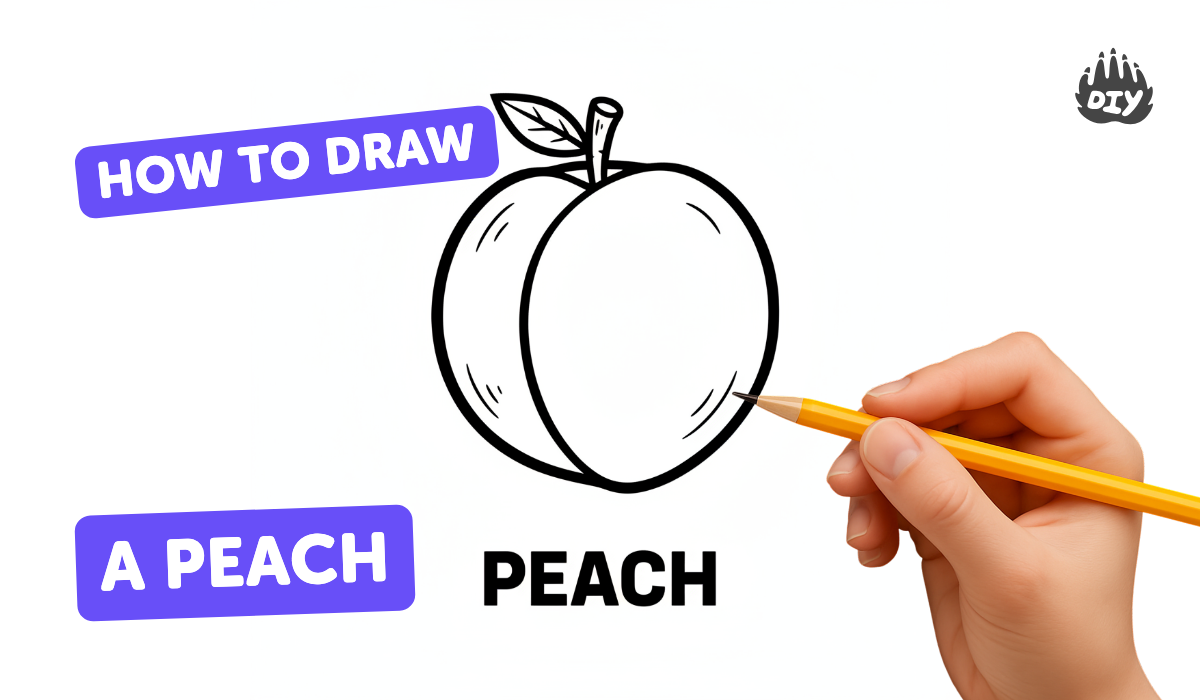
How to draw a peach - a free peach drawing guide
Draw a realistic peach step by step using simple shapes, shading, and watercolor or colored pencils. Practice observation and blending to create lifelike texture.

Drawing Apps
Photos of peach drawing examples


Step-by-step guide to draw a realistic peach
🍑 Draw This Juicy Peach in 6 Simple Steps - Fun & Easy for Kids!
Step 1
Lay out your materials on a clean table so everything is easy to reach.
Step 2
Look closely at a real peach or a photo for one minute and notice its round shape and fuzzy skin.
Step 3
Lightly draw a simple oval or circle for the peach body using your pencil.
Step 4
Add a shallow indent at the top and a gentle curved seam line from top to middle.
Step 5
Draw a small stem and one leaf at the top where the indent is.
Step 6
Smooth and tweak the outer shape so the peach looks slightly lopsided and natural.
Step 7
Erase any extra construction lines so your main outline is neat.
Step 8
Mark a small unshaded area to show where the light hits the peach.
Step 9
Shade the side opposite the light with soft pencil strokes to show shadow.
Step 10
Gently blend the pencil shading with a tissue or your finger to make it smooth.
Step 11
Choose whether you will color with watercolor paints or colored pencils.
Step 12
Apply a light base layer of peach color over the fruit with your chosen medium.
Step 13
Add darker oranges and reds on the shaded side and along the seam to create depth.
Step 14
Paint or color the leaf and stem with green and brown and add a simple vein in the leaf.
Step 15
Take a photo of your finished peach and share your creation on DIY.org.
Help!?
I don't have watercolor paints, colored pencils, or a tissue—what can I use instead?
If you don't have watercolor paints or colored pencils for the 'Choose whether you will color...' step, use diluted food coloring or washable markers for color and replace the tissue used in 'Gently blend the pencil shading...' with a clean cotton ball or your finger.
My peach looks flat when I shade it—how can I make it look rounder?
To fix flat shading in 'Shade the side opposite the light...' and 'Gently blend...', build up soft pencil layers with small circular strokes on the shaded side, darken along the seam as in 'Add darker oranges and reds...' and then blend gently with the tissue to create a smooth curve of shadow.
How can I adapt this drawing activity for a 4-year-old and for a 12-year-old?
For a 4-year-old, simplify by providing a pre-drawn oval and thick crayons so they can focus on adding a stem and leaf from 'Draw a small stem and one leaf...', while a 12-year-old should follow all steps including 'Look closely at a real peach...' and refine shading and color layering for realistic texture.
What are some ways to make the peach drawing more creative before sharing it on DIY.org?
To enhance the project, add a soft background wash after 'Erase any extra construction lines...', create fuzzy skin texture with light cross-hatching or a kneaded eraser lift following the 'Apply a light base layer...' step, and experiment with mixed media like watercolor plus colored-pencil details on the seam before photographing to post on DIY.org.
Watch videos on how to draw a realistic peach
How to Draw and Color Princess Peach | Easy Step by Step Tutorial for Kids
4 Videos
How to Draw and Color Princess Peach | Easy Step by Step Tutorial for Kids
How to Draw a Cute Peach - Fun and Easy Drawing for Kids!
Cute Peach🍑 Drawing for Kids | Step by Step Tutorial
How to Draw Princess Peach | Easy for Kids | Beginner Art Lesson
Facts about drawing and watercolor techniques for kids
🍑 Peaches have been cultivated in China for over 4,000 years — their scientific name Prunus persica hints at ancient trade through Persia.
👀 Artists draw a peach by first spotting simple shapes (circles, ovals, crescents) and building details from those guides.
✏️ Colored-pencil realism usually comes from many light layers (often 3–10+) and gentle blending to achieve smooth transitions.
🖌️ Watercolor behaves differently on wet vs dry paper: wet-on-wet gives soft, fuzzy blends (great for peach fuzz) while wet-on-dry keeps sharper edges.
🎨 Peach skin has tiny fuzz called trichomes — painters suggest this texture with soft strokes, lifting highlights, or subtle scumbling.
How do I draw a realistic peach step by step for kids?
What materials do I need to draw a realistic peach with shading and watercolor or colored pencils?
What ages is drawing a realistic peach suitable for and how to adapt it?
What are the benefits of practicing realistic peach drawing for kids?
