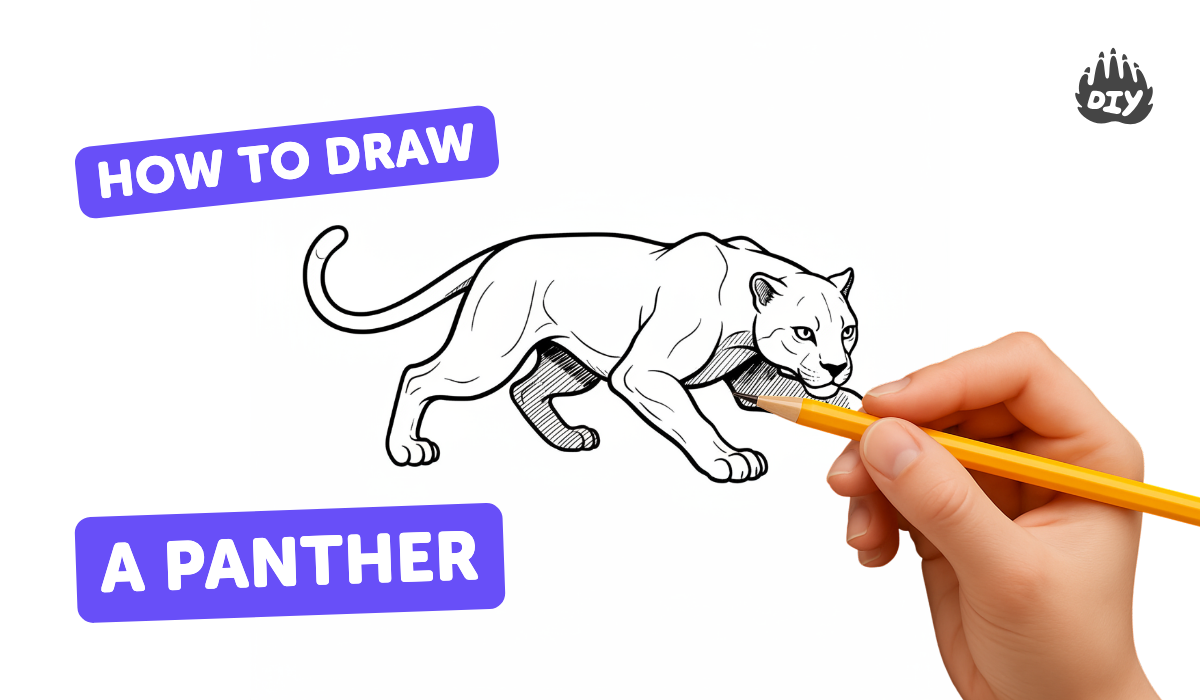
How to draw a panther - a free panther drawing guide
Draw a realistic panther step by step using basic shapes, proportion guides, and simple shading techniques. Practice observing reference photos and improving detail.

Drawing Apps
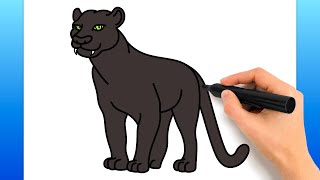
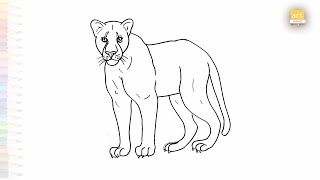
Photos of panther drawing examples


Step-by-step guide to draw a realistic panther
How To Draw A Panther - Fun & Easy Step By Step Drawing and Coloring Guide
Step 1
Pick one clear reference photo of a panther and place it next to your paper so you can look at it while you draw.
Step 2
Lightly draw a large oval for the body a smaller circle for the head and a long curved line for the tail to map the panther’s basic pose.
Step 3
Sketch a center line across the head to show the face direction and a spine line through the body to show the posture.
Step 4
Mark leg positions with simple cylinders and ovals where the joints and paws will be.
Step 5
Refine the head by shaping the circle into a muzzle and adding two pointed ears in the correct positions.
Step 6
Smooth the body shapes into a single connected outline and add shoulder and hip curves to show muscle.
Step 7
Draw the eyes nose and mouth using the head center line to keep features in the right place.
Step 8
Add fur direction with short curved strokes following the body contours and mark darker areas like around the face and belly.
Step 9
Build shading gradually starting with HB to lay down light tones then use 2B and 4B for midtones and deep shadows.
Step 10
Blend shaded areas lightly with a stump or tissue to create smooth fur transitions while keeping some pencil texture.
Step 11
Erase construction lines and lift small highlights with your eraser to bring out shiny fur and the eye glints.
Step 12
Compare your drawing to the reference and make small tweaks to shapes values and details until you are happy.
Step 13
Take a photo of your finished panther and share your creation on DIY.org
Help!?
What can we use if we don't have HB, 2B, 4B pencils or a blending stump?
If you don't have 2B/4B pencils or a stump, use a softer pencil like 6B or a charcoal pencil for deep shadows and blend carefully with a clean tissue or cotton swab while following the step that builds shading gradually.
My panther's legs and head look out of proportion—how can I fix this?
Compare your drawing to the reference photo and correct the proportions by redrawing the light construction shapes (the large oval, smaller head circle, spine line, and leg cylinders) and erasing adjustments as instructed before refining the outline.
How can I change the activity for younger or older kids?
For younger kids, simplify to the big shapes only (oval body, circle head, tail line) and use chunky crayons, while older kids can follow steps 7–11 to add fur strokes, layer HB/2B/4B shading, and blend with a stump for texture.
What are some ways to extend or personalize the panther drawing?
Personalize by choosing a different reference pose, adding a colored jungle background with colored pencils or watercolor, emphasize shiny fur by lifting highlights with the eraser, and finish by photographing your work to share on DIY.org as the final step.
Watch videos on how to draw a panther
How To Draw a PANTHER | Step-By-Step Sketch Tutorial
4 Videos
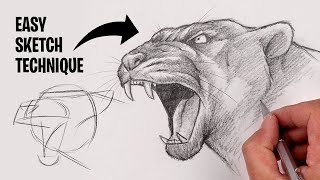
How To Draw a PANTHER | Step-By-Step Sketch Tutorial
How To Draw A Panther (Easy Drawing Tutorial)
Black Panther easy drawings | Art tutorial | How to draw A panther step by step easily | #artjanag
Draw a Pink Panther | Easy Step by Step Guide for Kids
Facts about wildlife drawing for kids
🐆 Black panthers aren't a separate species — they're melanistic leopards or jaguars!
🌑 Even when a panther's fur looks solid black, faint rosette or spot patterns can appear in bright light.
🐾 Big cats have retractable claws, so you can draw paws with claws tucked in or out for different poses.
🧭 A panther's long tail is a natural balance bar — include it to make leaps and turns look believable.
🎨 Fast gesture sketches (30–60 seconds) are a great way to capture a panther's movement before adding details.
How do I draw a realistic panther step by step?
What materials do I need to draw a realistic panther?
What ages is drawing a realistic panther suitable for?
What are the benefits, safety tips, and variations for panther drawing?
