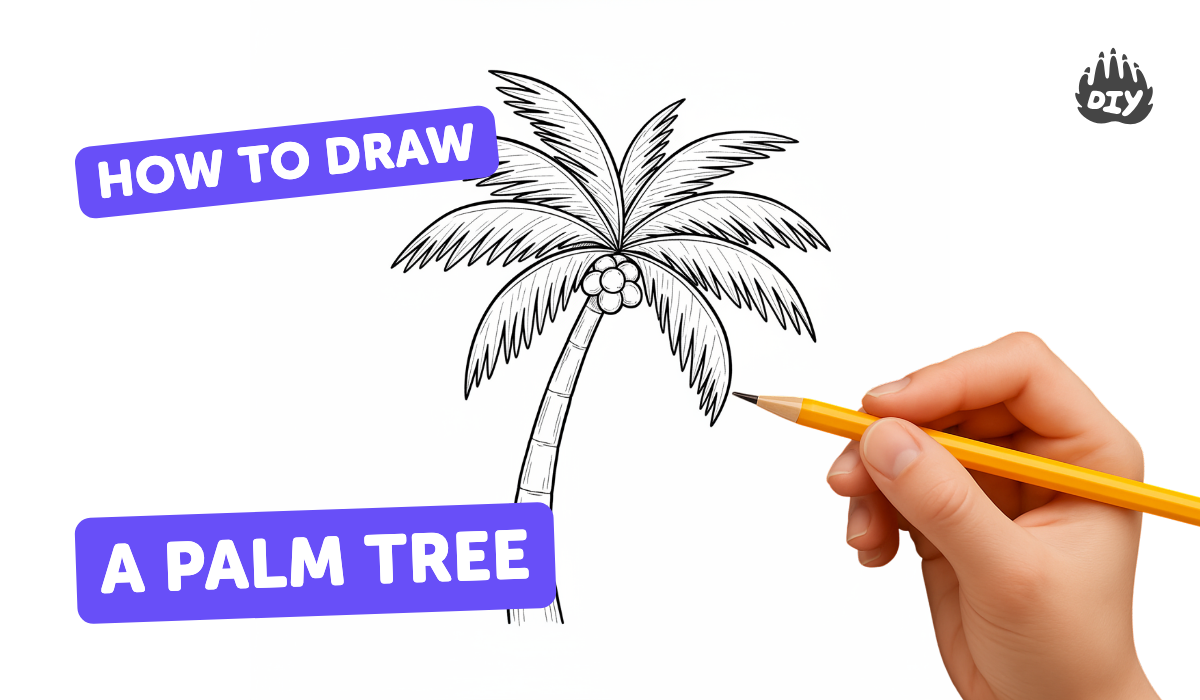
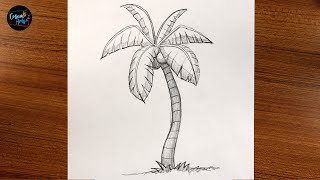
How to draw a palm tree - a free palm tree drawing guide
Draw a palm tree step by step using pencil, eraser, and colored pencils. Practice proportions, curved trunk lines, leaf shapes, and simple shading.

Drawing Apps
Get inspired with these


Instructions
How to draw a palm tree🌴🥥 Step by step drawing for kids
Step 1
Collect your materials.
Step 2
Put your paper in front of you in a vertical position.
Step 3
Lightly draw a slightly tilted vertical guideline down the paper to set the tree height.
Step 4
Draw two slightly curved parallel lines along the guideline to make the trunk wider at the bottom and narrower at the top.
Step 5
Add a few curved horizontal lines across the trunk to create the trunk texture.
Step 6
Draw a small oval or circle at the top of the trunk to mark where the leaves will grow.
Step 7
Draw six to eight long curved lines radiating out from the oval to show the main leaf stems.
Step 8
On each stem draw long curved leaf shapes by drawing a curved line on each side that meet in a point at the tip.
Step 9
Draw a straight or slightly curved midrib line from base to tip on each leaf.
Step 10
Add short diagonal strokes along each leaf away from the midrib to suggest leaflets.
Step 11
Erase any light guide lines you no longer need.
Step 12
Add simple shading with your pencil on one side of the trunk and under some leaves using light strokes.
Step 13
Color the trunk and leaves with colored pencils and use darker tones where you shaded.
Step 14
Take a photo of your finished palm tree and share it on DIY.org.
Help!?
If I don't have colored pencils, a good eraser, or a camera to 'take a photo' at the end, what can I use instead?
Use crayons or washable markers instead of colored pencils, a kneaded or soft rubber eraser (or gently rub with a clean fingertip) when you 'Erase any light guide lines', and a phone, tablet camera, or scanner to 'Take a photo of your finished palm tree' for sharing on DIY.org.
My palm leaves look lopsided or my trunk doesn't taper right—what step usually causes this and how can I fix it?
If leaves look uneven, lightly re-sketch the 'six to eight long curved lines radiating out from the oval' as guide stems and then draw mirrored curved sides for each leaf so they meet at a point, and if the trunk shape is wrong, redraw the 'slightly curved parallel lines along the guideline' making the bottom wider and top narrower before adding trunk texture.
How can I change the activity for younger or older children?
For younger kids, simplify by doing only the vertical paper placement, a tilted guideline and the trunk plus oval (steps 2–5) and let them color large shapes, while older kids can follow all steps including 'Add short diagonal strokes' and detailed 'Add simple shading' and add extras like coconuts or a background.
How can we personalize or extend the finished palm tree drawing before sharing it on DIY.org?
Personalize by adding coconuts near the top oval, a sandy shore and sun behind the leaves before you 'Color the trunk and leaves with colored pencils', try cross-hatching for deeper 'shading' under leaves, or draw a group of trees with varied tilts and colors and photograph them together to 'Take a photo of your finished palm tree'.
Related videos
How to Draw a Palm Tree For Kids Step by Step and Coloring | Palm Tree Drawing #drawing #palmtree
4 Videos
How to Draw a Palm Tree For Kids Step by Step and Coloring | Palm Tree Drawing #drawing #palmtree
Palm Tree Drawing Idea Step-by-Step 🌴 | Easy and Fun Drawing Tutorial
🌴 How to Draw a Simple Palm Tree | Step by Step Lesson ✏️
How to Draw A Palm Tree Step by Step
Fun Facts
🌴 Palm trees belong to the Arecaceae family, which contains over 2,600 species worldwide.
✏️ Graphite pencil grades run from 9H (very hard, light) to 9B (very soft, dark); B pencils are great for smooth shading and rich darks.
🥥 Coconut palms can live 60–80 years and sometimes grow as tall as 30 meters (about 98 feet).
🍃 A palm frond is made of many long leaflets attached to a central stem (rachis), which makes the frond naturally curve and sway.
🎨 Artists build depth by starting with light guide lines, then adding layers of darker tones and blending for soft shadows.
How do you draw a palm tree step by step?
What materials do I need to draw a palm tree?
What ages is this palm tree drawing suitable for?
What are the benefits of drawing a palm tree?
