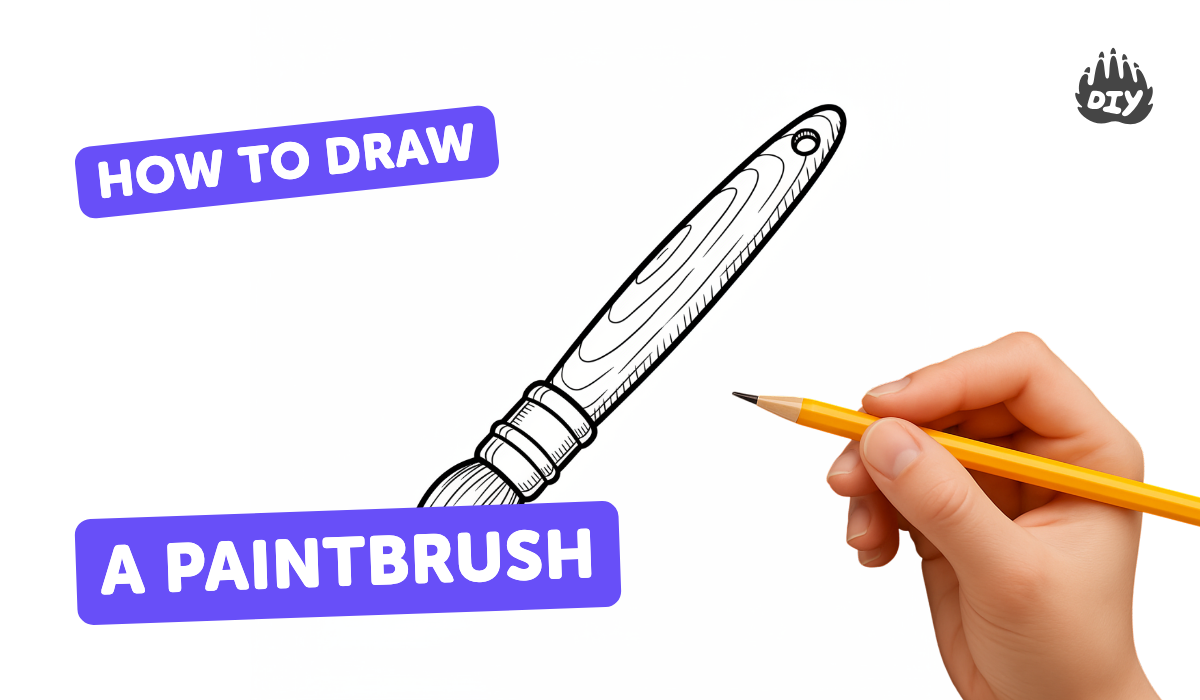
How to draw a paint brush - a free paint brush drawing guide
Draw a realistic paintbrush using pencil and color. Practice proportions, bristle texture, and shading to create a detailed three-dimensional illustration.

Drawing Apps
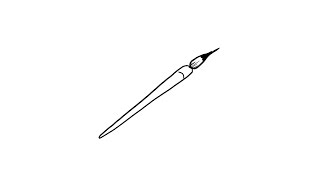
Photos of paintbrush drawing examples


Step-by-step guide to draw a paintbrush
How to Draw Paint Brushes Step by Step | Art for kids
Step 1
Look at a real paintbrush or a photo and notice the three parts: handle ferrule and bristles.
Step 2
Draw a light vertical centerline down your paper with the pencil and ruler to set the brush length.
Step 3
Mark three spots on the centerline for where the handle ferrule and bristles will meet.
Step 4
Sketch the handle outline around the lower centerline mark making it slightly tapered for a round grip.
Step 5
Draw a narrow rectangle around the middle mark to make the metal ferrule slightly wider than the handle.
Step 6
Sketch a fan or trapezoid shape at the top mark to form the bristle block wider than the ferrule.
Step 7
Erase extra centerline and stray guide marks so the shapes look clean and simple.
Step 8
Add bristle texture with many short pencil strokes that follow the curve of the bristles and vary in length.
Step 9
Shade the handle by rubbing the pencil side along its curve and leave a thin light strip for a highlight.
Step 10
Color the handle and bristles starting with a light base then add darker tones and blend gently with your blending tool.
Step 11
Share your finished paintbrush drawing on DIY.org
Help!?
What can we use instead of a blending tool if we don't have one?
If you don't have a blending tool, gently rub a folded tissue, cotton swab, or your fingertip along the handle as described in the shading step to soften the pencil side marks.
My bristles look stiff or my brush looks crooked—what should I fix?
If the brush looks crooked or the ferrule is off, redraw a very light vertical centerline with your pencil and ruler, re-mark the three spots for handle, ferrule, and bristles for correct alignment, then erase stray guides after adjusting.
How can I change the activity for younger or older kids?
For younger kids, skip the ruler and blending by using a thick marker for a tapered handle and simple fan bristles, while older kids can follow the full steps using a ruler, detailed short pencil strokes for bristle texture, and layered shading with a blending tool for realism.
How can we make the finished paintbrush drawing more interesting or personal?
Personalize and extend the drawing by adding a painted pattern or wood grain to the handle, using a white pencil to make a thin highlight on the ferrule, experimenting with multicolored bristles, and creating a series of different brush shapes to photograph and share on DIY.org.
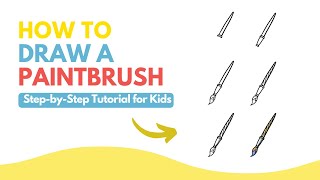
Watch videos on how to draw a paintbrush
How to Draw a Simple Paintbrush | Step-by-Step Lesson
4 Videos
How to Draw a Simple Paintbrush | Step-by-Step Lesson
How to Draw A Painting Brush For Kids Step by Step and Coloring | Painting brush drawing #paintbrush
🎨 Master This Paintbrush Sketch in 6 Easy Steps - Kid-Friendly & Fun!
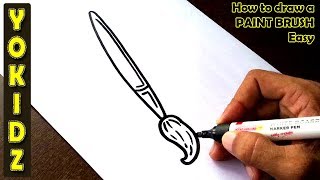
How to draw a PAINT BRUSH Easy
Facts about realistic drawing and shading
🖌️ Paintbrushes use bristles from animals (sable, hog) or synthetic fibers — each type makes different strokes.
✏️ Pencils are graded from H (hard) to B (soft); artists often use 2B–6B for rich, blendable shading.
✍️ Hatching and cross-hatching create texture and depth by layering lines — perfect for bristle effects.
📐 Linear perspective uses vanishing points to make flat drawings look three-dimensional and realistic.
🌗 Chiaroscuro is the art technique of strong light-and-shadow contrast that sculpts forms on paper.
How do I draw a realistic paintbrush using pencil and color?
What materials do I need to draw a realistic paintbrush?
What ages is drawing a realistic paintbrush suitable for?
What are the benefits of drawing a realistic paintbrush?
