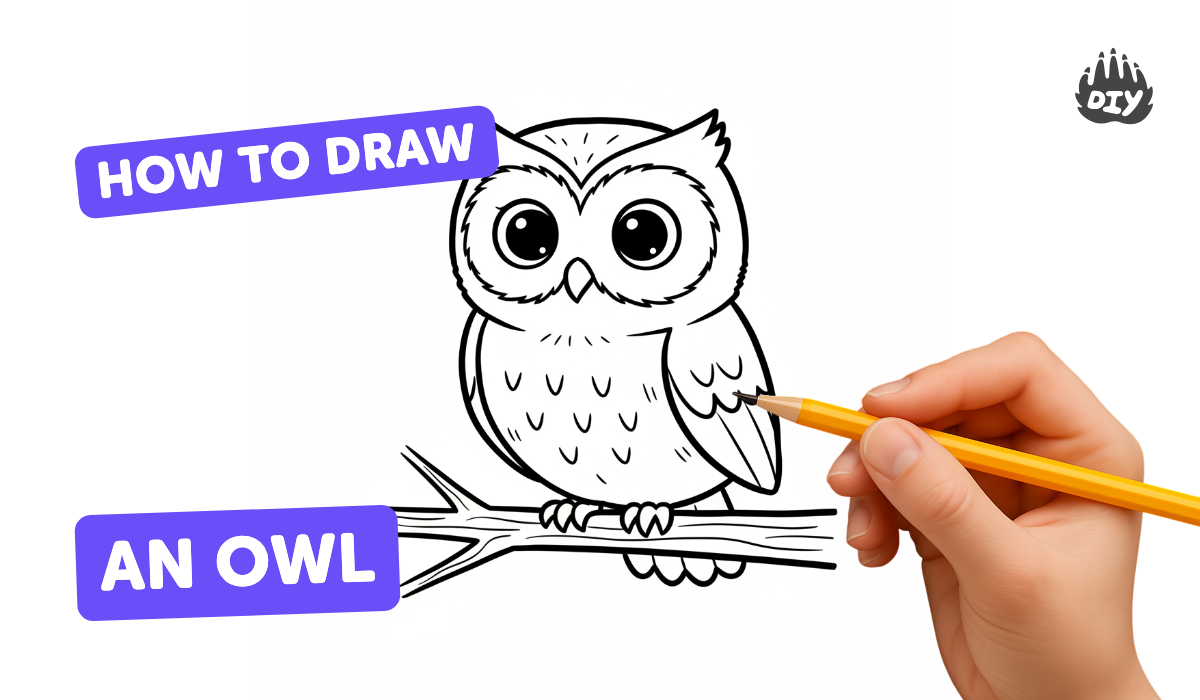
How to draw a owl - a free owl drawing guide
Draw an owl step by step using pencil and colored pencils. Practice sketching basic shapes, adding feathers, big eyes, and simple shading.

Drawing Apps
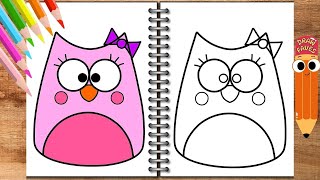
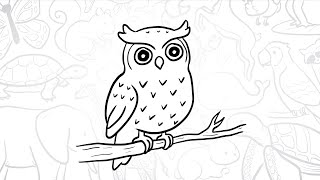
Photos of owl drawing examples


Step-by-step guide to draw an owl
How to Draw an Owl Step by Step | Easy Owl Drawing Tutorial for Beginners
Step 1
Put a blank sheet of paper on a flat surface.
Step 2
Draw a large oval in the center of the paper for the owl's body.
Step 3
Draw a smaller oval on top of the large oval for the owl's head.
Step 4
Add two small triangle ears at the top sides of the head.
Step 5
Draw two big circles inside the head for eyes and add smaller circles inside for pupils.
Step 6
Sketch a small rounded triangle beak between the eyes.
Step 7
Draw two curved wing shapes one on each side of the body.
Step 8
Draw two short straight legs under the body.
Step 9
Add three tiny curved toes to the end of each leg for claws.
Step 10
Draw short curved lines across the belly and along the wings to make feather details.
Step 11
Erase extra overlapping lines to clean up your sketch.
Step 12
Use light pencil strokes to add simple shading under the wings and on the belly for depth.
Step 13
Choose the colored pencils you want to use for your owl.
Step 14
Color the owl's body eyes beak wings and feathers using gentle even strokes with your colored pencils.
Step 15
Share your finished owl drawing on DIY.org.
Help!?
What can we use if we don't have colored pencils or a blank sheet of paper?
If you don't have colored pencils use crayons, washable markers, watercolor paints, or cut colored paper, and if you lack a blank sheet start on printer paper, a cereal-box panel, or cardstock before you 'Put a blank sheet of paper on a flat surface.'
My owl's head or body looks out of proportion—how can I fix it?
Draw both ovals with very light pencil strokes and correct sizes before adding ears and eyes, then 'Erase extra overlapping lines to clean up your sketch' to adjust proportions cleanly.
How can this activity be adapted for younger or older children?
For younger kids simplify by tracing cup shapes for the 'large oval' and 'smaller oval' and using stickers for eyes, while older kids can add detailed 'short curved lines' for feathers and more advanced shading with colored pencils.
What are simple ways to extend or personalize the finished owl drawing?
After you 'Color the owl's body eyes beak wings and feathers' add a background branch and moon, glue on googly eyes or glitter for texture, or cut the owl out and mount it on cardstock to share on DIY.org.
Watch videos on how to draw an owl
Easy Owl Drawing for Kids | Step-by-Step Animal Drawing Tutorial
4 Videos

Easy Owl Drawing for Kids | Step-by-Step Animal Drawing Tutorial

Owl Drawing 🦉🎨How to Draw Easy And Cute Owl,For Kids and Beginners|Step-by-Step Tutorial
How to Draw a Cute Owl | Owl Drawing Easy | Tutorial for Kids & Beginner ( owl )
🦉How To Draw a Simple Owl | Step-by-Step Lesson 🌙
Facts about drawing and sketching for kids
🦉 Owls can rotate their heads up to 270° so they can look around without moving their bodies.
👀 An owl's eyes are fixed in its skull — it turns its whole head to change its view.
🪶 Feathers are mostly made of keratin, the same protein that forms our hair and nails.
✏️ A single pencil can draw a very long line (often quoted as about 35 miles), plenty for lots of sketches!
🎨 Colored pencils let you layer and blend — light pressure makes soft feather tones, heavy pressure gives bright color.
How do I draw an owl step by step with pencil and colored pencils?
What materials do I need to draw an owl with pencil and colored pencils?
What ages is drawing a step-by-step owl suitable for?
What are the benefits of drawing an owl with pencils for kids?
