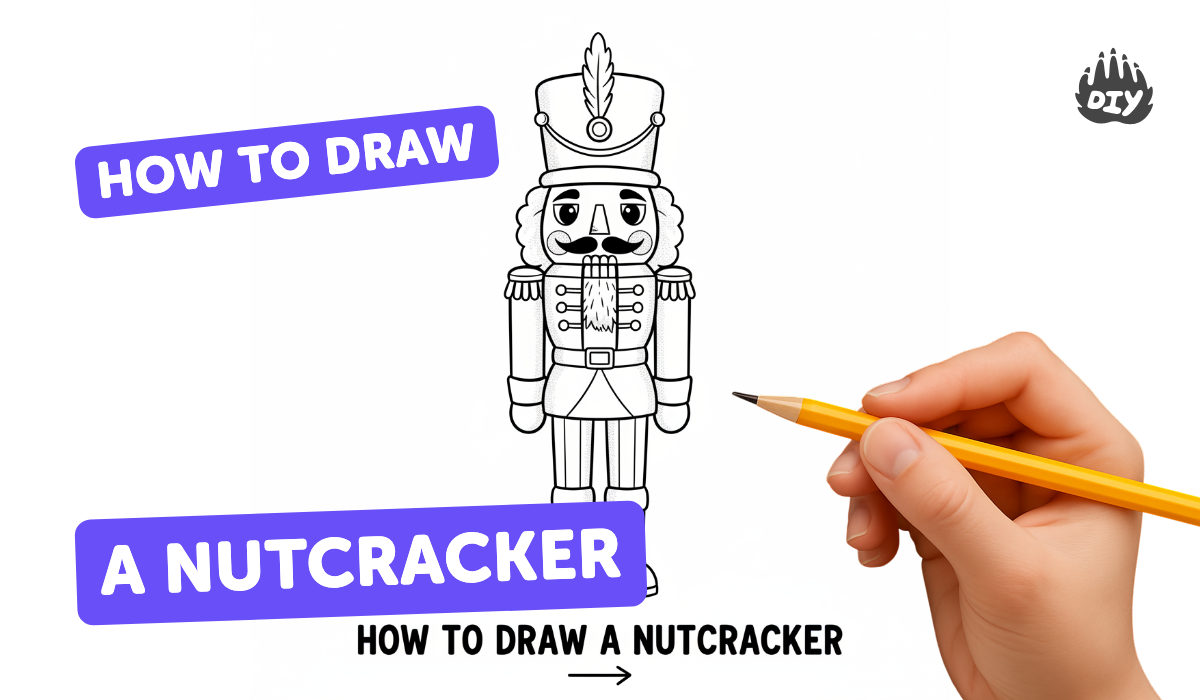
How to draw a nutcracker - a free nutcracker drawing guide
Draw a classic wooden nutcracker by sketching basic shapes, adding facial details, uniform decorations, and coloring to create a finished illustrated nutcracker.

Drawing Apps
Photos of classic wooden nutcracker drawings


Step-by-step guide to draw a classic wooden nutcracker
How To Draw A Christmas Nutcracker
Step 1
Gather your materials and clear a flat space to draw.
Step 2
Lightly draw a vertical center line down the middle of your paper to keep the nutcracker symmetrical.
Step 3
Draw a large rectangle in the middle of the paper for the nutcracker’s torso aligned with the center line.
Step 4
Draw a smaller rectangle directly above the torso for the head aligned to the center line.
Step 5
Add a rectangular jaw piece below the head to make the nutcracker’s movable mouth.
Step 6
Sketch a tall hat shape on top of the head with a flat brim and a taller top section.
Step 7
Draw two shoulder shapes on either side of the top of the torso and add long rectangles for the arms ending with simple ovals for hands.
Step 8
Draw two rectangles below the torso for the legs and add boot shapes at the bottom of each leg.
Step 9
Add facial details: draw round eyes a triangular nose eyebrows and a mustache above the jaw line.
Step 10
Decorate the uniform by drawing epaulettes on the shoulders buttons down the front and a belt at the waist.
Step 11
Carefully trace or ink over the pencil lines you want to keep using your black fine-liner or marker.
Step 12
Wait for the ink to dry then gently erase the pencil guide lines.
Step 13
Colour your nutcracker with bold bright colours to finish your illustration.
Step 14
Share your finished nutcracker illustration on DIY.org.
Help!?
What can we use instead of a black fine-liner or marker if we don't have one?
If you don't have a black fine-liner or marker, use a black ballpoint pen or a sharpened dark pencil to carefully trace the pencil lines and then wait for ink to dry (if used) before erasing the pencil guide lines.
My nutcracker looks lopsided—how can I fix symmetry problems?
Use the lightly drawn vertical center line as your guide to redraw or adjust the torso, head, arms, and boot shapes, lightly erase uneven sides before inking, and compare mirrored features like the eyes, epaulettes, and buttons to balance them.
How can I adapt this drawing activity for younger or older kids?
For younger children, pre-draw the vertical center line and basic rectangles for the torso and head so they can add simple facial details and colour, while older kids can add shading, intricate uniform decorations, and a movable jaw by reinforcing the rectangular jaw piece.
What are some ways to enhance or personalize the nutcracker drawing?
Make the rectangular jaw piece movable by attaching it with a small paper hinge or brass fastener, add fabric or tinsel to the epaulettes, and finish with bold bright colours or glitter before sharing your finished nutcracker illustration on DIY.org.
Watch videos on how to draw a classic wooden nutcracker
How to Draw a Nutcracker in a Few Easy Steps: Drawing Tutorial for Beginner Artists
3 Videos
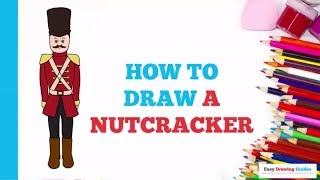
How to Draw a Nutcracker in a Few Easy Steps: Drawing Tutorial for Beginner Artists
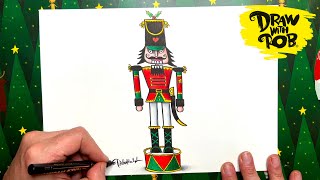
#DrawWithRob 126 Nutcracker
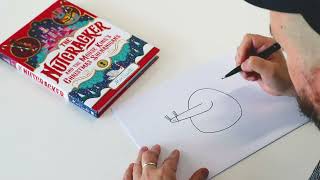
How To Draw The Nutcracker With Alex T Smith
Facts about drawing and illustration for kids
🎄 Traditional wooden nutcrackers come from the Ore Mountains (Erzgebirge) region of Germany and date back to the 17th–18th centuries.
🪵 Many classic nutcrackers are carved from blocks of wood and painted in bold colors like red, black, and gold to look like toy soldiers.
🩰 Tchaikovsky's 1892 ballet The Nutcracker helped turn the figures into beloved Christmas symbols around the world.
✏️ Artists usually sketch a nutcracker by blocking in simple shapes—circles for the head, rectangles for the torso, and cylinders for the arms and legs.
🎨 You can personalize a nutcracker by changing uniform decorations, facial hair, and colors—nutcrackers range from tiny keychains to life-size statues.
How do I draw a classic wooden nutcracker with my child?
What materials do I need to draw and color a nutcracker?
What ages is drawing a nutcracker suitable for?
What are the benefits of drawing a nutcracker with kids?
