How to draw a necklace - a free necklace drawing guide
Draw a detailed necklace with beads, pendants, and shading using pencil, markers, and simple templates. Practice pattern design, symmetry, and shading techniques.


Step-by-step guide to draw a detailed necklace
How to Draw Necklace Easy Step by Step for Kids | Simple Jewelry Drawing
Step 1
Gather all the materials on a flat table so you can reach everything easily.
Step 2
Lightly draw a vertical centerline down the page with your pencil to help keep the necklace symmetrical.
Step 3
Draw a gentle U-shaped neckline curve across the page centered on the centerline as the path for your necklace.
Step 4
Put a small dot at the lowest point of the U-shaped curve to mark where the pendant will hang.
Step 5
Draw the pendant shape around the center dot using your pencil—make it any shape you like (heart round teardrop).
Step 6
Use the ruler to make small tick marks along the curve on both sides of the center so the bead positions are evenly spaced and mirrored.
Step 7
Place a round template on each tick mark and trace the beads with your pencil moving outward on both sides to keep them the same.
Step 8
Draw tiny connecting lines between each bead to show the string or chain linking them together.
Step 9
Add repeating patterns (stripes dots swirls) onto each bead and the pendant making the left and right sides mirror each other.
Step 10
Shade each bead by darkening the pencil on one side to show a shadow and keep the opposite side lighter for a highlight.
Step 11
Lightly blend the shaded areas with a blending stump or tissue to make the beads look round and smooth.
Step 12
Trace the final necklace outlines and the patterns carefully with the fine-tip black marker to make your drawing pop.
Step 13
Wait for the ink to dry a moment and then erase any leftover pencil guidelines and tick marks gently.
Step 14
Color the beads and pendant with markers or colored pencils to finish your design.
Step 15
Take a photo of your finished necklace drawing and share your creation on DIY.org
Help!?
What can I use instead of a blending stump, round template, or fine-tip black marker if I don't have them?
Use a clean tissue or cotton swab to blend the shaded areas from step 10, a coin or bottle cap as a round template for tracing beads in step 6, and a thin black gel pen or technical pen instead of the fine-tip marker in step 11.
My beads aren't symmetrical or the ink smudged — how do I fix it?
If beads look uneven, adjust or add tick marks along the curve from step 5 and retrace beads outward from the centerline in step 6 to mirror them, and if ink smudges wait for the marker to dry from step 12 before gently erasing pencil lines in step 13.
How can I adapt this drawing activity for different ages or skill levels?
For younger children skip small tick marks and use large sticker 'beads' and washable markers for coloring (steps 5-6, 14), for elementary kids follow all pencil, tracing, and basic shading steps (steps 2-10), and for older kids add detailed repeating patterns and stronger blending with a stump and fine-line inkwork (steps 9-11).
How can we enhance or personalize the necklace drawing after finishing?
After coloring in step 14, personalize your design by gluing tiny sequins or real beads onto the traced bead outlines from steps 11-13 and then photograph the embellished piece to share on DIY.org in step 14.
Watch videos on how to draw a detailed necklace
"Easy Necklace Drawing and Coloring for Kids | Step-by-Step Tutorial | YouTube"
4 Videos
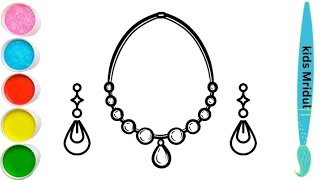
"Easy Necklace Drawing and Coloring for Kids | Step-by-Step Tutorial | YouTube"
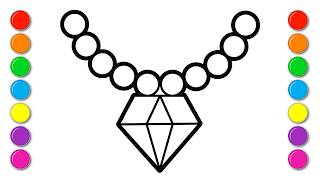
How To Draw a Diamond Necklace for Kids & Toddlers | Easy Drawing videos Step by Step
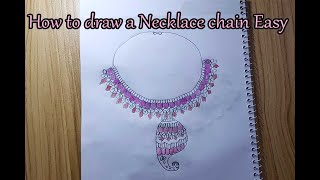
How to Draw a Necklace (Easy step by step drawing)
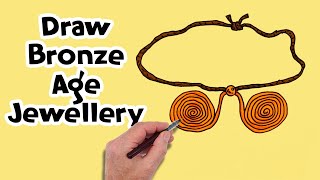
How to Draw a Bronze Age Necklace Real Easy
Photos of necklace drawing examples


Facts about jewelry drawing and pattern design
🐚 The oldest known beads — used as necklaces — are over 100,000 years old, showing humans loved decoration long ago!
🎨 Cross-hatching and smudging are two simple shading tricks that can turn a flat sketch into a 3D-looking necklace.
✏️ Pencil grades run from 9H (very hard, light) to 9B (very soft, dark); artists often choose 2B–6B for smooth shading.
🔁 Many necklace designs use mirror symmetry so the left and right sides match and the piece looks balanced.
🔮 Beads come in glass, shell, metal, wood, bone, and plastic — each material gives a different shine and texture to a design.
How do you draw a detailed necklace with beads, pendants, and shading?
What materials do I need to draw a detailed necklace?
What ages is drawing a detailed necklace suitable for?
What are some fun variations for drawing necklace designs?
