How to draw a neck - a free neck drawing guide
Learn to draw a realistic human neck using simple shapes, shading, and proportions; practice step by step sketching and observing neck movement and posture.

Step-by-step guide to draw a realistic human neck
How to draw neck drawing for beginners | Neck Anatomy Drawing Fundamentals Basic drawing tutorials
Step 1
Place your paper pencil eraser and blending tool on a flat clean surface.
Step 2
Find and look at a clear reference photo of a neck and hold it up where you can see it easily.
Step 3
Draw a light vertical center line down the page to mark the head and neck alignment.
Step 4
Sketch a light oval at the top of the center line to represent the head.
Step 5
From the bottom of the oval draw two slightly curved parallel lines downward to map the sides of the neck.
Step 6
Draw a light horizontal line below the neck to mark the shoulder level.
Step 7
Sketch two soft curved lines from the base of the skull outward toward the shoulder line to show the clavicles.
Step 8
Add two diagonal S-shaped lines from behind each ear toward the center chest to indicate the sternocleidomastoid muscles.
Step 9
Lightly shade under the jaw and along the sides of the neck to block in the main shadow areas.
Step 10
Blend the shaded areas gently with your blending tool or finger to make smooth transitions.
Step 11
Erase the construction lines to clean up the drawing and sharpen the neck edges.
Step 12
Compare your drawing to the reference and adjust the neck length width or shading until it looks balanced.
Step 13
Use your eraser to lift small highlights along the center of the throat and the jawline and then sign your drawing.
Step 14
Share your finished neck drawing on DIY.org
Help!?
What can we use if we don't have a blending tool or a printed reference photo?
Use a clean tissue, cotton swab, or your fingertip to blend the shaded areas in step 8, and use a mirror, tablet, or phone photo held up as the clear reference in step 2.
My neck looks lopsided or too wide after sketching — how do I fix it?
Lightly erase the parallel lines from step 4, redraw them using the vertical center line from step 3 as a guide, and compare to the reference in step 11 before re-shading.
How can I adapt this activity for younger or older kids?
For younger children have them trace a printed oval and two simple lines for the neck from steps 3–4 and focus on gentle shading in step 8, while older kids can refine clavicles in step 6, emphasize the sternocleidomastoid lines in step 7, and practice subtle highlights in step 12.
What are simple ways to personalize or extend the finished neck drawing?
Try a second reference with different lighting to practice stronger shadows in step 8, add a necklace or clothing at the shoulder line from step 5, lift crisp highlights with the eraser in step 12, and then sign and share your work on DIY.org as in step 13.
Watch videos on how to draw a realistic human neck
How to Draw Shoulders Step By Step | Neck & Shoulder Drawing Tutorial For Beginners | Basic Lesson
4 Videos
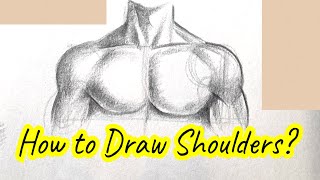
How to Draw Shoulders Step By Step | Neck & Shoulder Drawing Tutorial For Beginners | Basic Lesson

How to Draw Neck
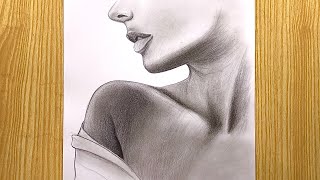
Mastering the Art of Drawing a Girl's Neck: Step-by-Step Tutorial for Stunning Results
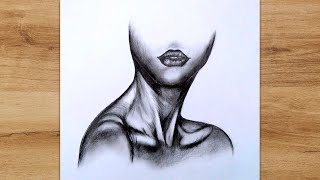
How to Draw Neck and Shoulders Female Step by Step | Realistic Pencil Drawing
Facts about figure drawing and neck anatomy
🦴 The human neck contains seven cervical vertebrae — that stack of bones lets your head nod, tilt, and turn.
💪 The V-shaped sternocleidomastoid muscle is a handy landmark artists use to show tilt and tension in the neck.
🎨 Soft, gradual shading across the curved planes of the neck makes a flat drawing look rounded and lifelike.
🧍 An adult head weighs about 4.5–5.5 kg (10–12 lb), so the neck’s posture shifts to balance that weight and show movement.
🔁 When a head turns or tilts the skin and muscles slide and fold — observing those shifts helps you draw realistic neck poses.
How do I teach my child to draw a realistic human neck step by step?
What materials do we need to practice drawing a human neck at home?
What ages is learning to draw a realistic neck suitable for?
What are the benefits and safe variations of neck-drawing practice for kids?
