How to draw a narwhal - a free narwhal drawing guide
Draw a cute narwhal step-by-step using simple shapes, add its spiral tusk, fins, textures, and color to learn proportions and shading.

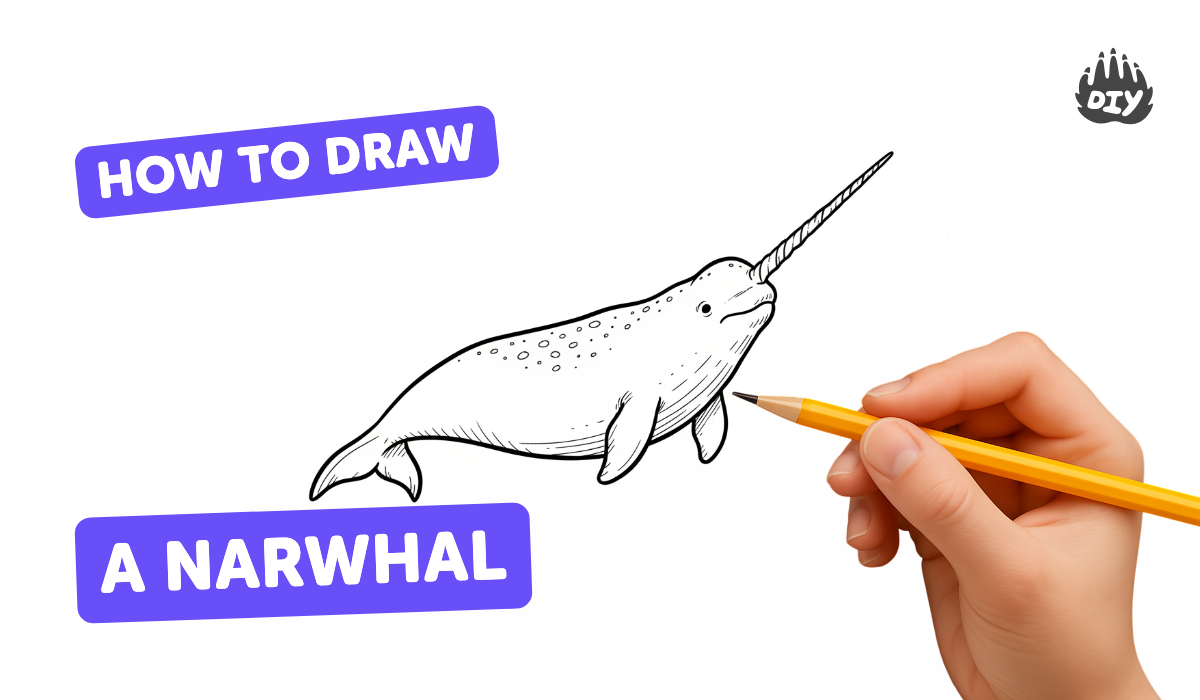
Step-by-step guide to draw a narwhal
Learn how to draw Narwhal | Easy Drawing Narwhal For Kids | Easy Drawing Tutorial
Step 1
Lightly draw a large horizontal oval for the narwhal’s body to set its main shape.
Step 2
Add a small rounded head attached to the front of the oval so the body and head connect smoothly.
Step 3
Draw two curved flukes at the back to make the narwhal’s tail.
Step 4
Sketch a small rounded dorsal fin on the top of the body.
Step 5
Draw one rounded side flipper near the front lower part of the body.
Step 6
Draw a long slightly curved cone sticking out from the forehead to make the tusk.
Step 7
Add several evenly spaced spiral lines around the tusk to make its twisted pattern.
Step 8
Draw a simple face with one round eye and a small smiling mouth on the head.
Step 9
Draw a curved line along the underside to show the narwhal’s belly.
Step 10
Add small spots and a few short curved lines on the body for texture and charm.
Step 11
Trace your final lines with a black marker to make the narwhal bold and clear.
Step 12
After the marker is dry gently erase the pencil lines so only the clean outlines remain.
Step 13
Color the narwhal’s body with a light blue-gray or your favorite color and leave the tusk a paler shade.
Step 14
Add shading under the belly and along the lower edges with a darker color and gently blend to show roundness.
Step 15
Share your finished narwhal drawing on DIY.org
Help!?
What can we use if we don't have a black marker or an eraser for tracing and cleaning up the drawing?
If you don’t have a black marker for the 'Trace your final lines with a black marker' step, substitute a dark ballpoint pen or fine-tip felt pen, and if you lack a soft eraser use a kneaded eraser or draw more lightly in pencil so remaining lines are less visible after coloring.
My tusk spirals look uneven—how can we fix that while following the tusk steps?
To make the 'several evenly spaced spiral lines around the tusk' neater, first draw the 'long slightly curved cone' in pencil, add faint diagonal guide lines or evenly spaced dots along it, then connect those guides with your spiral lines.
How can I change the activity for different ages while still following the main steps like the oval body and flipper?
For younger kids simplify by having them trace a pre-drawn large horizontal oval, rounded head, tail flukes and a sticker tusk to color, while older kids can refine the 'small spots and short curved lines', add the 'shading under the belly', and practice blending colors for roundness.
What are some ways to extend or personalize the narwhal drawing after finishing the basic steps and coloring?
After you 'color the narwhal’s body' and add 'shading under the belly', personalize it by painting an ocean background, giving the tusk a metallic or glitter finish, creating patterned spots, or drawing a whole narwhal family to photograph and share on DIY.org.
Watch videos on how to draw a narwhal
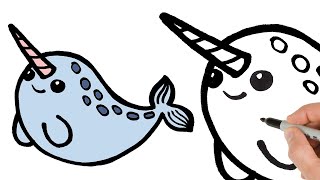
How to Draw a Cute Narwhal (Easy Step by Step Drawing and Coloring Tutorial For Kids)
4 Videos

How to Draw a Cute Narwhal (Easy Step by Step Drawing and Coloring Tutorial For Kids)
How to Draw Narwhal | Easy Sea Animal Drawing Tutorial | Step by Step
How to Draw Cute Rainbow Narwhal, Step by Step Easy to Follow Drawing for Kids and Toddlers
Learn How to Draw a Cute Narwhal with Cecil The Pencil Monkey | Kid-Friendly Drawing Tutorial
Facts about drawing for kids
🐋 Male narwhals often grow a long spiral tusk that can reach about 10 feet (3 meters).
🦄 In medieval Europe, narwhal tusks were sometimes sold as 'unicorn horns' and fetched high prices.
❄️ Narwhals live in Arctic waters and can dive very deep—over 1,500 meters—to hunt beneath the ice.
🎨 For easy, accurate narwhal drawings start with simple shapes (ovals for body/head, triangles for fins) to set proportions.
🧠 The narwhal tusk has millions of nerve endings and likely functions as a sensory organ, not just a weapon.
How do you draw a cute narwhal step-by-step?
What materials do I need to draw a narwhal with my child?
What ages is this narwhal drawing activity suitable for?
What are the benefits of drawing a narwhal, and how can you vary the activity?
