How to draw a mustache - a free mustache drawing guide
Learn to draw different mustache styles step by step using simple shapes, shading, and symmetry. Practice sketching and adding details confidently.

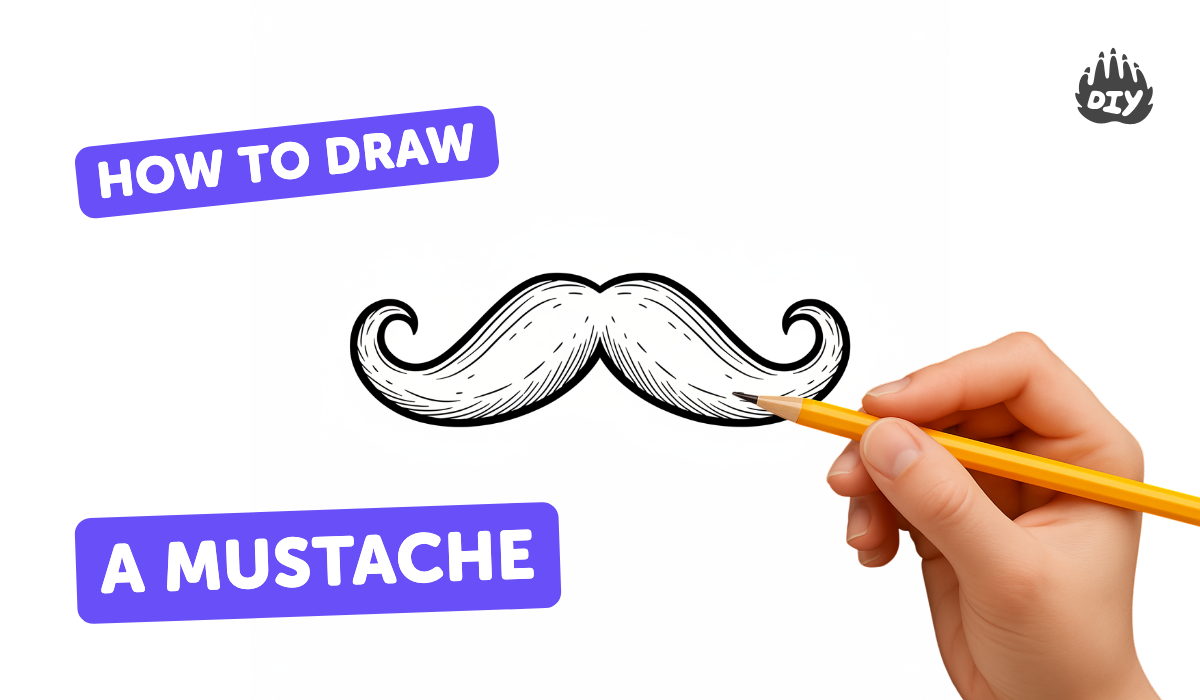
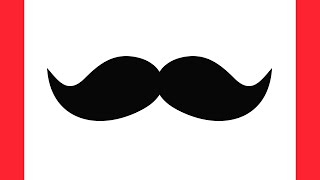
Step-by-step guide to draw a mustache
How to Draw a Mustache Step by Step Easy for Beginners/Kids - Simple Mustache Drawing Tutorial
Step 1
Put your paper on a flat surface and make sure your pencil is sharpened.
Step 2
Lightly draw a vertical center guideline down the middle of the paper to help keep both sides even.
Step 3
Warm up your hand by drawing three small simple shapes like an oval a triangle and a curved line on a corner of the paper.
Step 4
Draw a pencil mustache by sketching a thin smooth curved line above the center guideline.
Step 5
Draw a handlebar mustache by sketching two long mirrored curves that curl upward at the ends on either side of the guideline.
Step 6
Draw a walrus mustache by sketching a wide rounded blocky shape that sits over the mouth area across the guideline.
Step 7
Draw a horseshoe mustache by sketching a thick U shape that follows the sides of the mouth and goes down toward the jawline.
Step 8
Trace over the best outline of each mustache with a slightly darker pencil line to make the final shapes clear.
Step 9
Erase the center guideline and any extra sketch lines that you do not want in your final drawings.
Step 10
Add hair texture with short pencil strokes following the curve of each mustache to show the direction of the hairs.
Step 11
Darken the bottom or inner parts of each mustache with gentle pressure to create shadows for depth.
Step 12
Lightly blend those shadowed areas with a tissue or cotton swab to make the shading look soft.
Step 13
Hold a mirror beside your drawing or flip the paper to check symmetry and fix any uneven parts with your pencil.
Step 14
Share your finished creation on DIY.org
Help!?
What can I use instead of a tissue or cotton swab for blending the shadows?
Use a folded piece of clean paper towel, a fingertip rubbed gently, or a rolled-up scrap of paper as a substitute to lightly blend the shadowed areas where the instructions say to use a tissue or cotton swab.
My handlebar mustache curves look lopsided—how can I fix them?
Keep the vertical center guideline while you adjust, use the warm-up shapes to steady your hand, then hold a mirror beside the drawing or flip the paper to check symmetry and erase and redraw the uneven curve before tracing the final outline.
How should I change the steps for different ages or skill levels?
For younger children, skip the shading and hair texture and let them trace pre-drawn mustache outlines with crayons, while older kids should sharpen their pencil, add short pencil stroke hair texture, darken inner parts for shadows, and refine symmetry using the guideline and mirror.
How can we extend or personalize the mustache drawings after finishing them?
After erasing the center guideline, personalize by adding facial features or color with markers, ink your favorite mustache with a fineliner, label each style, or photograph and share your finished creation on DIY.org as suggested.
Watch videos on how to draw a mustache
How to Draw Moustaches for Kids Step by Step and Coloring | Moustache Drawing #moustaches #kidsart
4 Videos
How to Draw Moustaches for Kids Step by Step and Coloring | Moustache Drawing #moustaches #kidsart
Easy Drawing for Kids | How to Draw a Mustache for Kids
How To Draw Moustache | YoKidz Channel | YoKidz Drawing
How to draw a MUSTACHE easy / drawing moustache step by step
Facts about drawing techniques for kids
🧔 Many mustache styles have fun names like handlebar, walrus, pencil, and chevron.
🎨 Cartoonists often draw mustaches exaggeratedly to show a character’s personality or age.
✂️ Barbers and grooming experts use tiny scissors, combs, and mustache wax to shape styles precisely.
🔁 Symmetry is a big helper when drawing faces—sketch one side of a mustache then mirror it for balance.
✍️ Breaking a mustache into simple shapes (curves, ovals, and triangles) makes it much easier to draw.
How do you teach a child to draw different mustache styles step by step?
What materials do I need to draw mustaches with my child?
What ages is learning to draw mustaches suitable for?
What are the benefits of practicing mustache drawing with kids?
