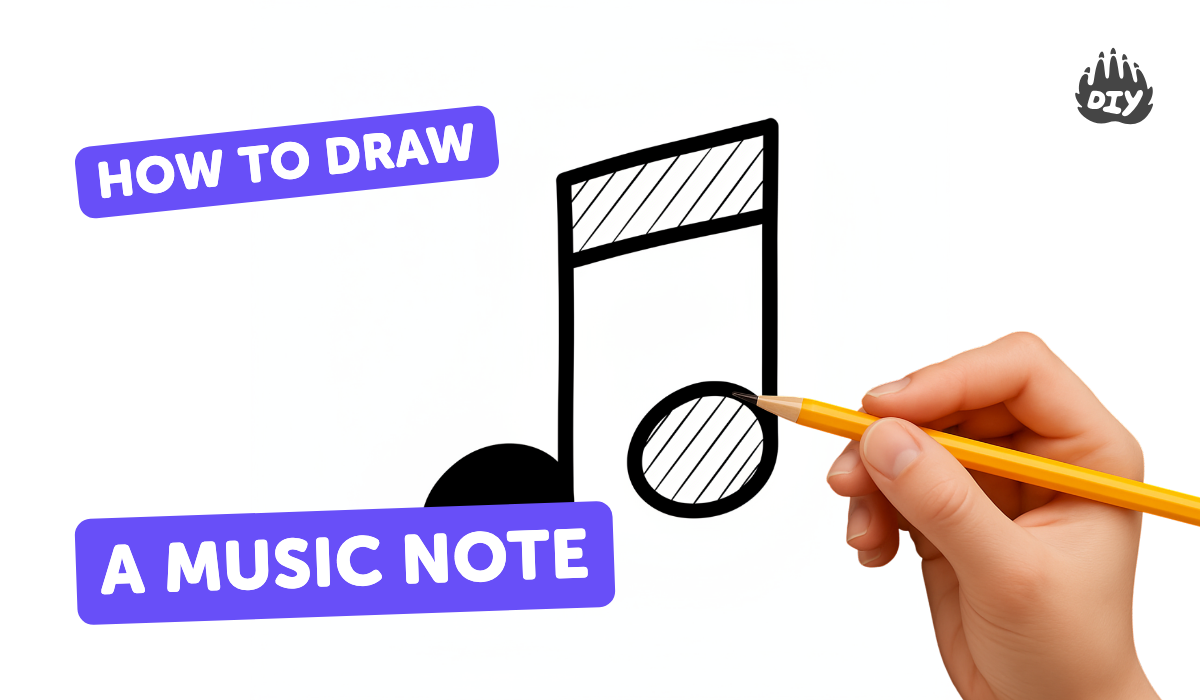
How to draw a music note - a free music note drawing guide
Draw a clean music note step-by-step using pencil and eraser, then ink and color it to practice shape, proportion, and steady hand.

Drawing Apps
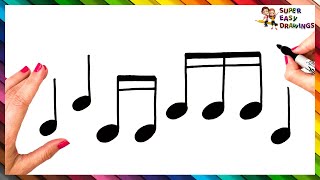
Photos of music note drawing examples


Step-by-step guide to draw a music note
How To Draw Musical Notes Step By Step 🎶 Musical Notes Drawing Easy
Step 1
Gather your materials and place them on a flat table.
Step 2
Lightly draw a thin horizontal guide line near the middle of the paper.
Step 3
Lightly sketch a small tilted oval for the note head slightly to the right of the guide line.
Step 4
Smooth the oval edges by redrawing the outline with light pencil strokes until it looks even.
Step 5
Put a tiny pencil mark where the stem will start on the right side of the oval.
Step 6
Use the ruler to draw a straight stem upward from the tiny mark to about three times the oval’s height.
Step 7
Draw a single smooth curved flag attached to the top of the stem with one flowing line.
Step 8
Look at your drawing to check that the head size stem length and flag shape look balanced.
Step 9
Use the eraser to gently fix any pencil lines that look uneven.
Step 10
Carefully trace over the final note head stem and flag with your black pen.
Step 11
Fill in the note head solidly with the black pen.
Step 12
Wait quietly for the ink to dry so it won’t smudge.
Step 13
Erase all remaining pencil guide lines gently without rubbing the ink.
Step 14
Add color or shadows around the note using your coloring materials to make it pop.
Step 15
Take a photo of your finished music note and share your creation on DIY.org
Help!?
What can I use if I don't have a ruler or a black pen?
Use the straight edge of a hardcover book or a clean piece of cardboard to 'draw a straight stem upward' and substitute a dark fine-tip marker, permanent marker, or sharpened dark crayon for the black pen, then wait for the ink or marker to dry before erasing.
My oval looks lopsided and the stem keeps being crooked—how do I fix that?
Lightly redraw the small tilted oval with gentle pencil strokes as described in 'Smooth the oval edges' until it looks even, place your ruler or straight edge at the tiny pencil mark on the right side of the oval and redraw the stem upward to straighten it, then erase extra guide lines.
How can I adapt this drawing activity for different age groups?
For younger children pre-draw the horizontal guide line and oval for them to trace and let them color the filled note, while older kids can precisely measure the stem to 'about three times the oval’s height', practice smoother flags, and add shading techniques.
How can we extend or personalize the finished music note?
After you 'fill in the note head solidly' and 'wait quietly for the ink to dry', add color or shadows around the note, arrange several notes into a pattern or simple melody, decorate the background, and take a photo to share on DIY.org.
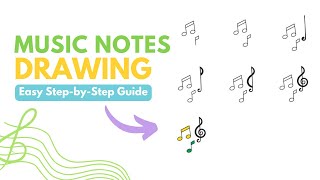
Watch videos on how to draw a music note
How To Draw Musical Notes Step By Step 🎶🎶 Musical Notes Drawing Easy
4 Videos
How To Draw Musical Notes Step By Step 🎶🎶 Musical Notes Drawing Easy
How to Draw Musical Note Step by Step
How to Draw Music Notes - A Step-by-Step Guide

How To Draw A Simple Music Note? - LearnToDIY360.com
Facts about drawing and sketching for kids
🎵 Drawing music notes helps kids recognize how pitch and rhythm look on a staff — seeing = understanding!
✏️ Artists often use a 2B or HB pencil for smooth, erasable sketching before inking final lines.
🖊️ Before printing, scribes hand-inked music into manuscripts — some surviving pages are over 500 years old.
🧠 Practicing steady stems and round note heads strengthens fine motor skills and hand control fast.
🎼 A filled (black) note head usually means a shorter sound than an open (white) note head — shape matters for rhythm.
How do I teach my child to draw a clean music note step-by-step?
What materials do I need to draw a clean music note with my child?
What ages is this music note drawing activity suitable for?
What are the benefits and fun variations of drawing music notes?
