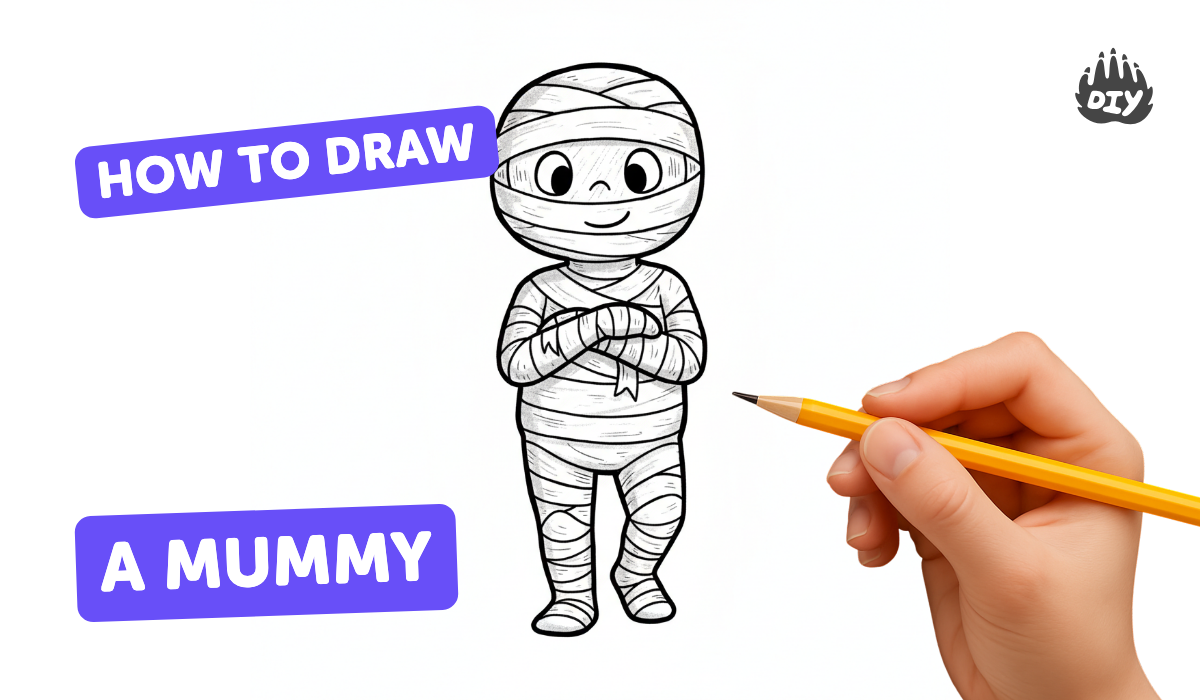
How to draw a mummy - a free mummy drawing guide
Draw a classic mummy using simple shapes, layered bandages, and facial details. Practice line control and shading to add depth.

Drawing Apps
Photos of mummy drawing examples


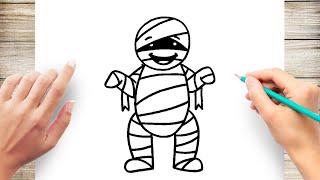
Step-by-step guide to draw a mummy
🎃 How To Draw A Mummy! (Art For Kids!) - Easy Step By Step Beginner Art/Drawing Lesson!
Step 1
Lightly draw a medium-sized vertical oval near the top of the paper for the mummy's head.
Step 2
Draw a larger rounded rectangle or egg shape beneath the head for the mummy's body.
Step 3
Sketch two small rounded ovals at the bottom for the mummy's feet or stubs.
Step 4
Draw slightly wavy horizontal bandage lines across the head and body to create wrapped layers.
Step 5
Add a few loose bandage strips and frayed ends by sketching short zigzags and flap shapes sticking out.
Step 6
Draw two big round eyes peeking through the bandages and add smaller circles inside for pupils.
Step 7
Draw a small crooked mouth or a short stitched line under the eyes using short dashed strokes.
Step 8
Use your pencil to add light shading under the overlapping bandage edges to show depth.
Step 9
Shade one side of the mummy slightly darker to create a light source and add dimension.
Step 10
Gently smudge the shaded areas with a tissue or soft cloth to blend the shadows.
Step 11
Trace the main outer lines and important bandage edges with the black marker to make them pop.
Step 12
Erase any extra pencil construction marks and then add colour or texture between some bandage layers if you like.
Step 13
Share your finished mummy on DIY.org.
Help!?
Can we substitute any materials if we don't have a black marker or a tissue?
If you don't have a black marker, use a dark colored pencil or fine-tip pen to trace the main outer lines and bandage edges, and if you don't have a tissue to smudge shading gently blend the pencil shadows with your fingertip or a cotton ball.
My bandage lines look too stiff or my marker smeared—what should I do?
Keep the head, body, and foot shapes lightly drawn in pencil, practice slightly wavy horizontal bandage lines on scrap paper, wait for the traced black marker to dry before erasing construction marks, and smudge shaded areas gently as the instructions say.
How can I adapt the drawing steps for different ages?
For preschoolers, simplify by drawing only the oval head, a rounded body and two big round eyes for them to color between bandage layers, while older kids can add frayed strips, light shading on one side for a light source, and trace details with a black marker.
What are simple ways to enhance or personalize the mummy after finishing the basic drawing?
Glue on fabric scraps or crepe paper for real bandages, add googly eyes before tracing, use colored pencils or watercolor between some bandage layers for texture, or photograph and share your finished mummy on DIY.org.
Watch videos on how to draw a mummy
How to draw a MUMMY for kids
4 Videos
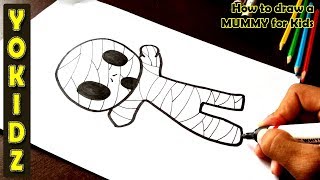
How to draw a MUMMY for kids
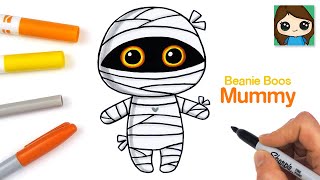
How to Draw a Mummy Easy | Beanie Boos Halloween
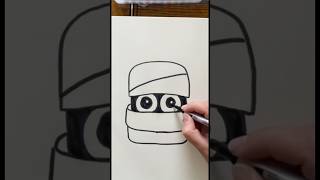
How to draw a mummy😳 Easy drawing ideas for kids
How to Draw a Mummy Step by Step
Facts about drawing for kids
🏺 Some Egyptian mummies are over 4,000 years old — older than many modern nations and buildings!
🧻 Ancient embalmers wrapped bodies in many layers of linen; some wrappings were dozens of meters long.
🎃 Mummies are classic Halloween stars, so they’re a fun spooky subject for costumes and drawings.
🎨 Artists often use repeated curved lines and overlapping shapes to make bandages look layered and realistic.
👁️ Shading along one side of each bandage and leaving tiny gaps can make your mummy look three-dimensional and mysterious.
How do I draw a classic mummy step-by-step?
What materials do I need to draw a mummy?
What ages is drawing a mummy suitable for?
What are the benefits of drawing a mummy for kids?
