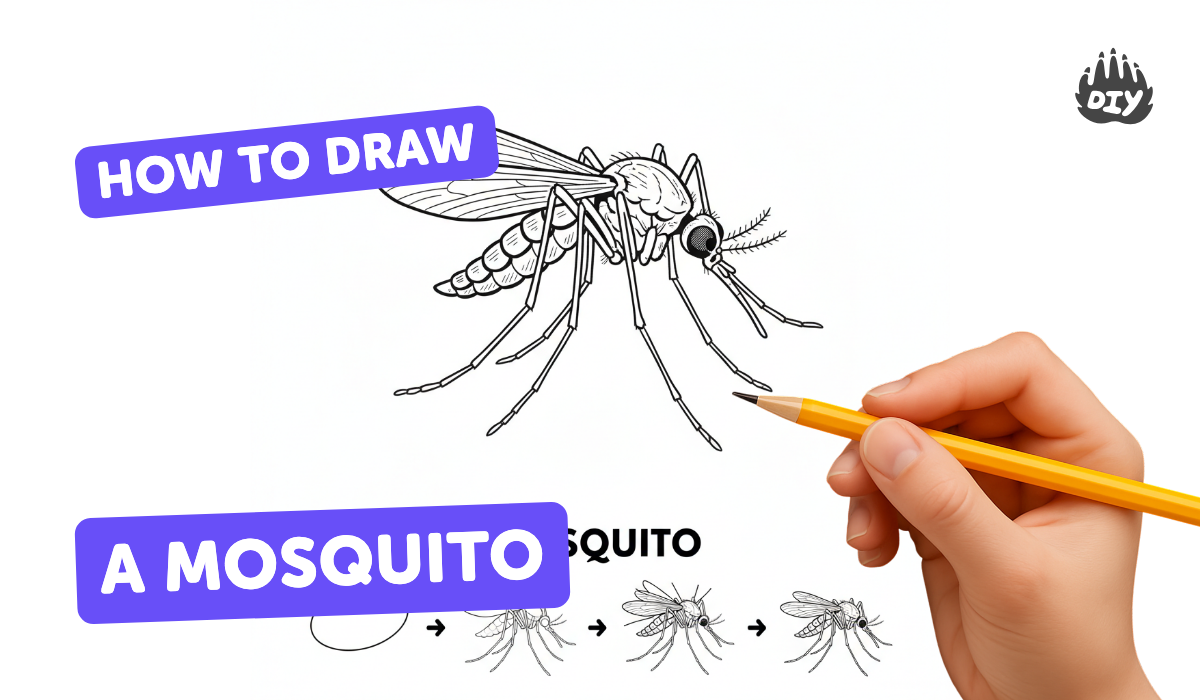
How to draw a mosquito - a free mosquito drawing guide
Draw a realistic mosquito step-by-step using shapes, lines, and shading. Learn proportions, wing structure, coloring, and observation skills about insect anatomy.

Drawing Apps
Photos of mosquito drawing examples


Step-by-step guide to draw a mosquito
🎨✏️ Easy Mosquito Drawing for Kids | Step-by-Step Drawing Tutorial 🦟
Step 1
Find a clear photo of a mosquito and study it for one minute to notice the head thorax abdomen wings legs and proboscis.
Step 2
Lightly draw a small circle near the top of the paper for the mosquito's head.
Step 3
Draw a slightly larger oval touching the head for the thorax.
Step 4
Sketch a long tapered oval attached to the thorax for the abdomen.
Step 5
Draw a faint center line along the body to set the mosquito's angle and symmetry.
Step 6
From the head draw a straight thin proboscis pointing forward.
Step 7
Add two thin curved segmented antennae on top of the head.
Step 8
Lightly sketch two elongated teardrop-shaped wings emerging from the top sides of the thorax.
Step 9
Draw six long segmented legs coming from the thorax with clear joints and thin ends.
Step 10
Refine each body part by adding wing veins tiny hairs and defined leg joints to match your reference.
Step 11
Choose a light source and shade the body and wings with small pencil strokes to create roundness and shadow.
Step 12
Use colored pencils or crayons to add subtle browns grays and light translucent tones to the wings for realism.
Step 13
Carefully go over important edges like wing margins legs and proboscis with a black pen or fine liner for clarity.
Step 14
Gently erase leftover pencil guidelines to clean up your drawing.
Step 15
Share your finished realistic mosquito drawing on DIY.org.
Help!?
What can we use instead of a clear photo or colored pencils if we don't have those?
If you don't have a clear photo or colored pencils, use a smartphone image or a printed photo for the reference and substitute markers, watercolor pencils, or even a sharpened ballpoint pen for the fine-liner and use light gray marker or diluted watercolor for wing translucence.
My mosquito's legs look stiff or the body seems off-balance—what should I fix?
If the six long segmented legs look stiff or the mosquito is off-balance, redraw faint construction lines using the center line from step 4 to set the angle and lightly sketch jointed leg segments before refining with pen.
How can I adapt this drawing activity for different age groups?
For younger children simplify steps 2–9 by using larger circles/ovals, crayons instead of colored pencils, and skip the fine-liner outlining, while older kids can concentrate on step 10–12 adding wing veins, tiny hairs, detailed shading, and pen work for realism.
How can we extend or personalize the mosquito drawing after finishing the basic steps?
To extend the activity, add a soft watercolor or colored-pencil background showing habitat, create labeled callouts for the head, thorax, abdomen, and proboscis based on your reference and refined details (step 10), and then share the finished piece on DIY.org.
Watch videos on how to draw a mosquito
🎨✏️ Easy Mosquito Drawing for Kids | Step-by-Step Drawing Tutorial 🦟
4 Videos
🎨✏️ Easy Mosquito Drawing for Kids | Step-by-Step Drawing Tutorial 🦟
🎨✏️ Easy Mosquito Drawing for Kids | Step-by-Step Drawing Tutorial 🦟
🎨✏️ Easy Mosquito Drawing for Kids | Step-by-Step Drawing Tutorial 🦟

How to Draw a Mosquito: Simple Step-by-Step Guide (Part 1)
Facts about insect anatomy
🦟 Mosquitoes are in the family Culicidae and there are over 3,500 known species around the world.
🦵 A mosquito has six legs, two wings, and three main body parts — head, thorax, and abdomen — perfect simple shapes to guide your drawing.
🪶 Insect wings are thin membranes supported by veins; studying vein patterns makes wing drawings look much more realistic.
🎨 Artists use shading tricks like cross-hatching and soft blending to turn flat outlines into round, lifelike mosquito bodies.
🔎 Observational sketches help scientists too — entomologists draw tiny features like antennae and mouthparts to identify species.
How do I teach my child to draw a realistic mosquito step-by-step?
What materials do I need to draw a realistic mosquito with my child?
What ages is drawing a realistic mosquito suitable for?
What are the benefits of teaching kids to draw mosquitoes?
