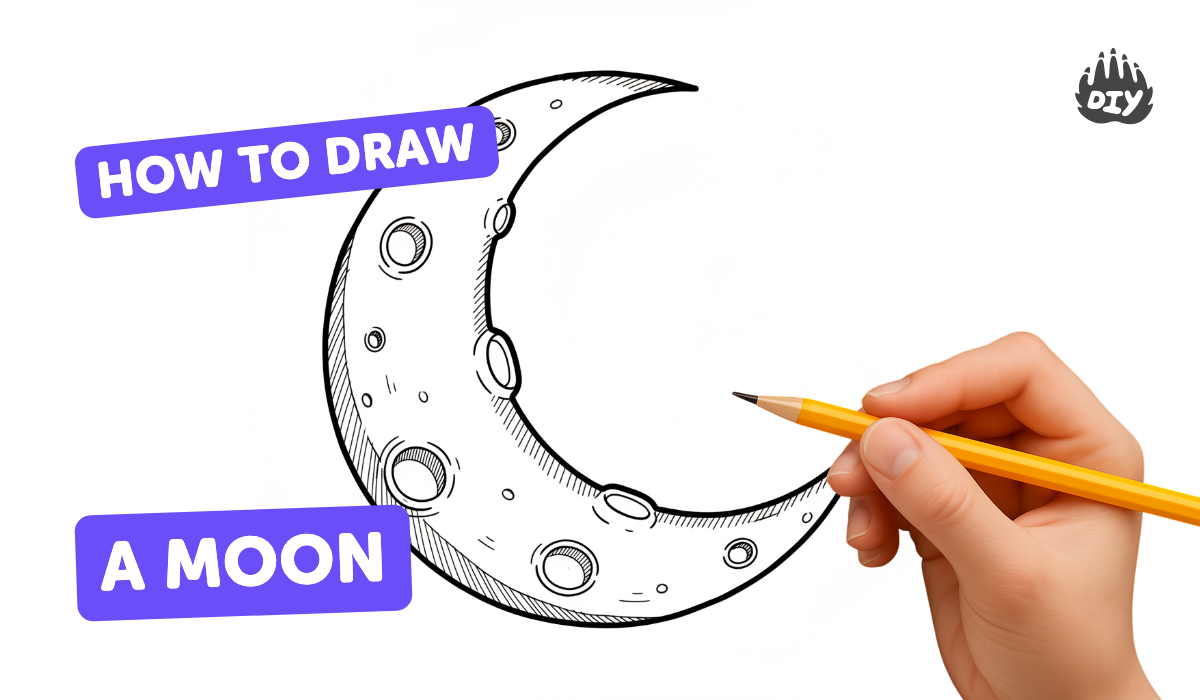
How to draw a moon - a free moon drawing guide
Draw a moon using pencils and shading techniques, adding craters and highlights to learn observation, texture, and light direction in step-by-step practice.

Drawing Apps
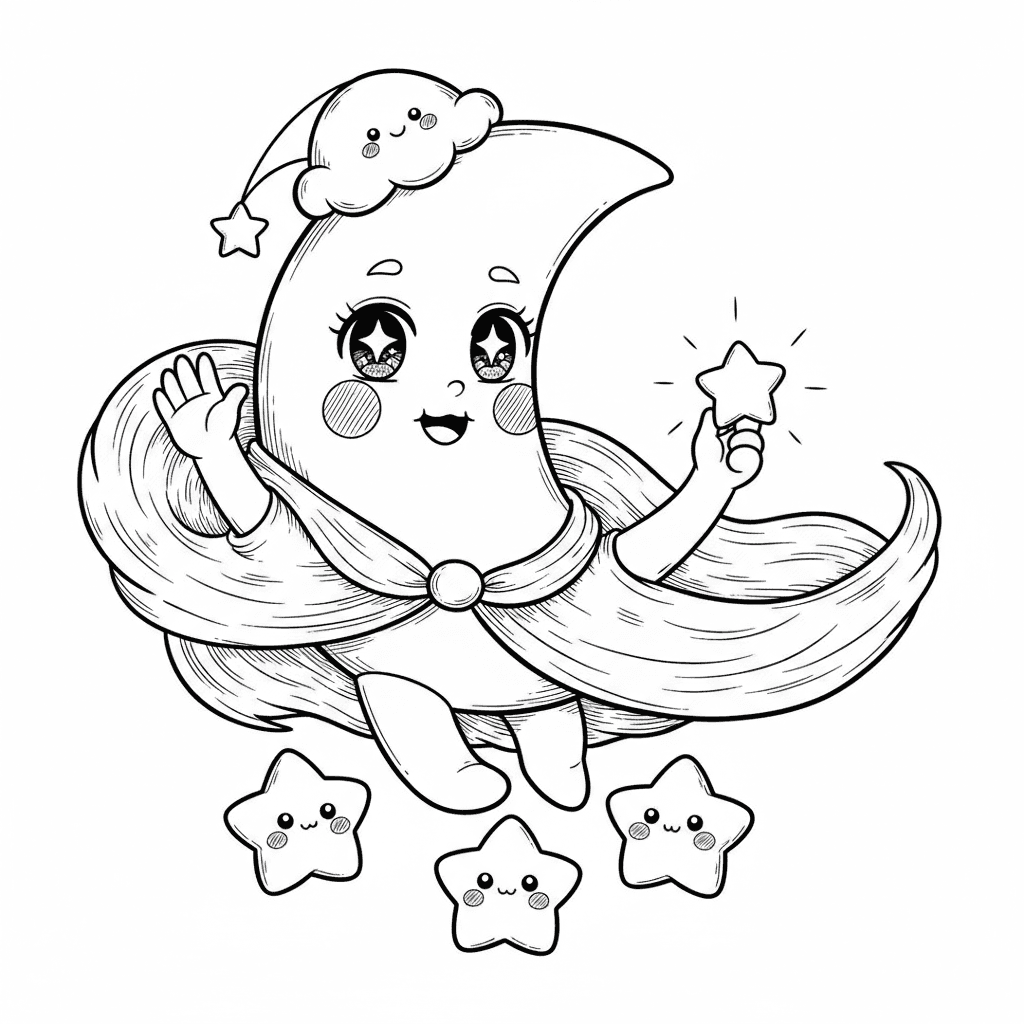
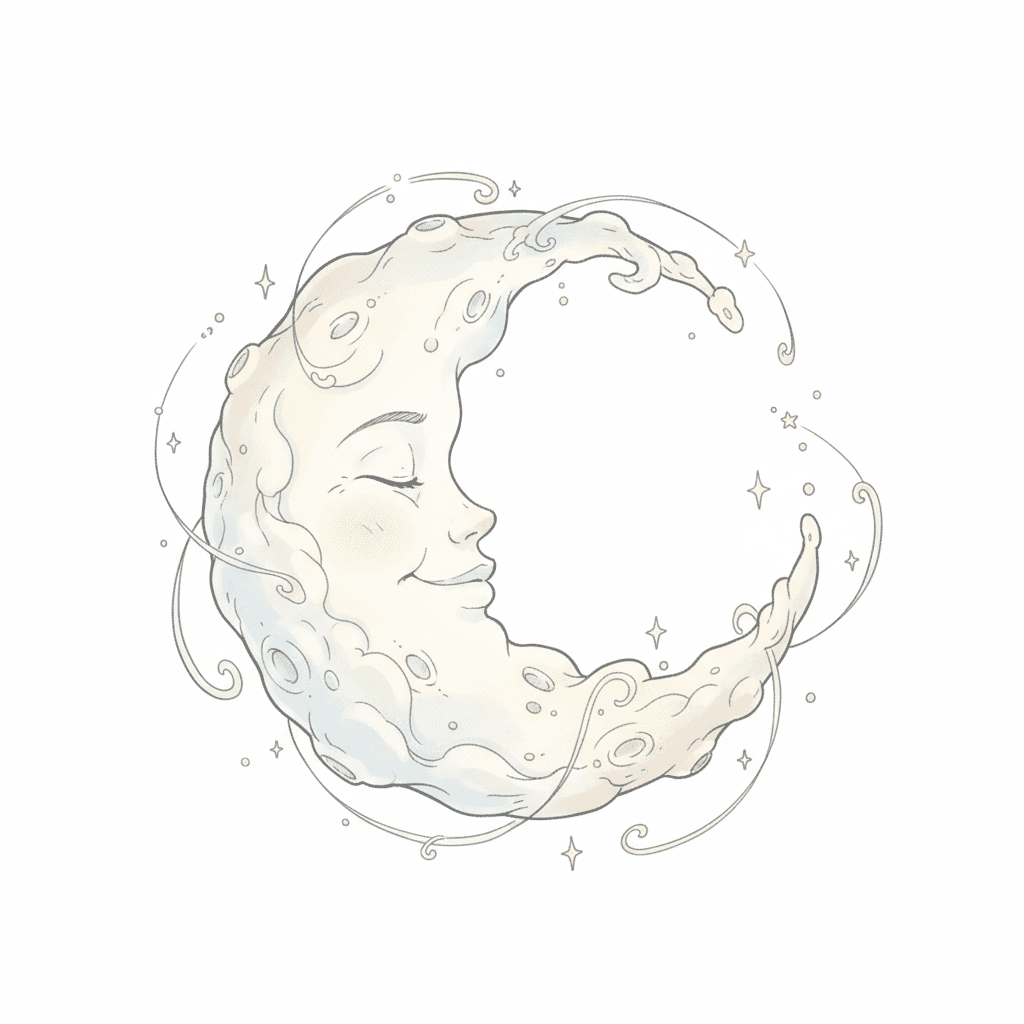
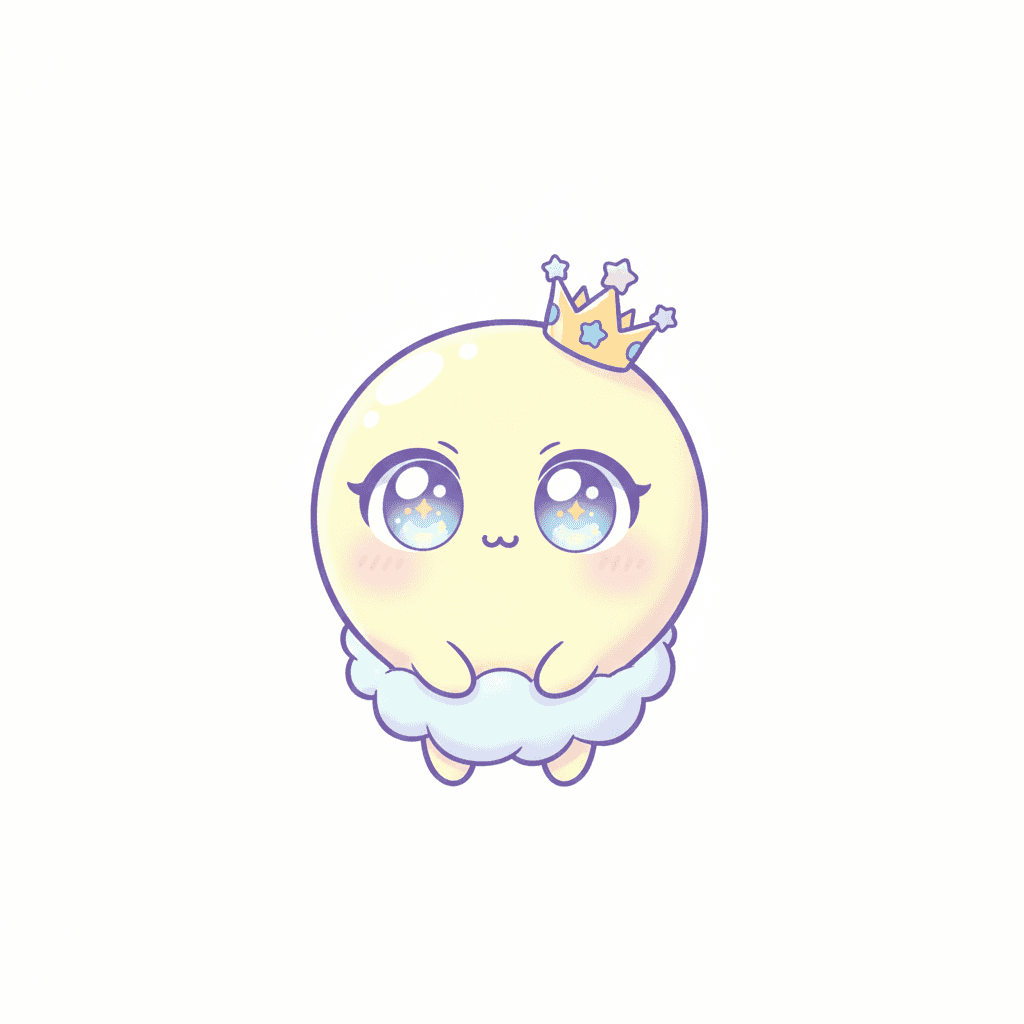
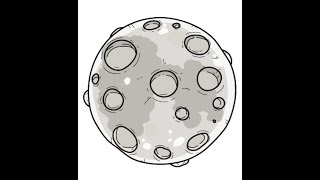
Photos of moon drawing examples


Step-by-step guide to draw a moon
How To Draw A Moon Step by Step |🌙 Moon Drawing Tutorial by Kids Express
Step 1
Put your paper on a flat surface so it is ready to draw.
Step 2
Put the round cup or lid on the paper where you want your moon to be.
Step 3
Lightly trace around the cup or lid with your pencil to make a neat circle.
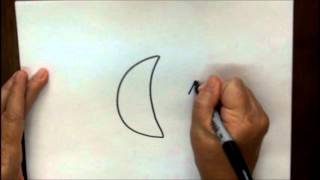
Step 4
Draw a small arrow outside the circle to show where the light will come from.
Step 5
Lightly shade the whole circle with your HB pencil using even strokes and keep the side near the arrow a bit lighter.
Step 6
Sketch different sized circles and ovals inside the moon to make craters.
Step 7
Shade the inner edge of each crater on the side away from the light to make them look deep.
Step 8
Darken the moon’s shadowed half with your 2B or 4B pencil using soft strokes.
Step 9
Gently blend the shaded areas with a tissue or cotton bud to smooth the texture.
Step 10
Use the eraser to lift tiny highlights where the light hits crater rims or bright spots.
Step 11
Add small dots and short pencil strokes across the surface to create moon texture.
Step 12
Erase any stray marks and sharpen the outer circle edge so your moon looks tidy.
Step 13
Write your name and the date on your drawing to sign your work.
Step 14
Share your finished moon drawing on DIY.org.
Help!?
What can we use instead of the round cup, HB pencil, 2B/4B pencils, tissue, or cotton bud if we don't have them?
If you don't have a round cup or lid use a small plate or coin to trace, replace an HB with a regular #2 pencil and 2B/4B with a softer graphite or charcoal pencil, and use a clean cloth or cotton swab in place of a tissue or cotton bud for blending.
My moon looks flat or I shaded the wrong side—how can I fix it?
If the lit side is too dark or craters look flat, gently lift highlights with the eraser on crater rims and bright spots, then re-blend the surrounding graphite with a tissue or cotton bud following the arrow to restore a lighter side.
How can I change the activity for different ages or skill levels?
For younger kids, trace a larger plate and color with crayons or a soft pencil and skip fine blending, for elementary kids follow the HB and 2B/4B shading and simple crater shading, and for teens add detailed textures, sharper edges, and layered graphite blends using the tissue or cotton bud.
What are some ways to extend or personalize the moon drawing once it's finished?
Enhance your drawing by adding a starry background with tiny pencil dots or a white gel pen, create additional moon phases by tracing extra circles and varying shading, and remember to write your name and the date before sharing on DIY.org.
Watch videos on how to draw a moon
How to Draw the Moon | Easy Moon Drawing for Kids
4 Videos
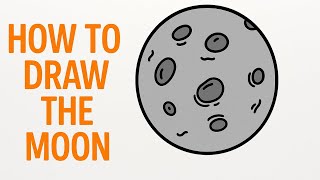
How to Draw the Moon | Easy Moon Drawing for Kids
How to Draw the Moon | Easy Step-by-Step Space Drawing for Kids
How to Draw the Moon Real Easy - A simple tutorial
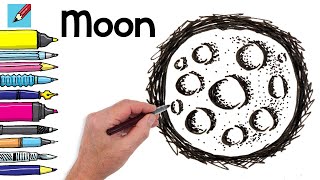
How to Draw Moon and Stars Step by Step Tutorial for Children
Facts about pencil drawing and shading techniques
🌕 The Moon has no atmosphere to erase marks, so impact craters can remain visible for millions of years — great reference for crater textures.
✏️ Artists choose pencil grades (HB for lighter lines, 2B–6B for darker shading) because softer leads make richer, smoother shadows.
🌓 The terminator (the line between lunar day and night) creates the strongest, longest shadows on craters — perfect for studying light direction.
🔭 Selenography is the study of the Moon's surface; early telescopic maps revealed maria, highlands, and famous craters artists love to copy.
🖼️ Chiaroscuro (strong light and dark contrast) is an old art trick that makes round forms like the Moon look three-dimensional when shaded correctly.
How to draw a moon using pencils and shading step by step?
What materials do I need to draw a moon with pencils and shading?
What ages is this moon-drawing activity suitable for?
What are the benefits of drawing the moon, and are there safety tips or fun variations?
