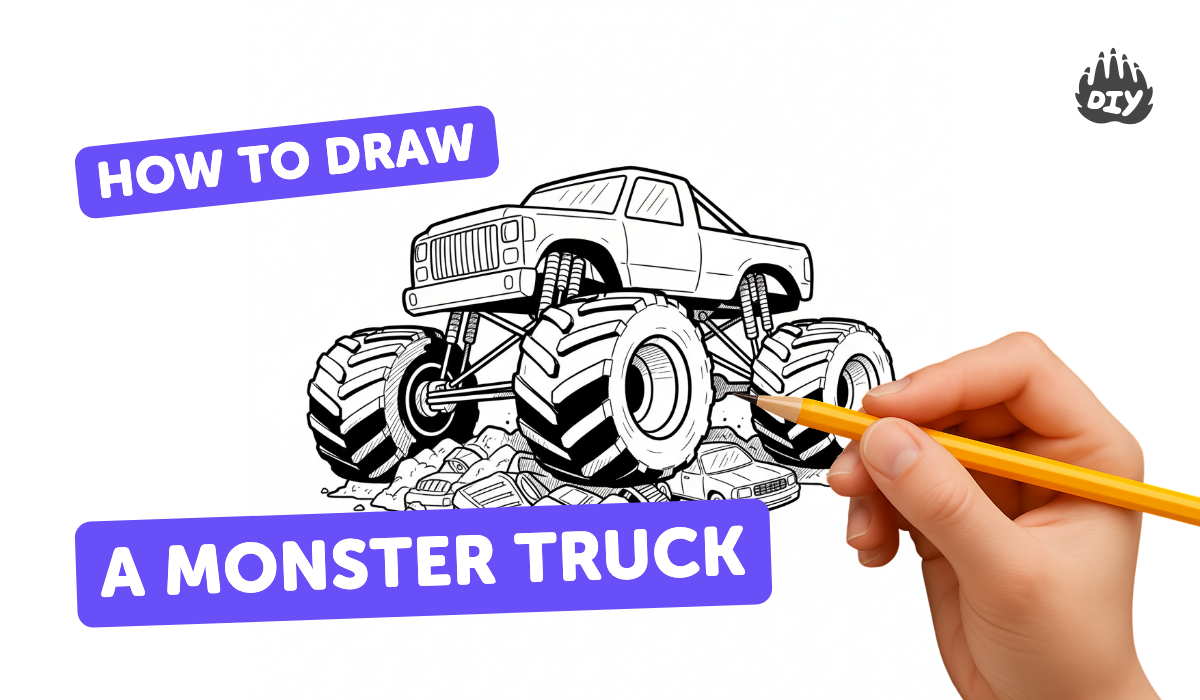
How to draw a monster truck - a free monster truck drawing guide
Draw a monster truck step-by-step using simple shapes, add oversized wheels, details, and color to learn proportions, perspective, and shading techniques.

Step-by-step guide to draw a monster truck
How to Draw a Monster Truck | Easy Drawing Tutorial for Kids!
Step 1
Draw a light straight horizontal line near the bottom of the paper to be the ground.
Step 2
Sketch a long low rectangle above the ground line for the monster truck's chassis.
Step 3
Draw a smaller square or slightly slanted rectangle on top of the chassis for the driver's cab.
Step 4
Draw two very large circles with their bottoms touching the ground line one near the front and one near the back for the oversized wheels.
Step 5
Inside each wheel draw a medium circle to form the rim.
Step 6
Add short straight lines radiating from each rim to suggest spokes or rim patterns.
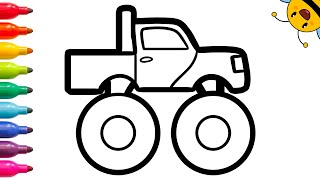
Step 7
Draw curved fenders over each wheel connecting them to the chassis to show the truck covering.
Step 8
Add simple details like a front grille headlights bumper exhaust pipes and windows on the cab.
Step 9
Erase extra guide lines and gently clean up the sketch.
Step 10
Trace all the final lines with a black marker to make the truck bold and clear.
Step 11
Color the truck with your colouring materials choosing bright colors for the body.
Step 12
Use short darker strokes under the chassis and inside the wheel wells to add shading and depth.
Step 13
Share your finished monster truck on DIY.org
Help!?
What can we use instead of the black marker or fancy coloring supplies listed in the instructions?
If you don't have a black marker to trace all the final lines, use a dark ballpoint pen, fine-tip felt pen, or a sharpened graphite pencil for tracing and substitute markers with colored pencils, crayons, or watercolor paints to color the truck.
My wheels don't look like their bottoms are touching the ground line—how do I fix that?
If the oversized wheels won't sit evenly with their bottoms touching the ground line, lightly redraw the straight ground line, use a coin or cup to trace two matching circles so their bottoms meet the line, then place the long low rectangle chassis above them before adding fenders and details.
How can I change the activity for younger or older kids?
For younger children have an adult pre-sketch the ground line, chassis and wheel outlines so they can color and add simple windows or stickers, while older kids can add rim spokes, the grille/headlight details, and short darker strokes under the chassis for extra shading and realism.
How can we make the monster truck more creative or special before sharing it on DIY.org?
To personalize and extend the drawing add mud splatters and tire tread patterns on the oversized wheels, use stickers or cut-and-glue cardboard fenders, add metallic marker accents on the grille and exhaust, and paint a background scene before photographing to share on DIY.org.
Watch videos on how to draw a monster truck
How to Draw a Monster Truck | Step By Step
4 Videos
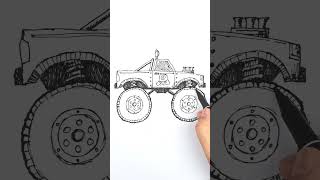
How to Draw a Monster Truck | Step By Step
Drawing a Monster Truck FUN! A Step by Step Guide for Kids!
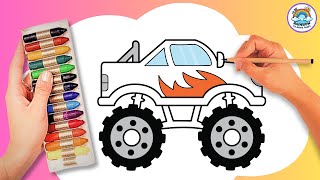
Monster Truck Drawing for Kids | Easy Step by Step Art Tutorial
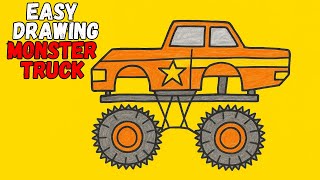
How to draw a Monster Truck easy for kids! Learn to draw cars for children & toddlers - Art tutorial
Facts about drawing vehicles for kids
🚚 Bigfoot, built by Bob Chandler in the 1970s, is widely credited as the first monster truck — it began as a modified Ford pickup!
🛞 Monster truck tires are huge — about 66 inches in diameter (around 5.5 feet), almost as tall as some kids!
🎨 Artists often start vehicle drawings with simple shapes (rectangles, circles) to lock in proportions before adding details.
🔭 Two-point perspective uses two vanishing points and helps trucks look like they sit firmly in space.
☀️ Shading shows light direction — put darker tones opposite the light source to make wheels and body look round.
How do I teach my child to draw a monster truck step-by-step?
What materials do I need to draw a monster truck with my child?
What ages is drawing a monster truck suitable for?
What are the benefits of drawing a monster truck for kids?
