How to draw a mistletoe - a free mistletoe drawing guide
Draw a festive mistletoe step by step using pencil, colored pencils, and simple shapes; add berries, shading, and practice symmetry and leaf details.

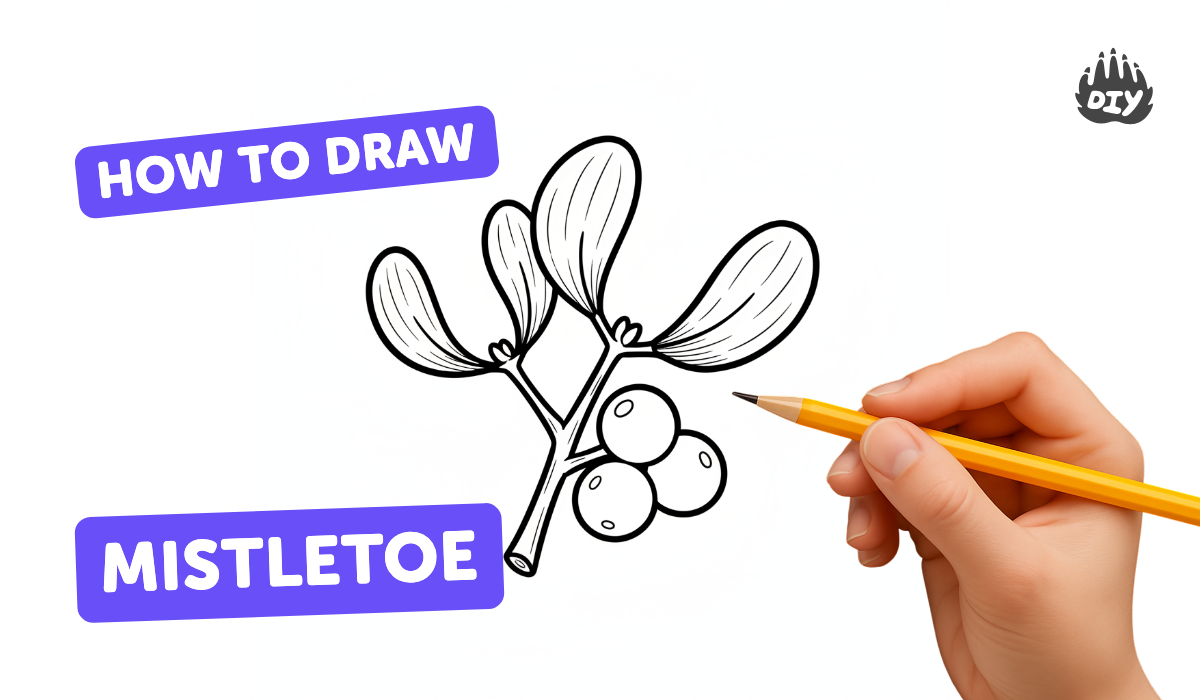
Step-by-step guide to draw a festive mistletoe
How to draw a mistletoe step by step easy
Step 1
Place a sheet of plain paper on a flat surface.
Step 2
Lightly draw a vertical center guideline down the middle of the paper using the ruler.
Step 3
Draw a short curved stem near the top of the center guideline.
Step 4
Draw one teardrop-shaped leaf on the right side starting at the stem.
Step 5
Draw a matching teardrop-shaped leaf on the left side to mirror the right leaf.
Step 6
Add two more teardrop leaves on each side so there are three leaves on each side of the stem.
Step 7
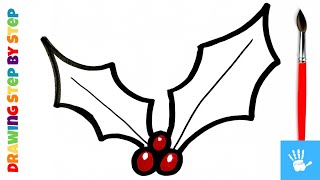
Draw three small round berries clustered where the leaves meet near the stem.
Step 8
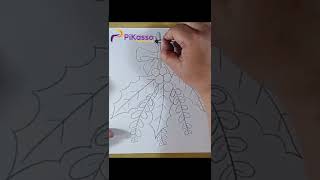
Draw a thin curved vein line down the center of each leaf.
Step 9
Add light pencil shading on one side of each leaf with soft diagonal strokes.
Step 10
Erase the center guideline and any extra sketch lines carefully.
Step 11
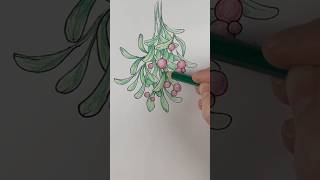
Color all the leaves with a medium green colored pencil.
Step 12
Use a darker green colored pencil to darken the shaded edges of each leaf.
Step 13
Color the berries bright red with a colored pencil.
Step 14
Add a tiny white highlight to each berry using the white of the paper or a white pencil or a soft eraser.
Step 15
Share your finished mistletoe drawing on DIY.org.
Help!?
What can I use if I don't have the exact colored pencils, ruler, or white pencil listed in the instructions?
Use a straight edge like a book instead of the ruler to draw the center guideline, color the leaves with green crayons or markers and press harder or layer to mimic the medium and darker green pencil shading, color the berries bright red with a red crayon or marker, and create highlights by leaving a tiny white spot of paper or using a white crayon or the tip of a soft eraser.
My left and right leaves look uneven and the guideline smudged—what should I do to fix this?
Keep the center guideline and initial leaf shapes very light with a hard pencil, draw the right teardrop-shaped leaf first using the guideline for placement, lightly measure or mark matching points to mirror the left leaf, add your thin veins and light diagonal shading, then carefully erase only the center guideline and extra sketch lines as the instructions say.
How can I adapt this mistletoe drawing activity for different ages or skill levels?
For younger children, pre-draw the center guideline, stem, and leaf outlines for them to color the leaves green and berries red, while older kids can add extra veins, more detailed diagonal pencil shading, darker green edge shading, and try blending or watercolor techniques before erasing and coloring.
How can we extend or personalize the finished mistletoe drawing beyond the given steps?
Personalize it by adding a red ribbon tied at the short curved stem, drawing extra mistletoe clusters or a winter background, outlining leaves with a darker colored pencil for contrast, and intensifying berry highlights with a tiny white pencil dot before sharing the finished drawing on DIY.org.
Watch videos on how to draw a festive mistletoe
Draw mistletoe! Easy drawing lesson for beginners
3 Videos
Draw mistletoe! Easy drawing lesson for beginners
How To Draw a Cute Mistletoe for Children
How to Shade a Mistletoe Drawing Easy in Less Than One Minutes
Facts about drawing and sketching for kids
🎄 Mistletoe is a parasitic plant that draws water and nutrients from host trees rather than growing as a free-standing tree.
✏️ Breaking a drawing into simple shapes (ovals for berries, teardrops for leaves) is a pro artist trick kids can use right away.
🍃 Many mistletoe species have white or translucent berries—red berries you see in decorations often come from other plants.
🎨 Layering light strokes with colored pencils builds depth and smooth blends without pressing too hard.
🌟 The custom of kissing under mistletoe has roots in ancient myths and became a popular holiday tradition in Victorian times.
How do I draw a mistletoe step by step with pencil and colored pencils?
What materials do I need to draw a festive mistletoe?
What ages is this mistletoe drawing activity suitable for?
What are the benefits, variations, and safety tips for drawing mistletoe?
