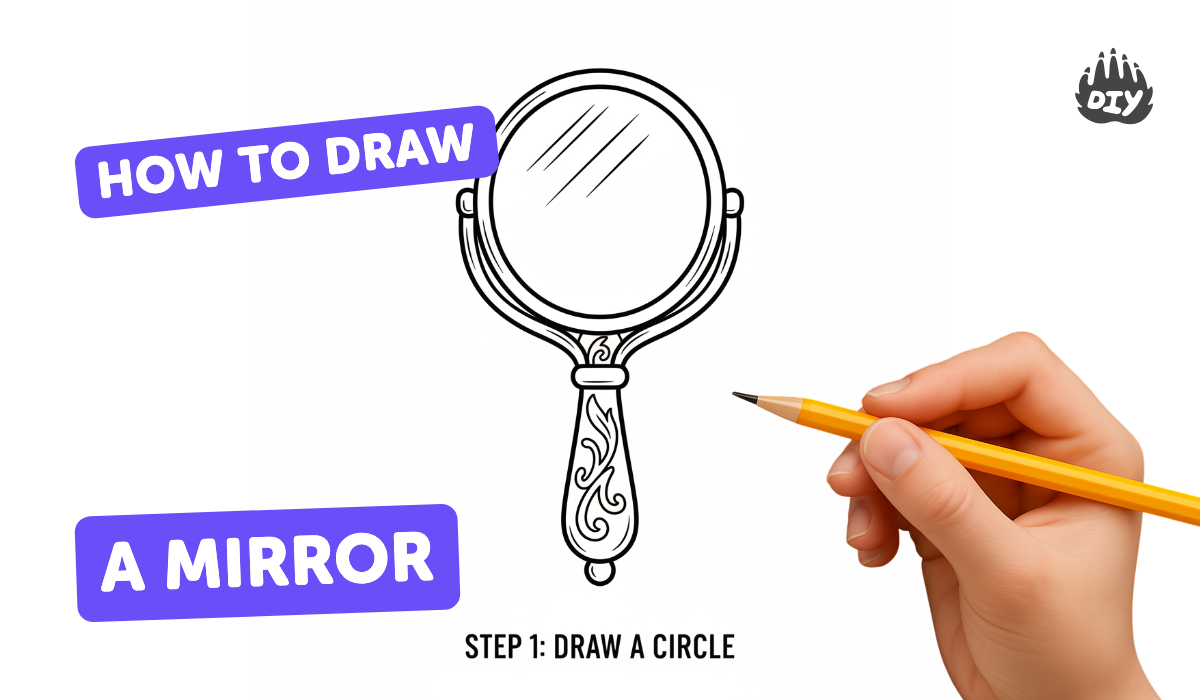
How to draw a mirror - a free mirror drawing guide
Learn to draw a wall mirror with a simple frame and reflected objects, practicing shapes, proportions, shading, and symmetry step by step.

Drawing Apps
Photos of wall mirror drawings


Step-by-step guide to draw a wall mirror
#381 How to Draw a Mirror - Easy Drawing Tutorial
Step 1
Set up a flat workspace with your paper and pencil ready.
Step 2
Lightly draw a vertical centerline down the middle of the paper to help keep the mirror symmetrical.
Step 3
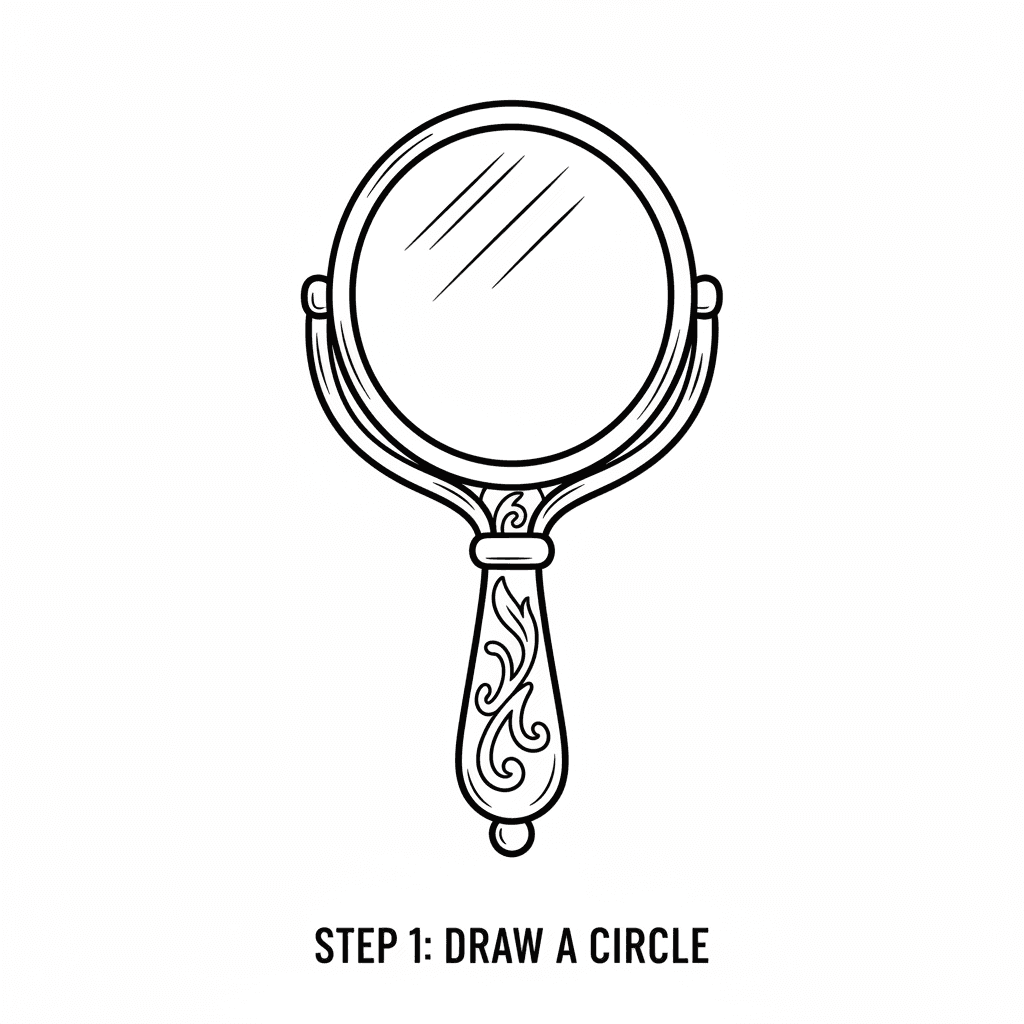
Lightly sketch the mirror's outer frame shape centered on the centerline such as a rectangle oval or circle.
Step 4
Draw a second parallel line inside the outer frame to show the frame thickness.
Step 5
Use the ruler to mark equal distances from the centerline on both sides to check the frame proportions.
Step 6
Lightly sketch simple reflected objects inside the inner mirror area using basic shapes like a vase a window and a small plant.
Step 7
Align each reflected object so its left and right halves line up with the centerline for symmetry.
Step 8
Add frame details such as grooves rounded corners or beads with light pencil strokes.
Step 9
Shade the mirror glass with very light diagonal strokes leaving a small white area as a highlight.
Step 10
Shade the frame darker than the glass using firmer pencil pressure to show depth.
Step 11
Carefully erase the centerline and any stray sketch marks without removing your main drawing.
Step 12
Ink over your final outlines with a pen for a crisp finish if you want a bold look.
Step 13
Colour the frame and the reflected objects and gently blend shaded areas with a tissue or cotton swab.
Step 14
Draw and shade a small wall shadow under the mirror to show it is hanging on the wall.
Step 15
Share a photo of your finished mirror drawing on DIY.org.
Help!?
What can we use instead of a ruler or cotton swab if we don't have them?
If you don't have a ruler, use the straight edge of a book or a credit card to mark equal distances from the centerline, and substitute a tissue corner or clean fingertip for a cotton swab when blending shaded areas.
My mirror looks lopsided after sketching — how do I fix it before inking?
If the frame or reflected objects look lopsided, use your ruler marks to measure equal distances from the centerline, erase small sections of the outer frame or object, and lightly resketch before inking to maintain symmetry.
How can I change the activity for different ages?
For younger children simplify steps by having them draw a single oval frame and large basic reflected shapes without the inner parallel line, while older kids can follow every instruction including detailed frame grooves, diagonal shading, and inking.
How can we make the finished mirror drawing more interesting or personal?
To personalize and extend the project, add a patterned frame or real photograph reflection, deepen contrast by shading the frame darker than the glass as instructed, draw a wall shadow underneath, then ink and colour before sharing a photo on DIY.org.
Watch videos on how to draw a wall mirror
How to Draw a Mirror step by step easy
4 Videos
How to Draw a Mirror step by step easy
How To Draw A Cute Mirror/Easy Drawing for kids
How to Draw a Mirror: Easy Step by Step Drawing Tutorial for Beginners
#535 How to Draw a Mirror - Easy Drawing Tutorial
Facts about drawing and sketching for kids
🪞 A flat mirror flips front-to-back, which is why words look reversed when you hold them up to a mirror.
🔁 Mirror reflections are symmetrical across the mirror plane — great practice for learning symmetry in drawing.
✏️ Shading shows where light hits and where shadows fall; darker tones go on surfaces turned away from the light.
📏 Breaking objects into simple shapes (circles, rectangles, ovals) makes it much easier to draw frames and reflections.
👀 Drawing reflections trains your eye for proportions and angles — tiny mistakes make reflections look ‘off’.
How do I teach my child to draw a wall mirror with a simple frame and reflected objects step by step?
What materials do I need to draw a mirror with reflected objects?
What ages is this mirror-drawing activity suitable for?
What are the benefits of drawing mirrors and reflections for children?
